Welcome to Part 1 of our 2-part PBR artist interview series! We’re sitting down with two great TurboSquid artists to talk about tools, workflows, and tactics for tackling PBR modeling.
This week, we spoke with Ashkan Ghaffari aka Aicrovision who specializes in StemCell Certified PBR models. He goes in-depth with us about his workflow for creating high-quality PBR models.
TurboSquid: As the PBR Metallic workflow continues to increase in popularity, what tools have been vital to you when creating content?
Ashkan Ghaffari: Substance Painter, and in general, the Substance ecosystem.
The procedural workflow that Substance offers is extremely powerful. Having the flexibility to fix baking errors or change unwraps without losing data is invaluable, and being able to work on lower resolution textures and upscale only at export, makes it possible to fluently work on high-res textures without the need for expensive graphic cards.
Model and UV preparations can get tedious at times, but the magic of Substance Painter motivates me to get past those less exciting moments.
TS: Have you always worked with PBR, or did you switch from another workflow?
AG: Just a few years ago, I had to Google, “What is PBR?” My first impression was that it’s something scary and complex that I don’t want to get anywhere near it!
TS: So, why did you ultimately decide to implement a PBR workflow in your own models?
AG: As soon as I heard about StemCell and realized it’s based on PBR workflow, I knew I had to allocate resources and take steps toward it. There was no other choice. StemCell is an exceptional opportunity that can’t be missed. It pushed me to learn more about Substance Painter, and I didn’t need any more convincing from that point forward.
TS: What’s the most challenging aspect of a PBR workflow? Anything in particular that’s hard to get right?
AG: My PBR workflow is a series of do’s and don’ts that need to come together in the correct order to achieve a decent result. The challenge is to follow the checklist and have the big picture in mind for each step.
There are certain failure points in each stage of the workflow, and some aren’t visible until the very end. Cutting the UV seams at the right places, smoothing groups that have to be driven from UV shells, or what normal maps can and cannot do, are all examples of steps that can go wrong.
The good news is there are many tutorials and resources available online to learn about all of these steps. Every workflow will be unique. Each artist should personalize it based on their own tools, methods and background. Some artists like to go from high-poly to low-poly. Some do it in the opposite direction. Some utilize subdivision and support loops, others utilize Dynamesh and Zbrush. Some like to bake in Marmoset, Xnormal, Substance Painter, or other packages. Workflows differ significantly when subjects are different. Someone who is modeling a weapon is probably not following the same workflow as someone who specializes in stylized characters.
So reading, watching tutorials, asking for tips in forums and observing will greatly help, though in my experience it’s also necessary to “just do it!” and to work on multiple assets to identify these critical decisions at each stage for yourself.
It’s a good idea to start working on something small so going through the whole process from start to end is more manageable. That way it would be easier to evaluate why something went wrong and how to fix it. More importantly, how to utilize that experience on more complex models.
TS: What do you expect your customers to know when buying PBR models?
AG: Any PBR model that I do goes through the StemCell process, so with that consideration, I guess they don’t need to know anything extra compared to non PBR models.
Thanks to StemCell conversions, customers have access to Spec/Gloss and PBR Metallic textures, as well as native and exchange formats.
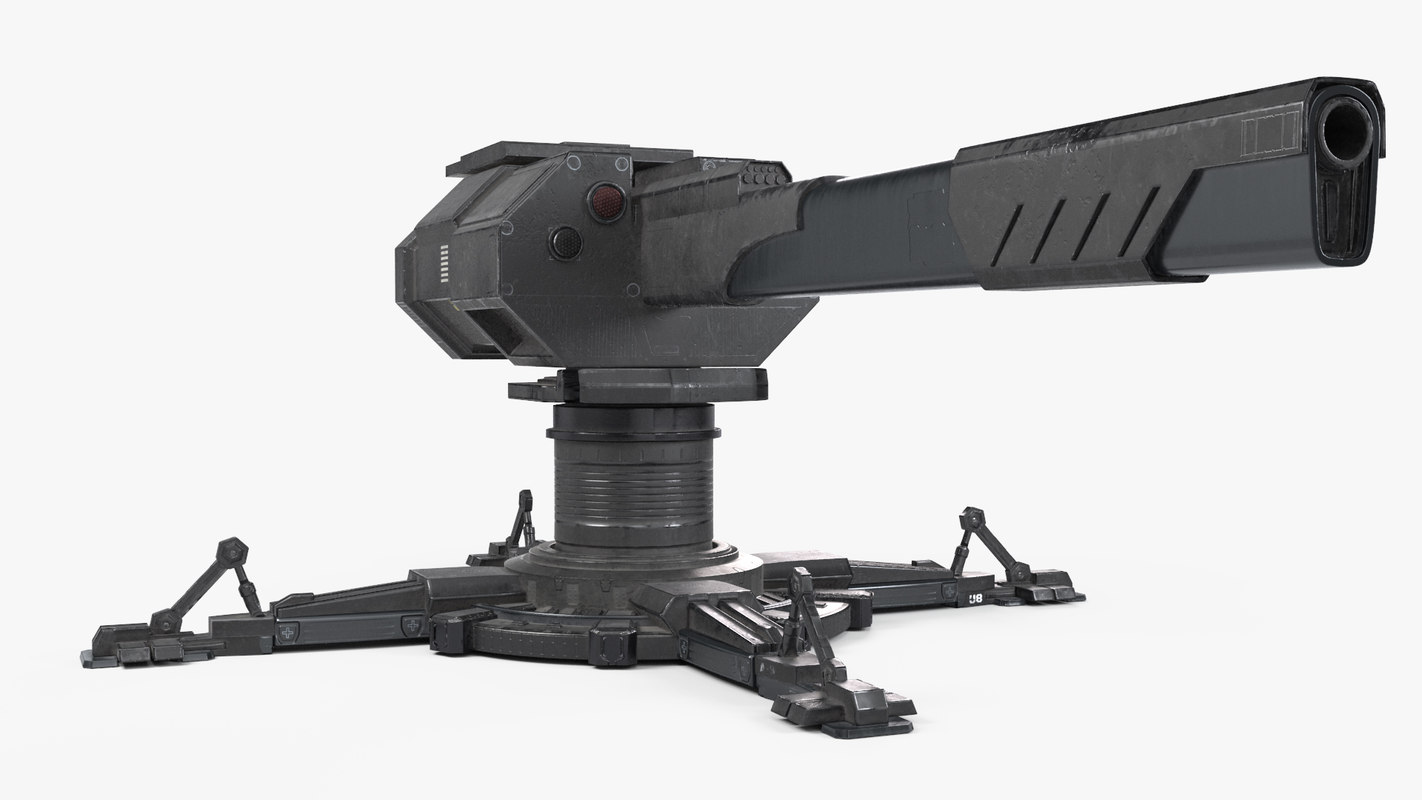
TS: In your turret model, the materials are well-matched from the DCC to the Realtime (PBR) applications. What is the most difficult aspect of converting from PBR to the DCC specular workflow and vice-versa?
AG: Thanks to documentation available at Turbosquid as well as very helpful support from StemCell team, it’s easy to learn what needs to be done and what are the common failure points. At first glance certain specs might seem unnecessary, but after reading the elaborative posts on the forums and learning about the sheer amount of research and experiments that went into the process in order to produce these specs, I had to look at it with a new perspective. If key points mentioned in tutorials are followed then everything should simply work, at least in most cases.
The most important factors that I always have in mind are:
- Using StemCell Calibrated HDRI maps in all applications
- Roughness values to be in correct range (almost never exceeding 0.5 value)
- Ensuring Metallics values are not treated as On/Off but instead considered as IOR range
- Normal maps shouldn’t be too strong
- There shouldn’t be any shading errors in the model or any twisting of polygons
- The UV seams need to be cut at steep angles
- Smoothing groups to be driven from UV shells
Once maps are exported from Painter, it’s very important to brighten the specular maps according to the formula mentioned in the StemCell documents. In short, it needs to be significantly brighter using Level and Gamma adjustments.
Getting the correct brightness combined with correct IOR values are usually key ingredients in order to have DCC outputs to match with Real-Times.
Substance Painter viewport or Iray results should not really be trusted for a proper match. Marmoset Toolbag results would be more reliable reference point for Real-Time outputs. They can be used as guidance to achieve comparable DCC results. Provided calibrated StemCell scenes are also very helpful starting points.
TS: What is your preferred tool to use and why, for ensuring that your PBR maps are working correctly in a Real-Time environment?
AG: Substance Painter and Marmoset Toolbag. As long as an asset is textured with correct values and it looks good in Marmoset Toolbag, there is a good chance that it’s just a matter of some simple tweaking to achieve comparable DCC results.
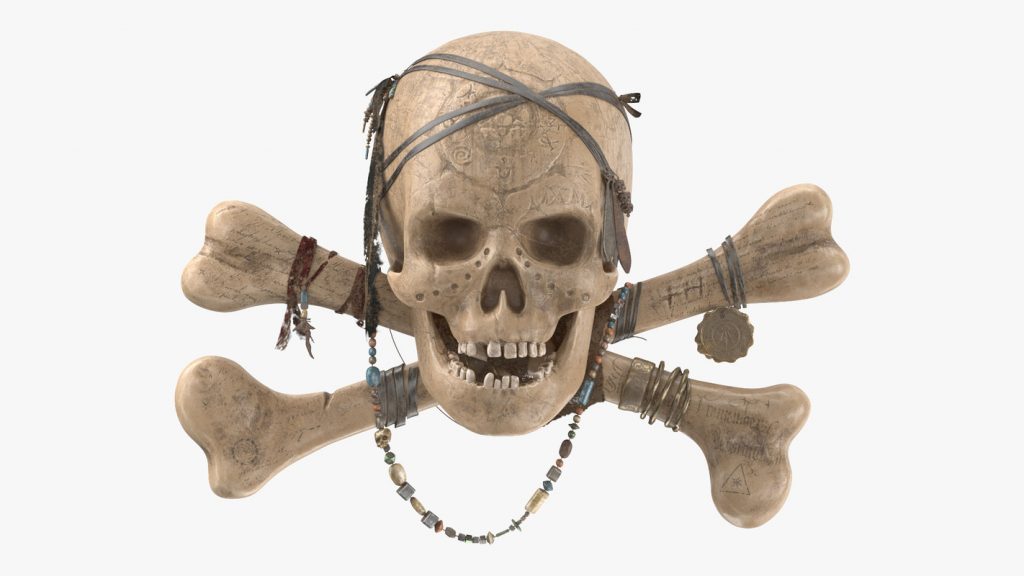
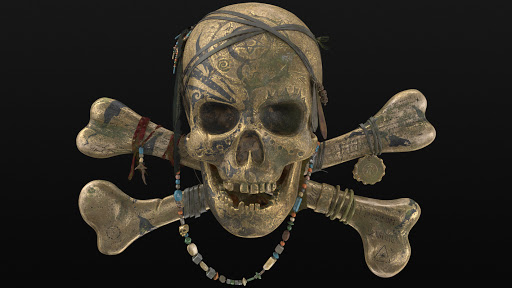
TS: Can you briefly walk us through how you created the LODs in this Pirate Skull model?
AG: It was actually quite simple. For the first version, I applied the decimation modifier to bring it down from 57k to 21k polys. In next step I pushed the decimation further but also manually deleted small and unnecessary polygons / objects. My objective was to demonstrate how more advanced decimation tools available in Unreal Engine or other applications would be able to handle the model when it comes to LOD generation.
TS: Can you describe your workflow for this model?
AG: I started this from an original concept sketch that was done for me. Then a blockout and rough sculpt was created to ensure proportion and general volumes are correctly in place. Next step was a proper modeling with clean topology using the blackout as the guidance. Smaller details like necklace, strings, teeth and other jewelry pieces were also added here. At that point, it was ready for sculpting.
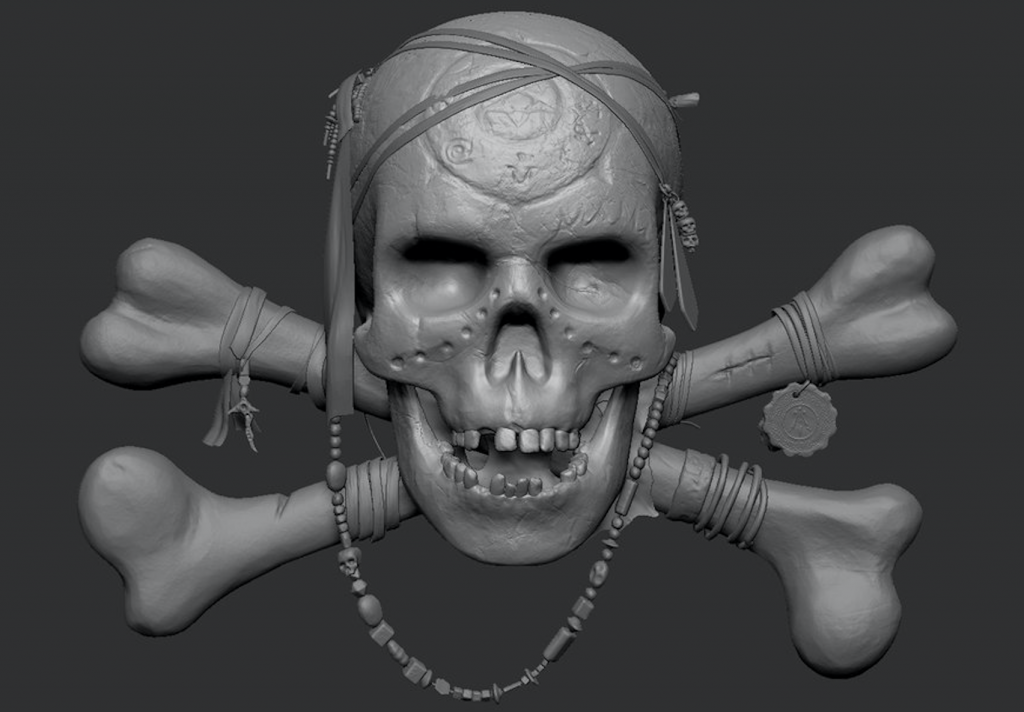
Unwrapping could’ve been done before sculpting, but it doesn’t matter much in this workflow. Once unwrapping is done, I started a series of back and forth conversions between low poly, high poly and Substance Painter. The model was baked multiple times to identify overlapping, bad AO or curvature maps, shading errors, undesirable baked normals, etc.
Once baking errors are resolved, texturing the model in Substance Painter is a fun experience. It becomes more of a creative process, though at times it can be intimidating in its own way.
Thanks to procedural workflow, steps don’t have to be followed in any fixed order. I usually like to do the texturing in passes. First, working on large shapes and fine-tuning the whole look to achieve the feel I’m after. Once it’s generally looking fine, then little details keep getting added to it until the whole thing is finished.
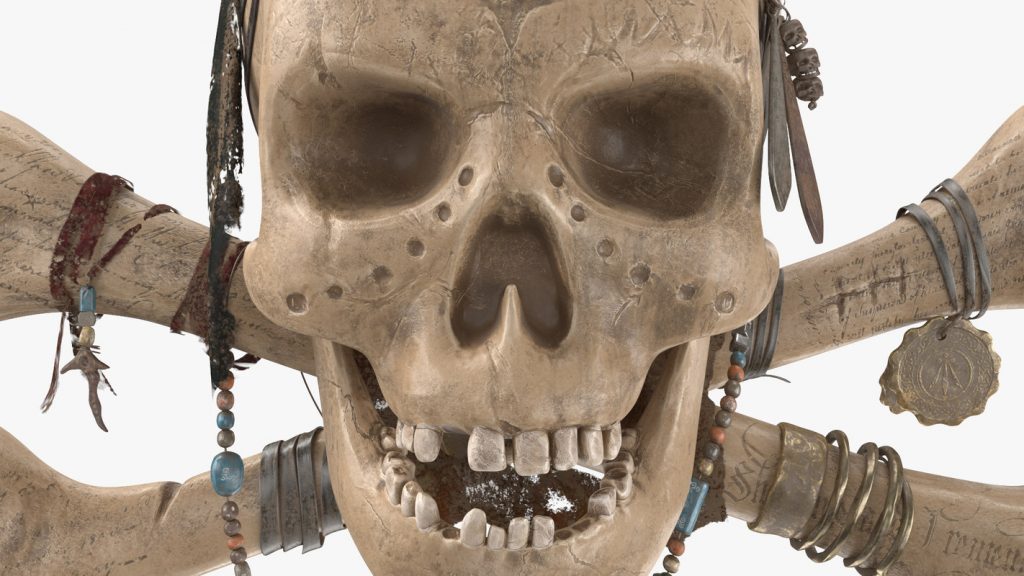
When it comes to conversions, this model was causing some difficulties, especially the version with gold coating with mix of bone, mud, rust, gold and algae. Some of the points mentioned above regarding specular adjustment, following the specific value range, and IOR adjustments, I learned the hard way working on this model. The TurboSquid Technical Artist who reviewed this model offered some very helpful tips.
Speaking of the review process, I wanted to take this opportunity to thank the StemCell team who patiently teaches us the steps and explains how everything works. I also definitely recommend learning more about StemCell to anyone interested creating PBR assets.
Ashkan Ghaffari is a Diamond-level TurboSquid artist who primarily focuses on creating PBR models. He spent most of his career working with 3D animation and effects, but started creating 3D assets as well over the last few years.
Thanks for that insightful look, Ashkan! Come back for the next week for part two of this PBR artist interview series. If you’re an artist who is interested in being featured on the TurboSquid blog, email our content team at marketing@turbosquid.com.