In this article, 3D artist Francesco Furneri provides a detailed description of his workflow for creating procedurally designed rocks made entirely in Substance Designer with Marmoset Toolbag. You can see the entire project on his ArtStation page. Francesco’s tutorial is packed with detail, so here’s a quick guide to what’s inside:
- Why use Substance Designer?
- Using many, many references!
- Making Big Rocks
- Medium Rocks, Small Rocks, and Leaves
- Scattering Cigarette Butts
- Creating Terrain
- Time to color!
- Render and Mood with Marmoset Toolbag
- Final Bits of Advice
Why use Substance Designer?
Substance Designer: it’s a wonderful software that can appear, at first, a bit tough to learn, but it really has a great deal of potential for producing materials.
Amongst the different workflows, I personally use the PBR metal/roughness, which allows me to have freedom and simplicity while creating my materials.
In a nutshell, Substance Designer is a node-based tool, where every node has precise inputs. It works for a specific purpose and it outputs results that can be used as inputs for other nodes, and so on, to the final result.
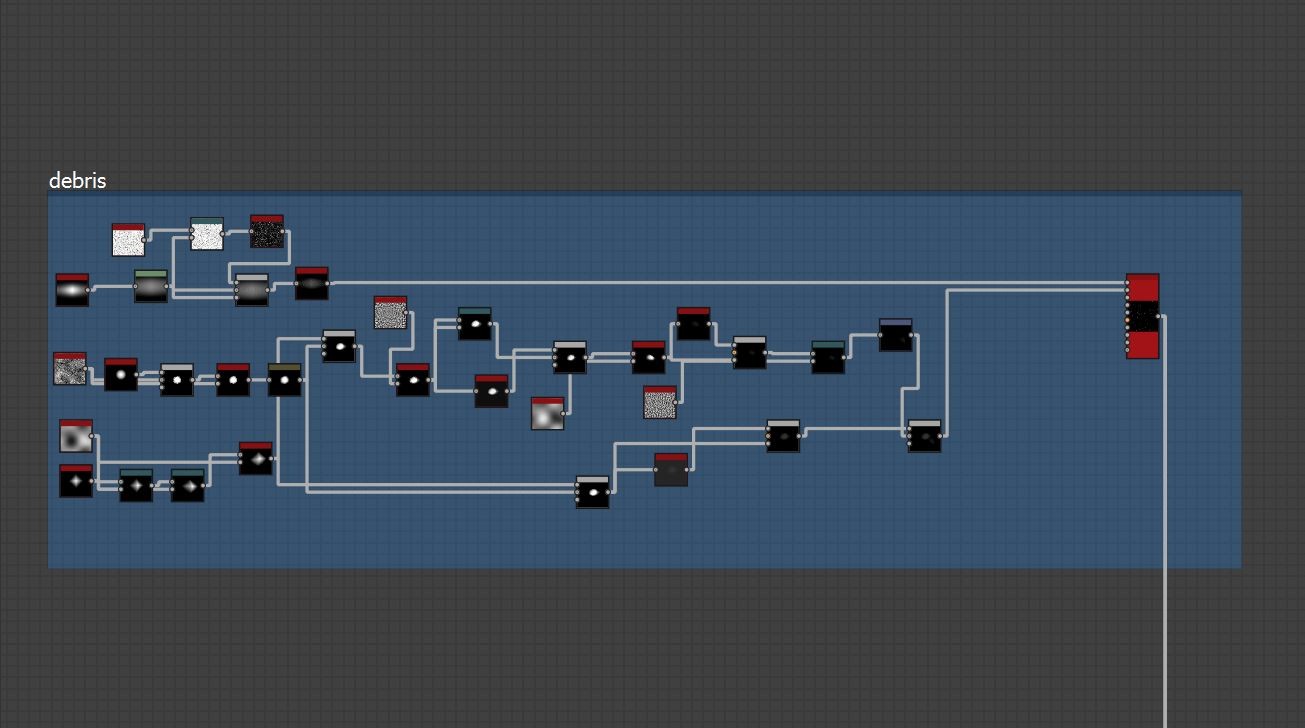
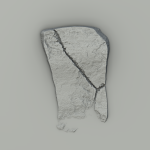
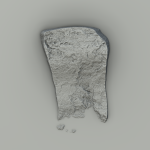
When I plan my projects, I always organize my elements in blocks with a proper description. Doing this makes everything clear from the very start. For example, the following figure shows a network that produces simple base debris:
Using many, many references!
Before starting any project, I spend a bit of time collecting as many references as possible. Spending even just an hour of time on the internet helps to create a precise idea of what I want to produce.
When collecting references, I usually download a bunch of images and a few close ups in order to study the subject. A lot of the time, if I find interesting elements in different references, I merge them together to give a touch of creativity to my projects.
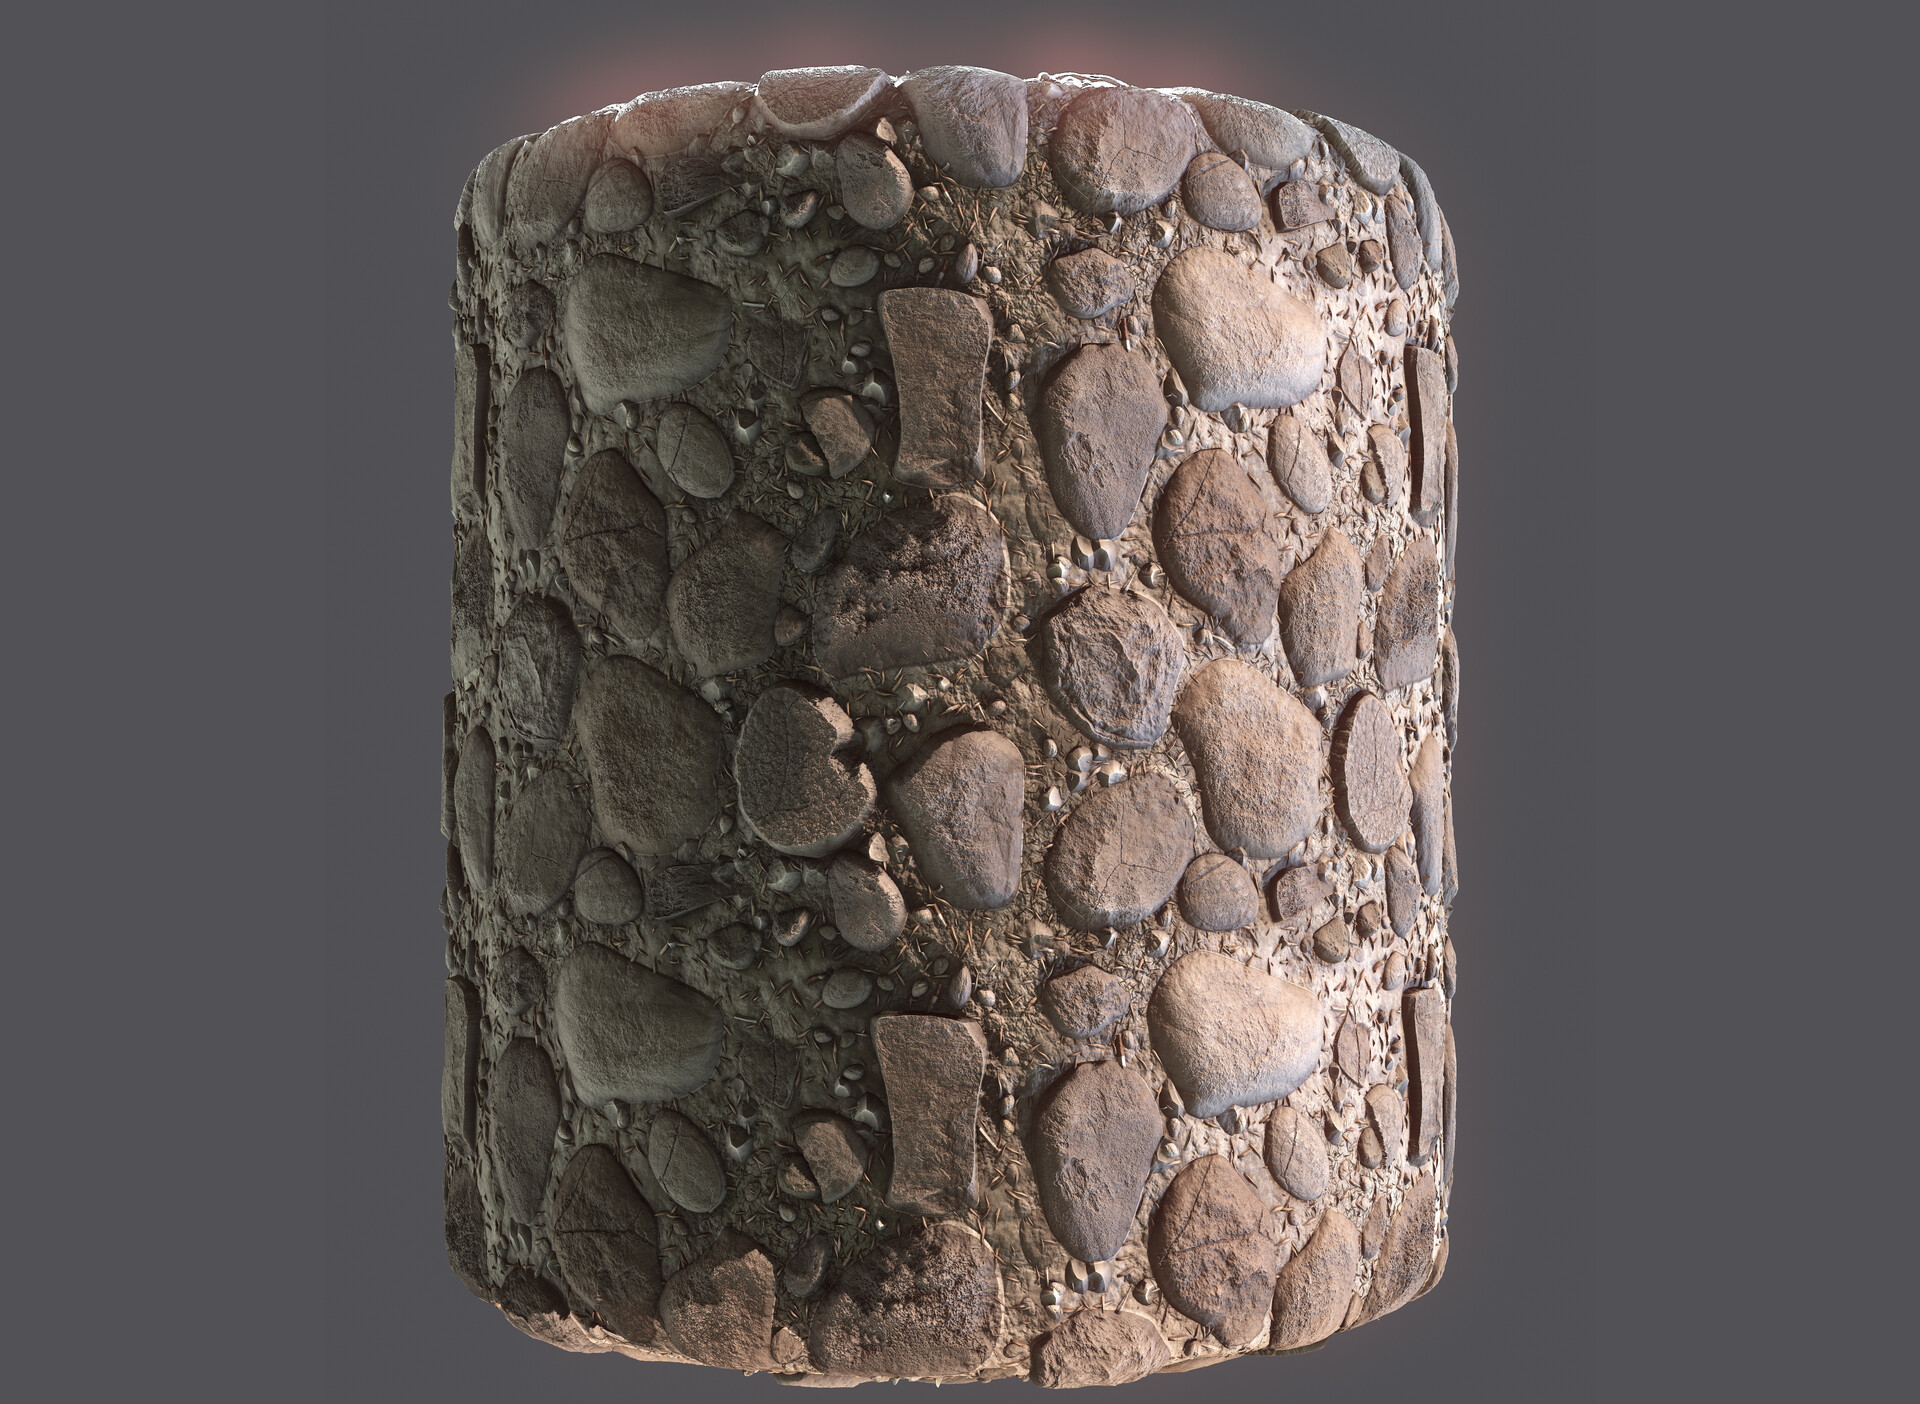
In my latest project, the idea was to create a single tile to show in my portfolio, with the following details:
- Main rocks (the big ones)
- Medium rocks
- Tiny rocks
- Leaves and debris
- Cigarette butts
- Terrain
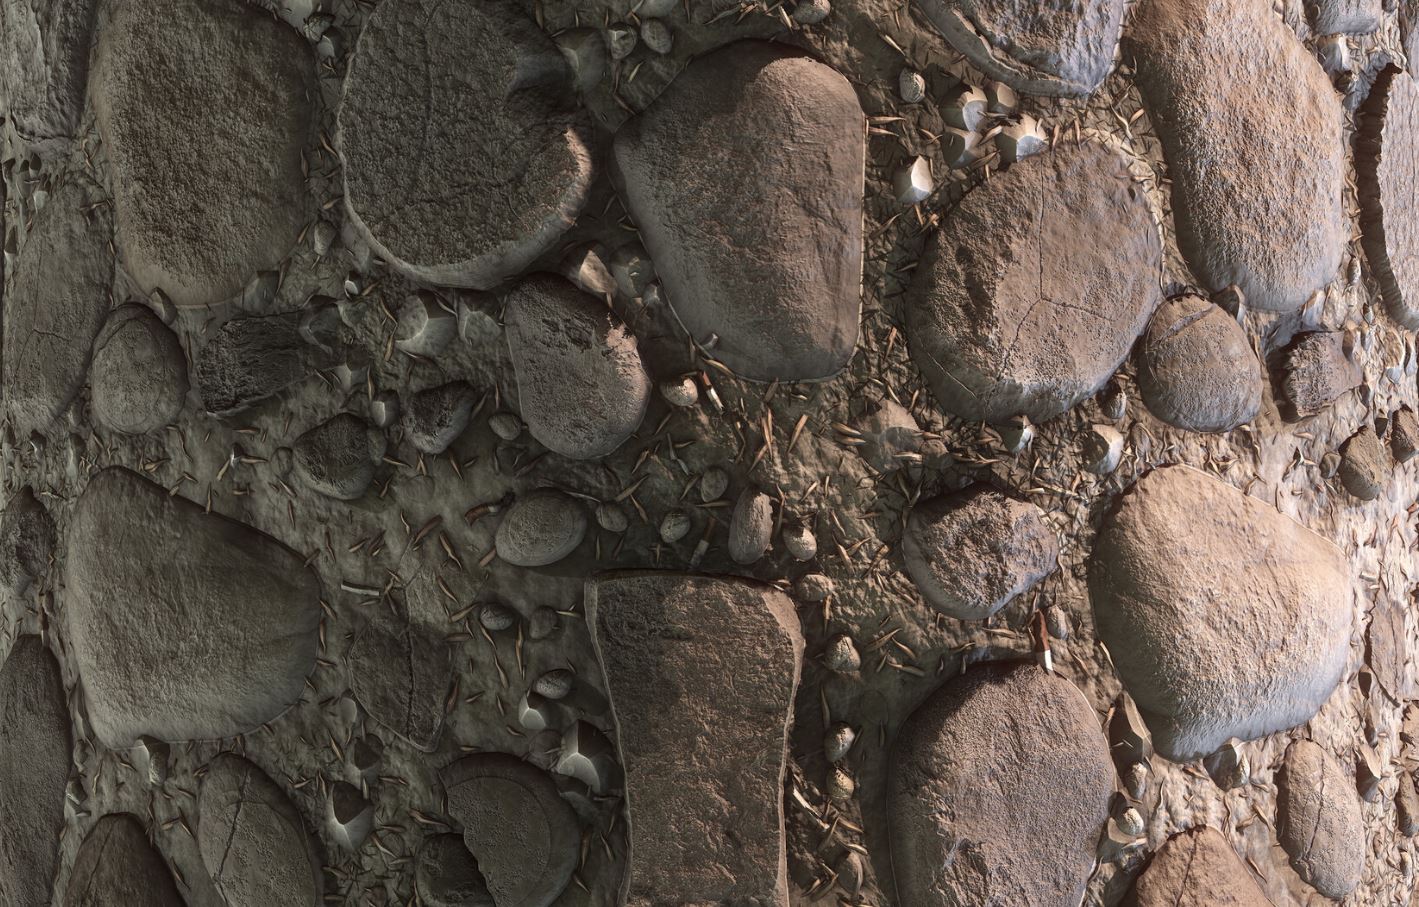
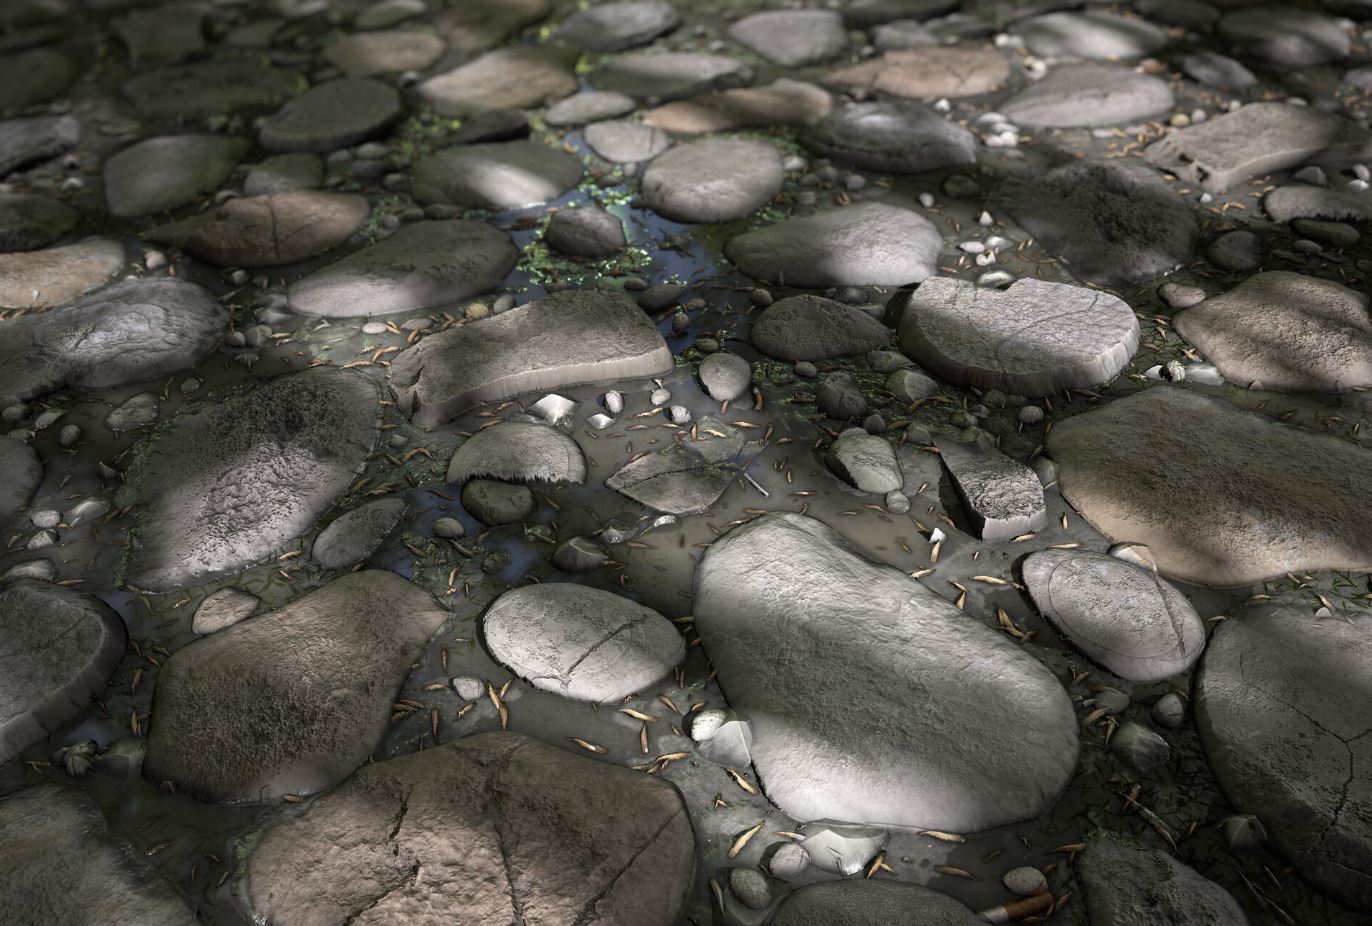
Here is the final result, mapped on a cylinder (you can find a high res image of the final product on my ArtStation page):
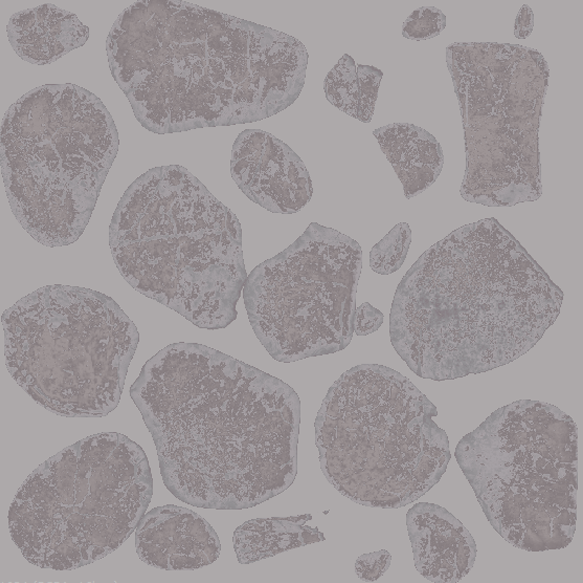
Making Big Rocks
I started with big rocks to emphasize the shapes and effects. I wanted to give a sense that these rocks exist in a world with weather conditions that would cause erosion.
While I prefer to use the Tile Sampler when I have to scatter objects in space (e.g. cobblestones), in this case, I followed another solution by modeling rock by rock, so that each of them appears different from each other and positioned in different and random spots.
Each rock has its own features and position: all around, you will find scattered material produced by the use of the Tile Sampler in Substance Designer.
You can see the graph I built to produce the rock in the foreground of the following picture:
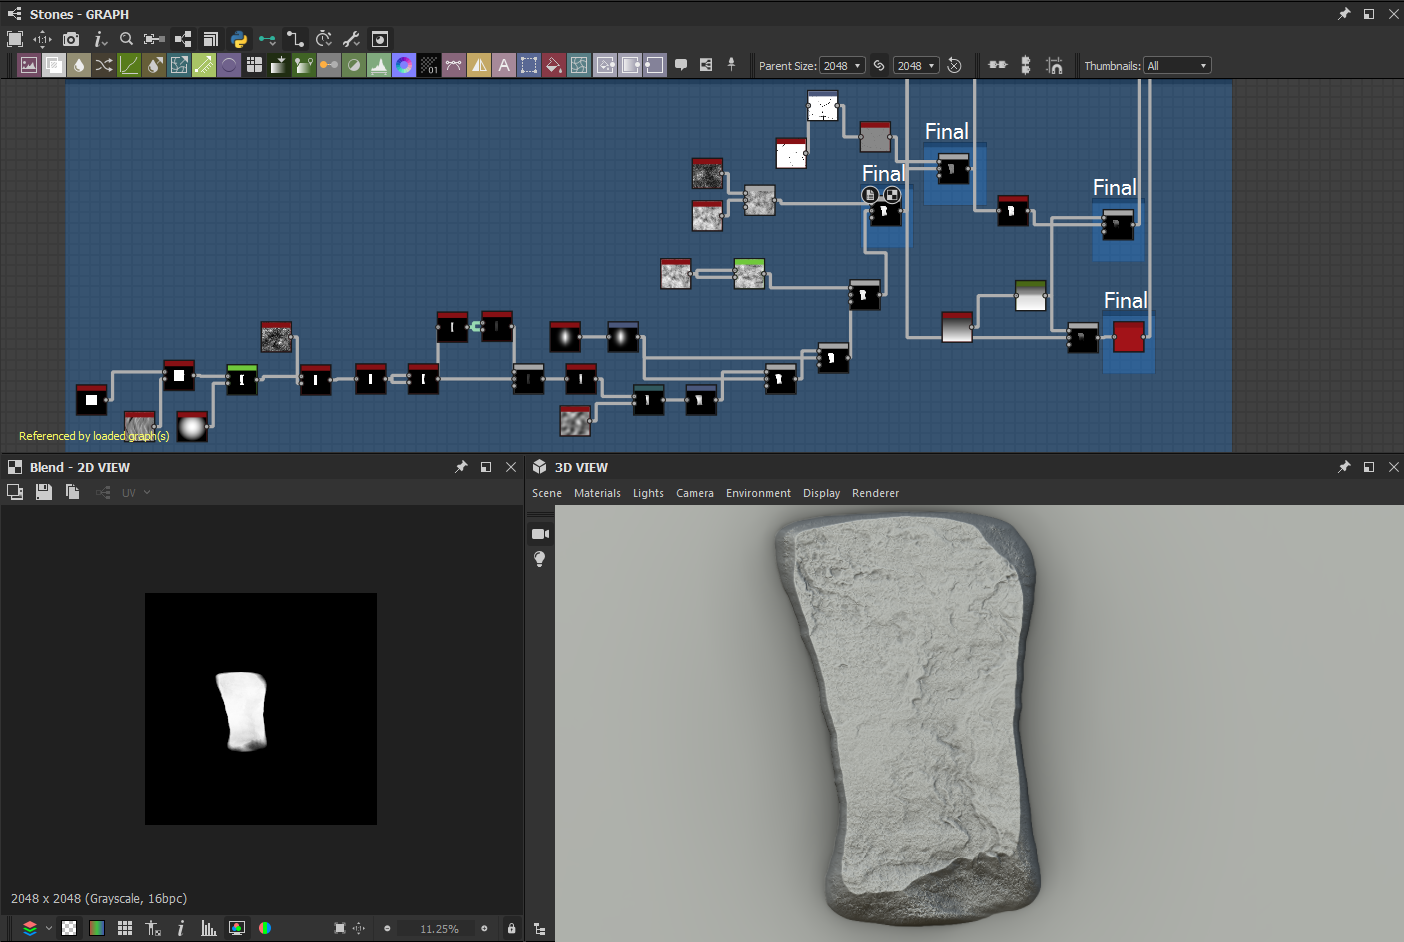
Here’s how I did it:
I started with a simple square shape and applied a slope blur function to help create an irregular effect at the edges.

Then I applied several transformation nodes to obtain a more vertical shape. This is achieved by the Directional Warp node that models the changes of the shape along a precise direction. I added a series of 2D Transformation nodes to the chain to manipulate the shape in the 2D view. Other erosion effects on the edges are made by different blending nodes (Subtract/Add, Sub, Overlay, etc.).
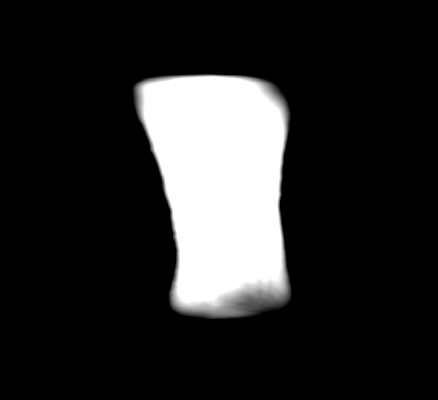 To create the erosion details, I took advantage of a cloud map to which I applied a directional warp to create the following pattern:
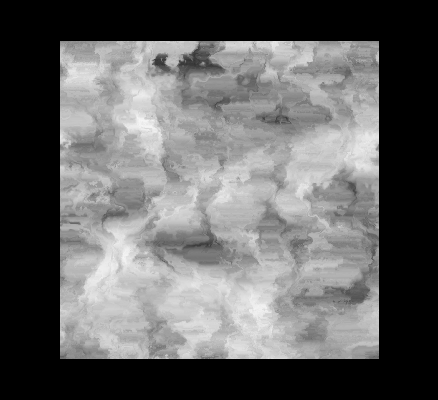
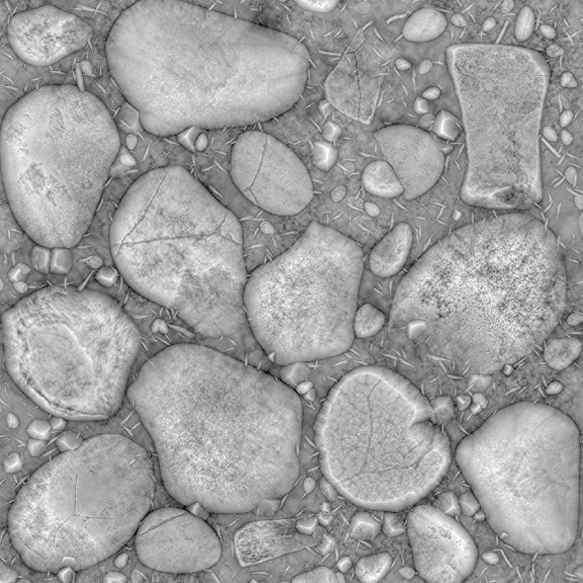
The result was then blended on the rock and a fractal sum noise was applied to get high frequency details. After a series of similar steps, here we have the final rock. I also wanted to produce some variants (some not utilized in this project, but stored in my personal collection for future use).
Here are the final results:
Medium Rocks, Small Rocks, and Leaves
The technique for this process is based on scattering the elements around the big rocks and randomizing in a natural way. I used the Tile Sampler tool to accomplish this. The Tile Sampler is a powerful node that distributes elements in the space, based on several input parameters.
A few things that can be done with the Tile Sampler:
- Set up the quantity of the elements to scatter
- Define the scaling of the single elements
- Randomize the distribution and the transformation of the single elements
- Define a flow map (vector map) around the objects
- Mask areas to avoid or to allow the scattering in those parts
For the rocks and leaves, I tried to achieve the most natural distribution, with dense areas as well as bare ones. My advice is to try multiple iterations of this technique. Don’t just go with your first attempt.
If you wanted to create clusters in circular shapes (e.g. blades of straw, leaves, etc.) there is a node called Splatter Circular, that shares a few parameters with the tile samples but it scatters the objects in circular patterns ( e.g. petals around a flower).
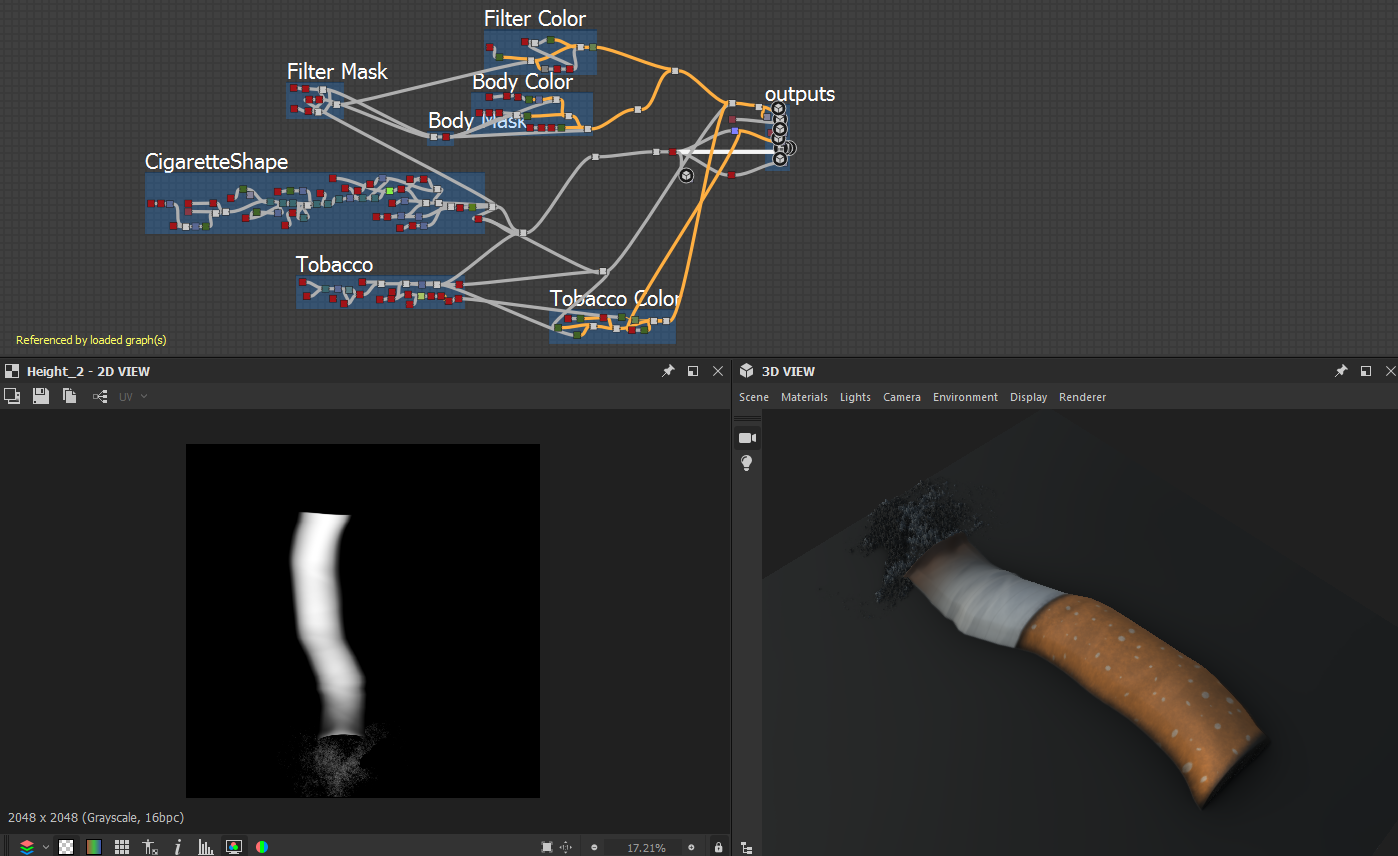
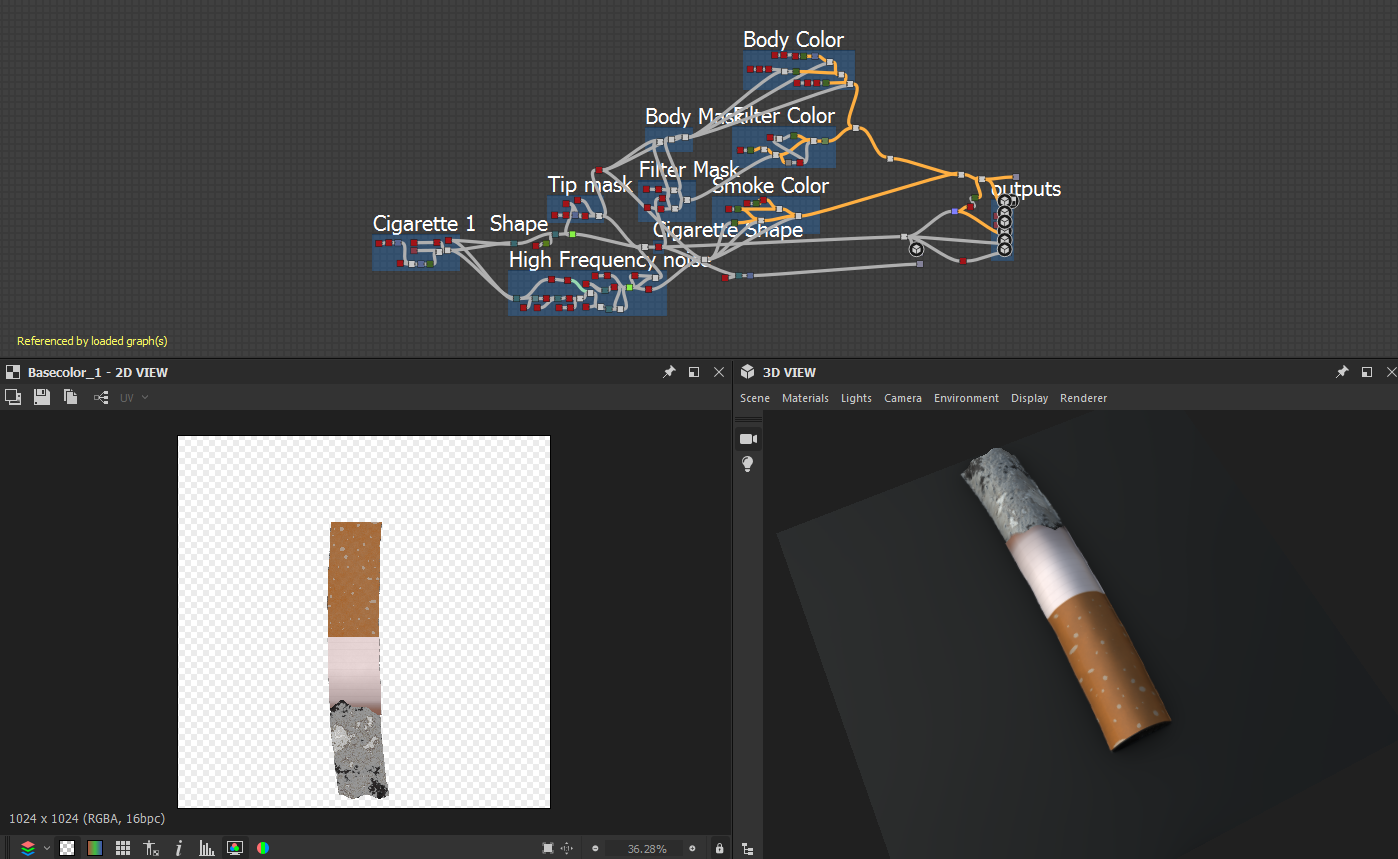
Scattering Cigarette Butts
This is the funniest and the most curious step that I experimented with in Designer. I knew I was missing something. I started by observing references of common elements in an urban environment and cigarette butts crossed my mind.
I built the cigarettes from scratch with interesting nodes. Here are the most used ones:
- Directional Warp, which can be used to modify the cigarette butt shape
- Non Uniform Blur and Slope Blur, which can be used to create details and irregular patterns on cigarette ashes
- Gradient nodes, which are a series of nodes to define a gradient to cut the cigarette at the extremes; the cuts can be sharp or smooth
- Histogram Scan, which is mainly used to create masks (coloring the cigarette parts), or to set the brightness and the contrast of the noise maps (used for the cigarette ashes)
- Histogram Range and Auto Levels, which are used to modify the histogram by shrinking and spreading the luminance range (in this specific case, I used them on the height map to scale the height of the cigarette butts)
- Bevel, which is useful for smoothing the edge of the cigarettes
A word of advice: in order to create any procedural shape, it’s good to couple Gradient + Curve node. Where the former defines a luminance range, the latter remaps the gradient with a custom curve. This is mostly used for the creation of custom height maps.
I scattered the butts with the Tile Sampler. To lay an object on a surface in a smooth way, you can take advantage of the Non Uniform Blur node by blurring the terrain with the cigarette shape. After that, a blending operation (Add) must be used to integrate the two parts so that one part perfectly sits on the other.
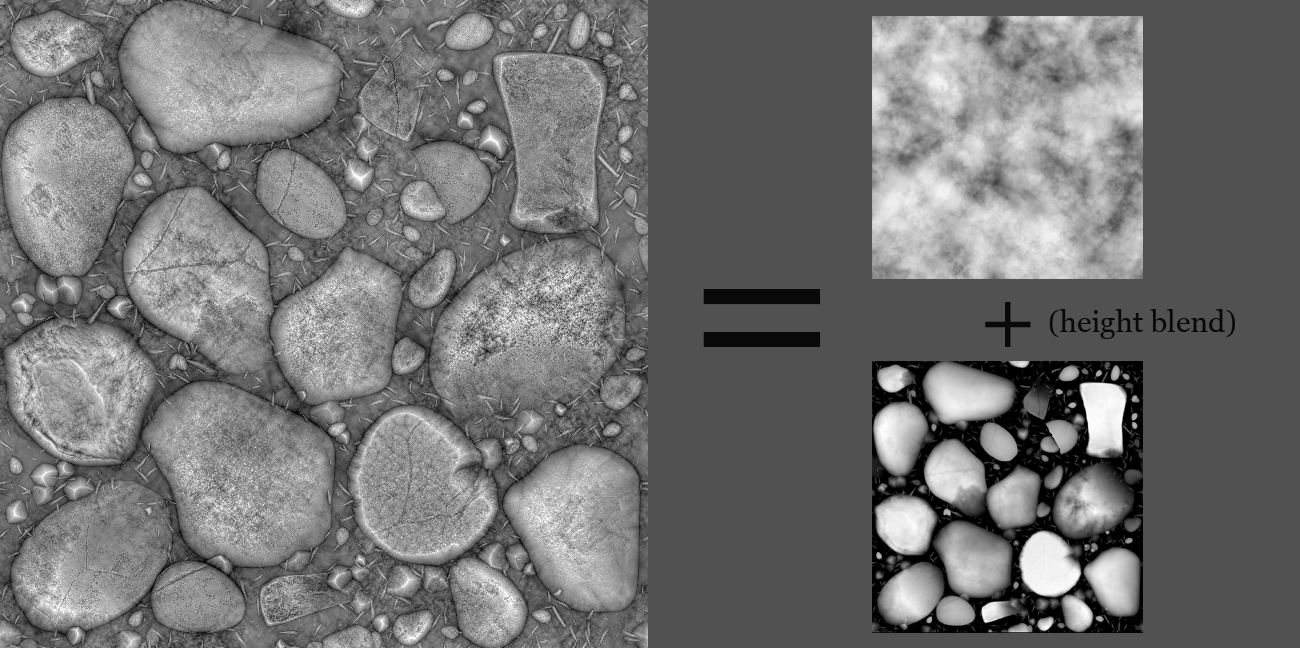
Creating Terrain
The procedural creation starts from a precisely treated and modified cloud map, with some added imperfections produced by observing other photo references.
The Height Blend node is extremely useful when merging the aforementioned elements into the terrain. This is a recent addition to Designer, where two grayscale inputs (terrain and various elements) are connected and the merger between the two is automatically performed with a simple slider. Sometimes the terrain overlaps the rocks and it creates a lovely, natural effect.
In my project, I didn’t want to push the effect to the limit, so I lightly applied it to merge the two parts. See how the square rock at the top is partially covered by the soil and both the terrain and the other elements appear well integrated.
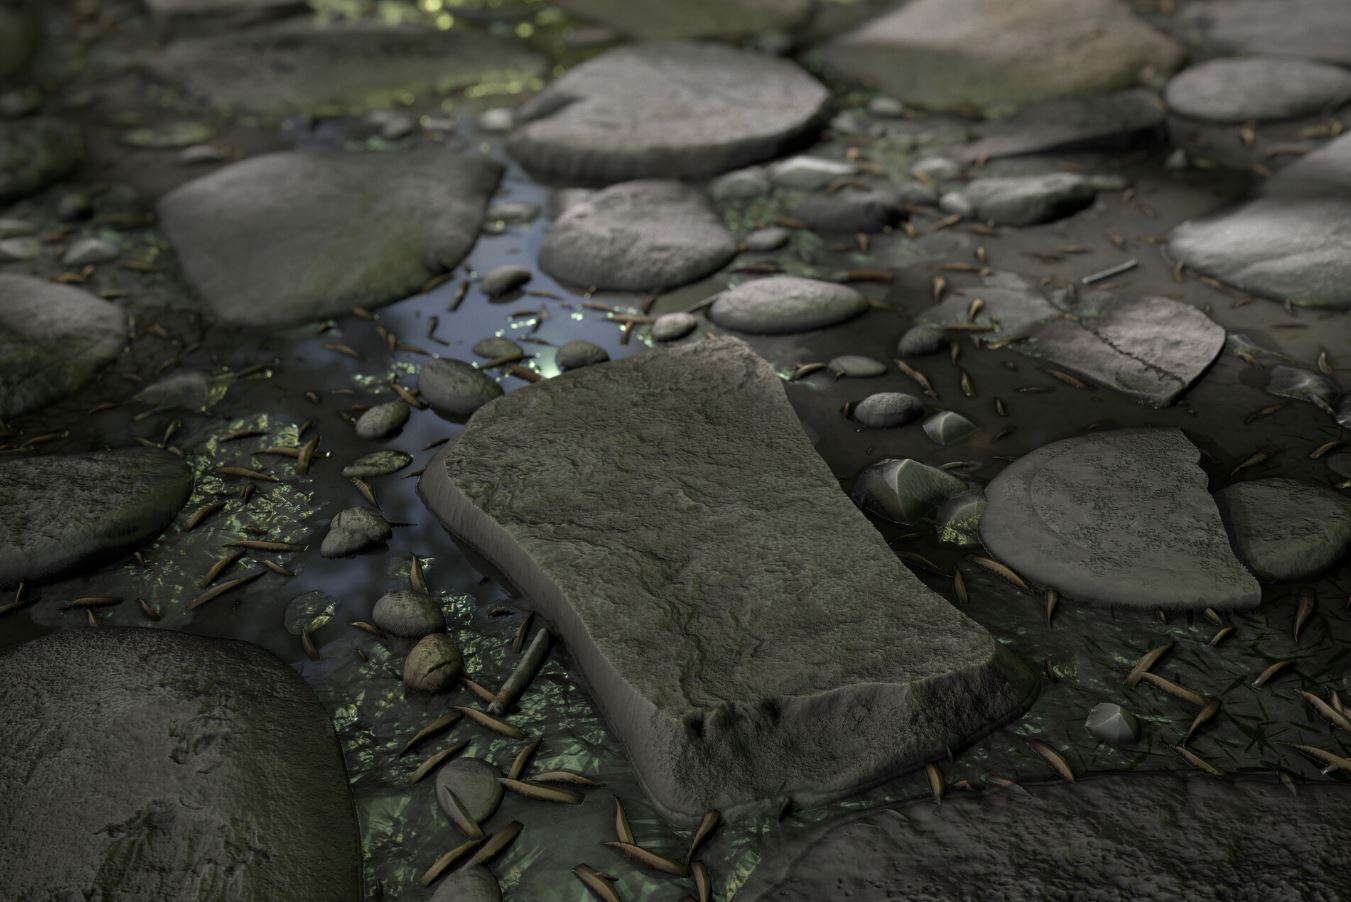
My plan was to experiment with two different looks for the terrain: a dry terrain and a wet one with the presence of water and reflections.
Substance Designer recently introduced a node called Water Level and, as the work suggests, it checks the height map info to decide where to put the puddles and the wet parts– everything is achieved by a series of cool parameters. This is fantastic, isn’t it?
With this node in mind, for instance, you can set the transmittance effect in the refraction and so you can make the water appear darker as the light ray moves deep into the water and light is absorbed and scattered.
See, in the indicated areas, how the water level seems to make the rocks appear underwater (e.g. the small stone at the bottom):
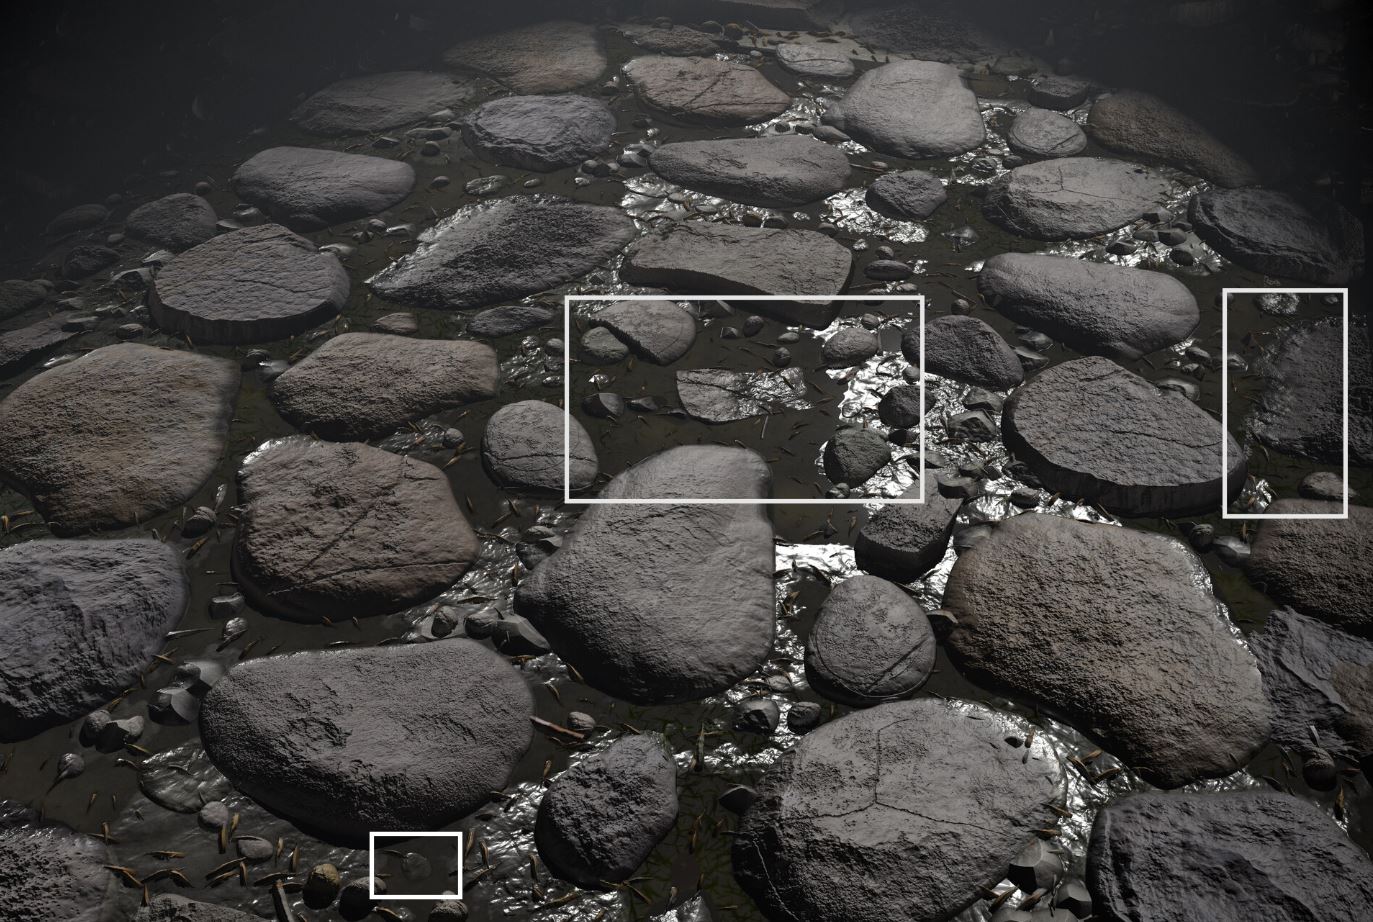
In this project, I wanted to test the Water Level node, and I am very happy with how it works! However, it’s possible to create a custom effect of submerged objects by skipping the calculations of the normals in the wet areas and computing a low roughness for those areas. You can also insert some caustics and waves with painted elements that suggest the presence of deep waters.
Time to color!
Once the procedural creation of the terrain has been finished, it’s time to think about the albedo.
A common mistake that usually occurs during texturing, in my honest opinion, is underestimating the micro variations in tones that every object in nature shows: even if an object seems to have a single color, it has a series of shades that should be taken into account, unless you want your final product to look cartoonish.
3D artists painting with tablets are well aware that creating realistic and compelling objects requires the use of layers to define all the micro variations and imperfections (e.g. the mottling pass in the skin helps break up the monotony and helps achieve a realistic goal). Substance Designer handles this same process.
To make the process easier to understand, I’ve included quick snapshots (not at full resolution) that illustrate the multiple layer passes to create the micro variations in color tone.
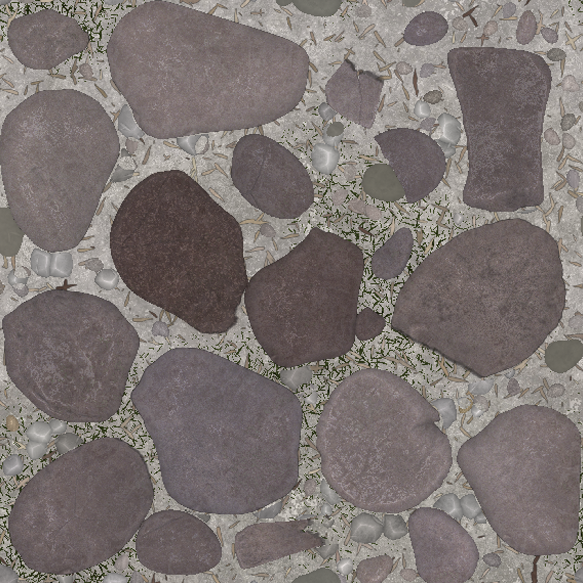
Considering the texturing for the big rocks, my approach is basically the following:
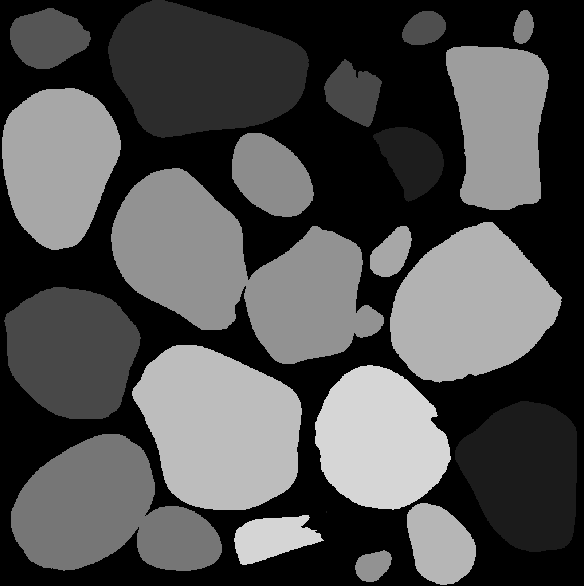
First Pass: random grayscale color on the single rocks, where each rock has almost its own grey color:
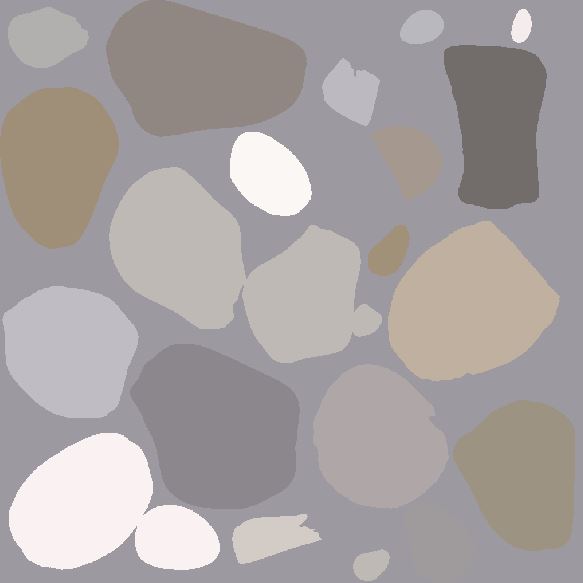
 The Gradient Map node is used to remap the gray with a uniform color. The color can be chosen from a color palette or sampled from a reference image. The last solution is the one I personally prefer.
 Second pass: grayscale map that is the result of the ambient occlusion map combined with another procedural map (e.g. dirt map, grunge map, etc). Use the Gradient Map node on the generated map by sampling the values from a reference image.
 Third pass: generate a Curvature map to capture the concave and convex areas. The result will be used in the multiply blend mode with the color map, to give more contrast to the albedo.
 Blending: passes 1, 2, and 3 are combined with different blending modes to get the final result (in the following image you also see other terrain details):
To sum it up, you can follow the previous steps and eventually you can include more custom passes. The point is to get an interesting variation in the tones and create an acceptable level of realism.
At the end, you can apply other nodes such as HSL, which allows you to set the saturation or the global brightness of your albedo map.
For the following renders, I applied different versions of the albedo map and the HDR helped me set up a proper environment.
Render and Mood with Marmoset Toolbag
Many 3D artists love to use Marmoset Toolbag when showing their projects built in Substance Designer, and I must say that I love it too! I decided to integrate that tool into my workflow, which allowed good results in a very short amount of time.
I like to try several render solutions by changing the lighting to catch a specific mood that I usually plan in advance. The render progressively converges to a final result.
In my presentation, I often add the cover image as a material mapped on a sphere or a cylinder, I try to light areas by capturing details and I try to create contrast areas in penumbra (semi darkness), to evaluate how the material reacts to the general lighting in the scene.
Next, I add close up images to capture more details and generally change the lighting to create my favorite moods.
Here are my final renders for this project (all of the following images can be seen in high res on my ArtStation page).
A dry terrain, with a brown key color, in order to make it appear even drier:
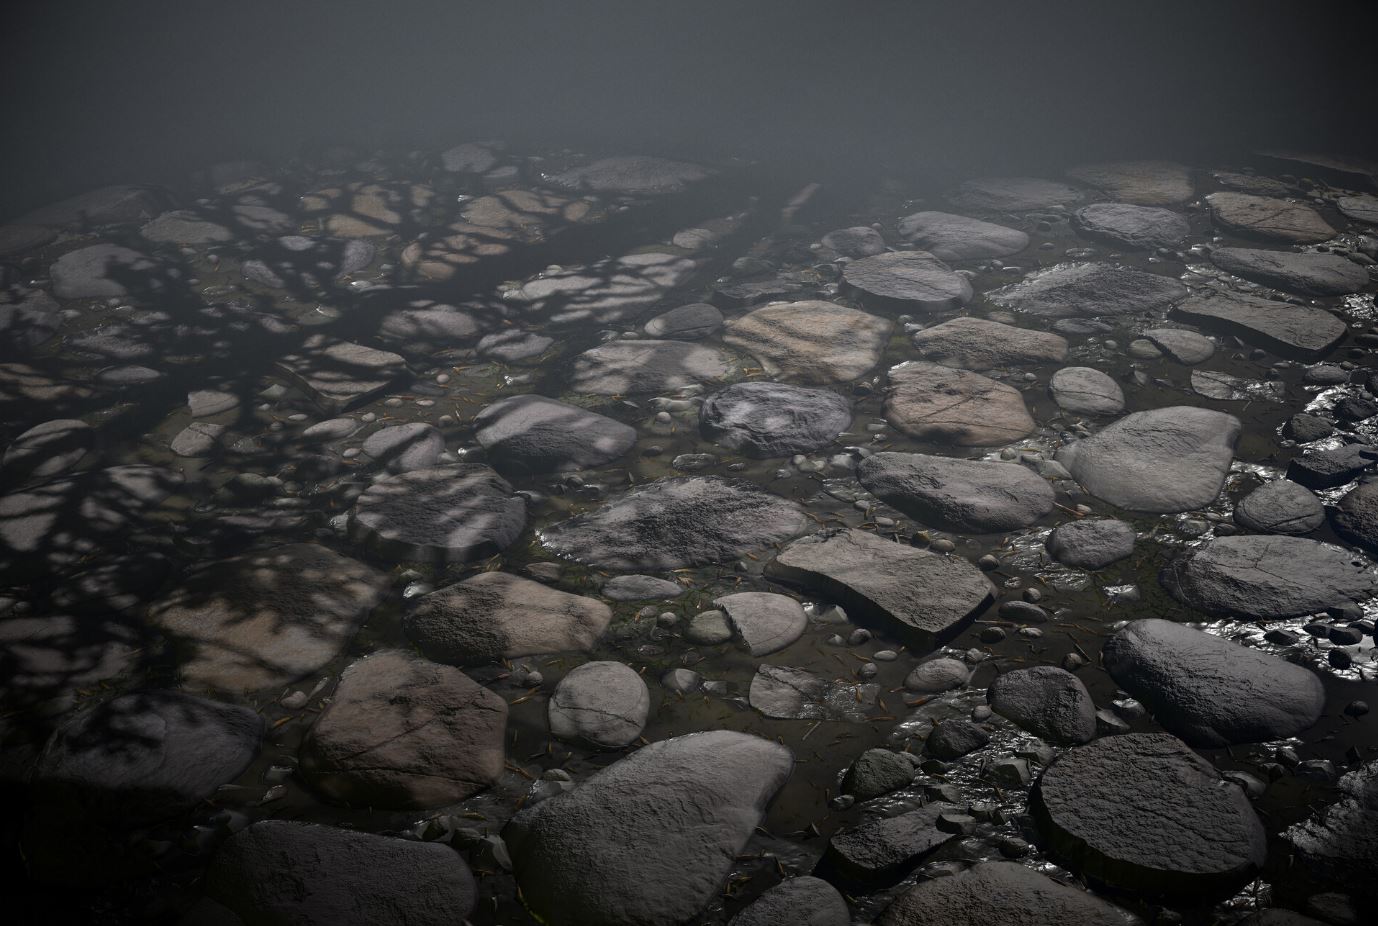
 A wet terrain (like deep in the undergrowth), where the presence of a gobo projecting a tree-shaped shadow on the ground and the presence of green parts suggests that we are close to a brook:
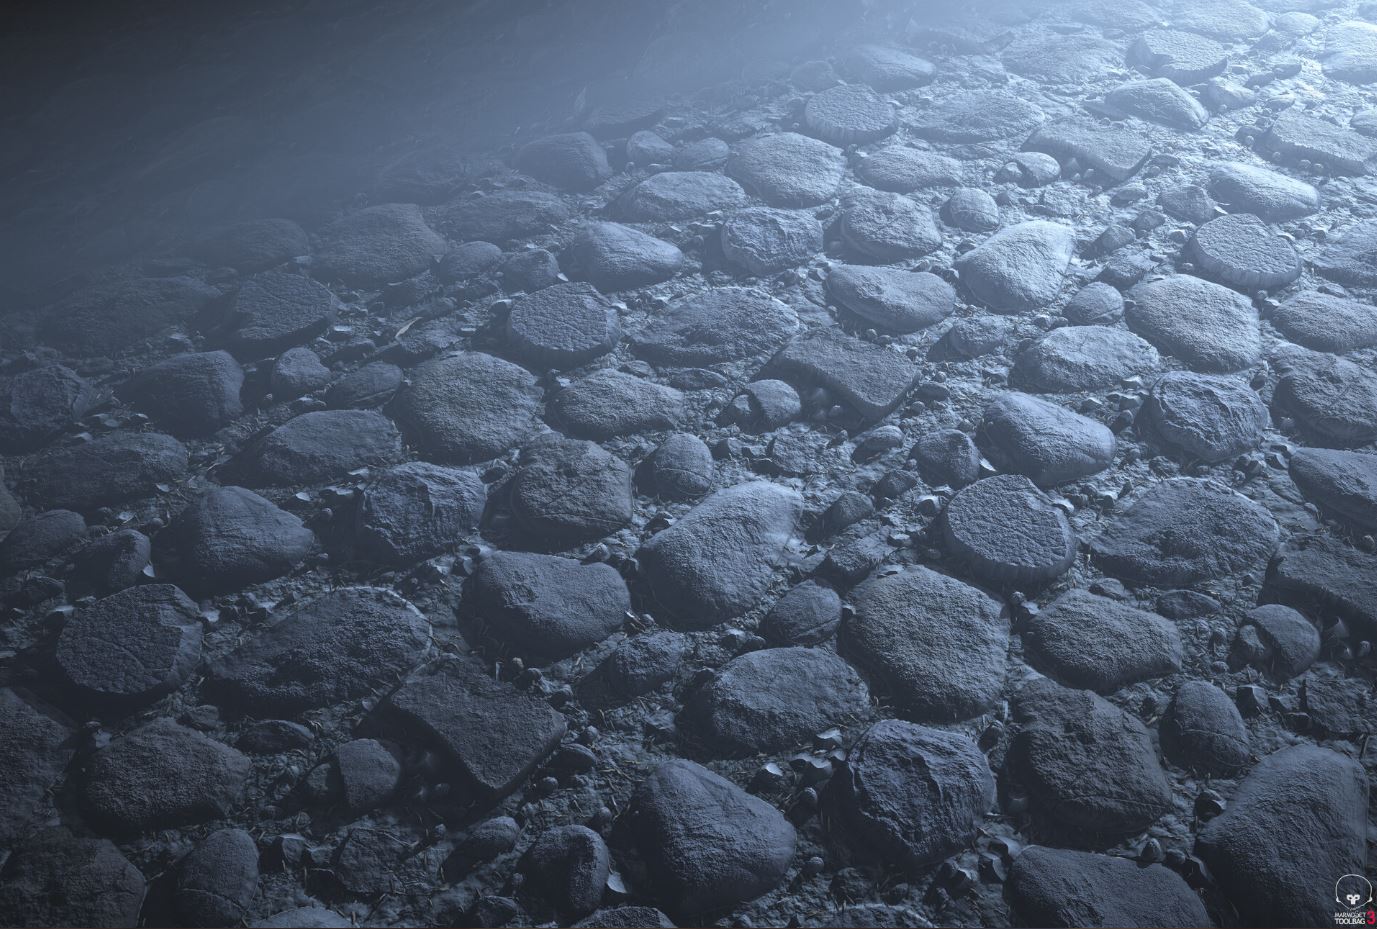
 A completely different atmosphere– night time– with the presence of a strong volumetric key light so as to indicate that there are some car headlights or some artificial lights nearby:
 A gloomy atmosphere that is focused on capturing the soil humidity:
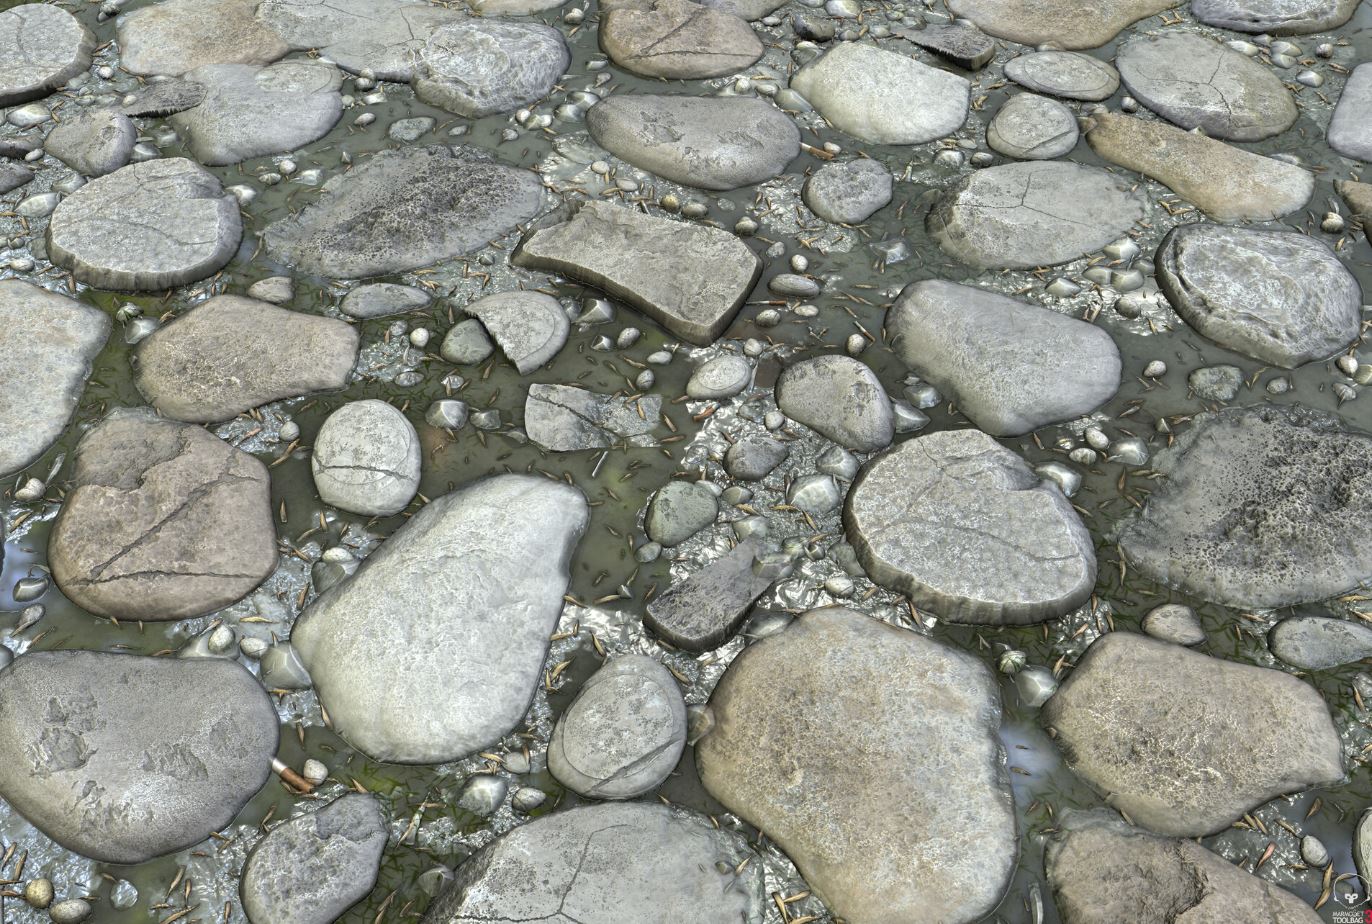
 Finally, here is a daytime atmosphere, without a visible key light, but with naturalistic look, like a day with the cloud cover:
 My advice is to try several solutions and select what you like the most.
Final Bits of Advice
I hope you found the article interesting, and I’d like to leave you with a few more suggestions.
Start off with a clear idea about what you are going to produce and use your reference images. Spend a bit of time on those images before starting to work with Designer: it’s better to start out on the right foot. Your concept/visual references are your friends…don’t rush! You might compromise the quality of your work by doing so.
Once you get used to Substance Designer, try to improve your knowledge of the functions and the nodes that you already know, and practice with new materials. New features can be learned day by day, and they are related to the type of material you need to produce.
Don’t worry about memorizing many nodes. There is a well-written guide on the Allegorithmic Website. In terms of digital sculpting in Zbrush, there are artists that, despite using a limited set of brushes, are able to produce masterpieces. Similarly, in Substance Designer you can achieve great results with a well-defined set of nodes.
Don’t worry about redoing your graph if something goes wrong. Substance Designer allows you to easily modify some parts and to adapt the network as long as your network is robust and well built. Furthermore, you can test different variants in the output of your network with some slight changes in the inputs. It’s awesome!
Don’t worry about making tileable textures. Substance Designer is great because it has the ability to work with tiles without visible seams. The only nodes that break the continuity are the Transform 2D nodes, but Designer comes to the rescue by introducing the safe Transform nodes.
Be proud to build modular networks. This simplifies how you keep your project organized, and will even simplify your future works by building your own custom library. For instance, in this project I built a main graph, made of subgraphs. The cigarette butts as well as the leaves, are an example of networks that are recalled in the main graph.
If you liked this article, like and follow me on ArtStation. For any questions or thoughts on the topics presented in the article, feel free to drop me a line at jackfurneri1984[at]gmail.com.
Francesco Furneri is a 3D artist with more than 10 years of experience in 3D computer graphics field and specializes in 3D modeling and Texturing. He has worked for 3D companies as modeler, sometimes with the role of technical artist has specialized in texturing for quite some time at the company with whom he currently works. He is also a freelance 3D organic modeler for characters and prop texturing in the States. He previously studied Computer Science (Bachelor’s and Post-Graduate Degree at the University of Turin – Italy) and 3D Computer Animation (Master of Science Degree at the University of Kent – England).
If you’re interested in submitting a tutorial for the TurboSquid Blog, you can email our content team at marketing@turbosquid.com.