We’ve already covered how to make a quad sphere for CheckMate Pro v2 in three different programs (3ds Max, Maya, and Cinema 4D).
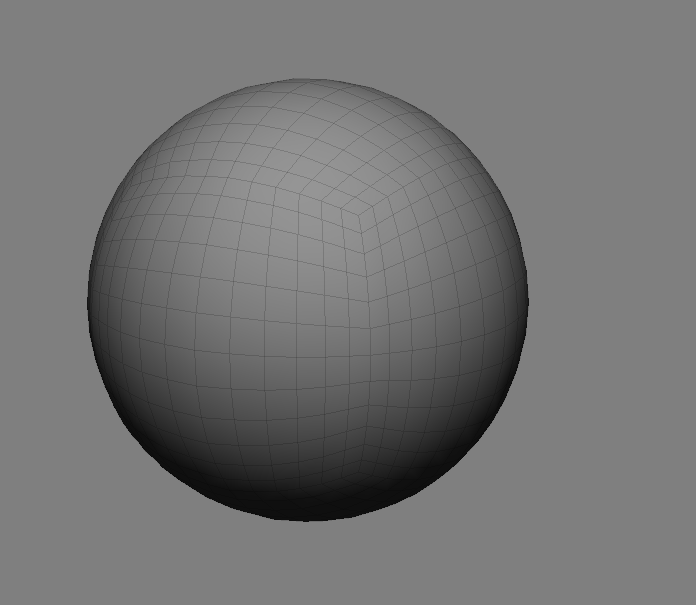
In case you missed it: The default sphere is problematic because of the two poles. By itself, a standard sphere does not seem to pose any problems, but when it comes time to subdivide, the differences in polygon density at the equator and at the poles produces pinching, and squashes the sphere around the equator.
To round out our list, we’ve put together tutorials for two more programs: Softimage and LightWave.
Softimage Quad Sphere
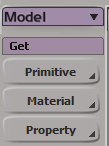
1. Go to the model module
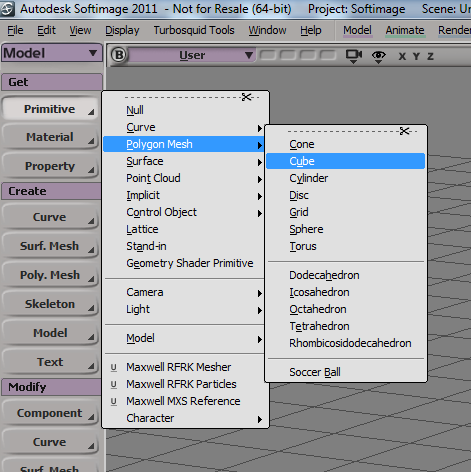
2. Create a cube
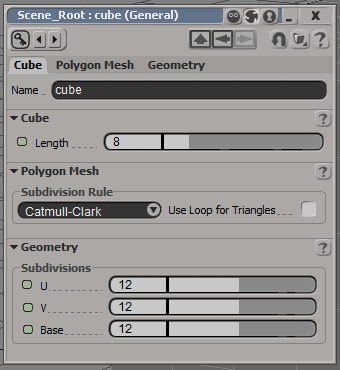
3. Suggested specifications – Length: 8; Subdivisions: 12 x 12 x 12
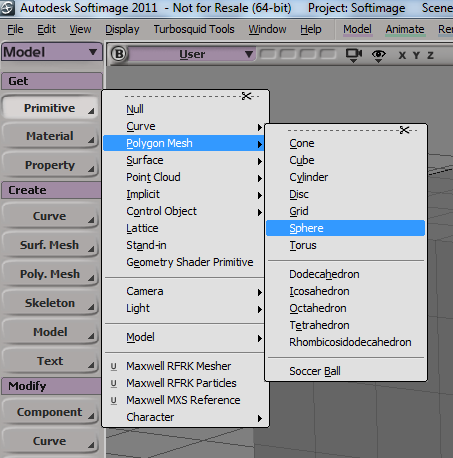
4. Create a sphere (Note: the cube should be bigger than the sphere)
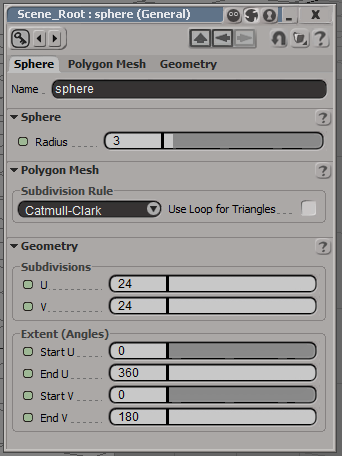
5. Suggested specifications – Radius: 3; Subdivisions: 24 x 24
6. Keep the sphere and the cube at the same location
7. Select the cube
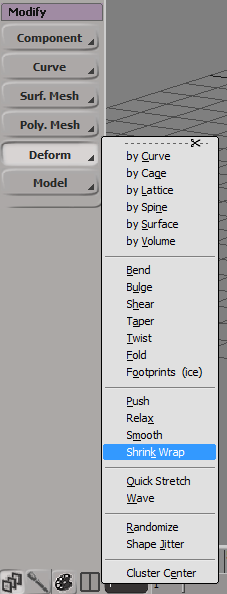
8. Go to Modify > Deform > Shrink Wrap
9. Select the sphere (you can use the Explorer to do this)
10. Right-click on the viewport
LightWave Quad Sphere
Click any screenshot below for full resolution.
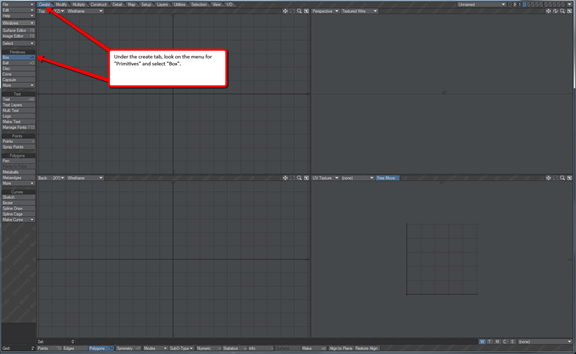
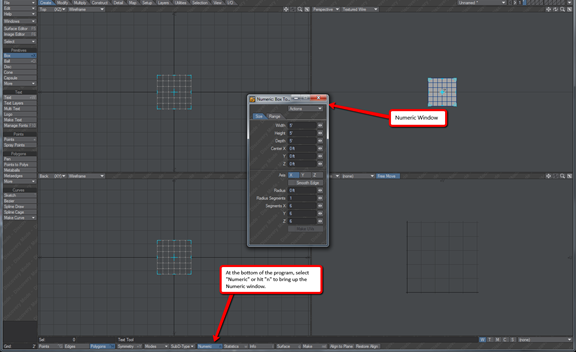
1. Under the create tab, look on the menu for “Primitives” and select “Box”
2. At the bottom of the program, select “Numeric” or hit “n” to bring up the Numeric window
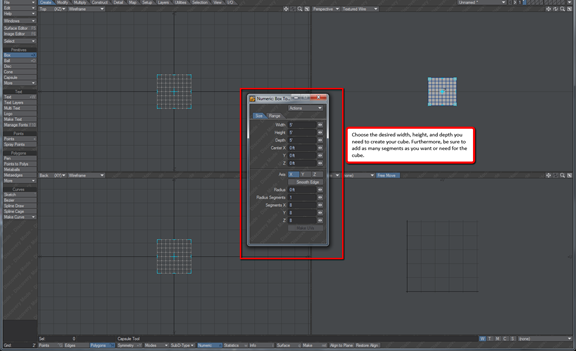
3. Choose the desired width, height, and depth you need to create your cube. Be sure to add as many segments as you want or need for the cube.
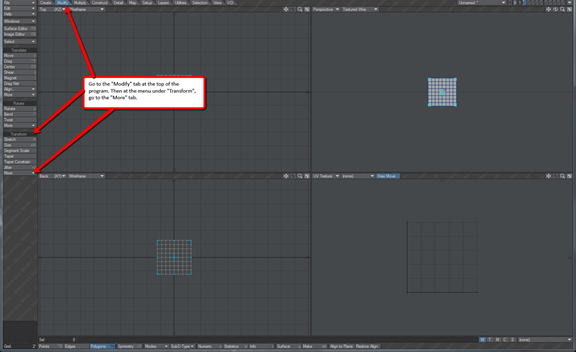
4. Go to the “Modify” tab at the top of the program. Then at the menu under “Transform,” go to the “More” tab.
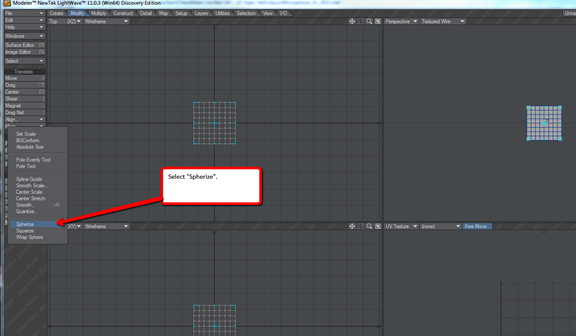
5. Select “Spherize”
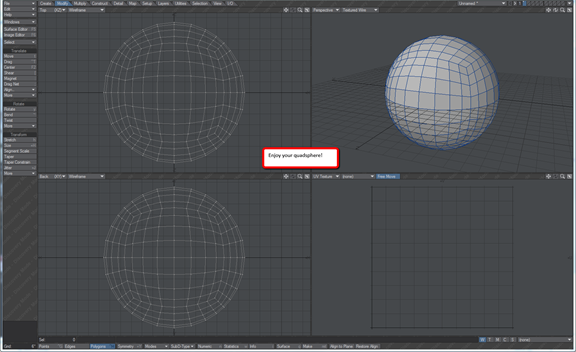
6. Enjoy your quadsphere
Previously: Making a Quad Sphere (for 3ds Max, Maya, and Cinema 4d)

