This is part four of our TurboSquid artist series on working with Physically Based Rendering (PBR). If you missed the previous entries, you can read them in the links below.
- An Intro to Physically Based Rendering Material Workflows and Metallic/Roughness
- Explore 3D Technologies that Support Physically Based Rendering
- How to Find and Use Physically Based Rendering Materials
In this blog post, we’ll offer some 3D modeling best practices that we’ve found helpful while using a PBR metallic/roughness workflow. Use these tips and we’re confident your models will gain more visibility on TurboSquid. They could potentially increase your sales, too.
To start, I highly recommend obtaining a StemCell 2 certification for your 3D models, as it guarantees compliance with the highest industry standards and encompasses most aspects discussed in this article.
Geometry
First, let’s discuss a crucial element of your PBR assets — geometry. Establishing good discipline while creating and adjusting your assets before you apply PBR materials is essential to maintaining a streamlined workflow.
Here are some considerations to keep in mind that will benefit any 3D production pipeline:
Mesh density
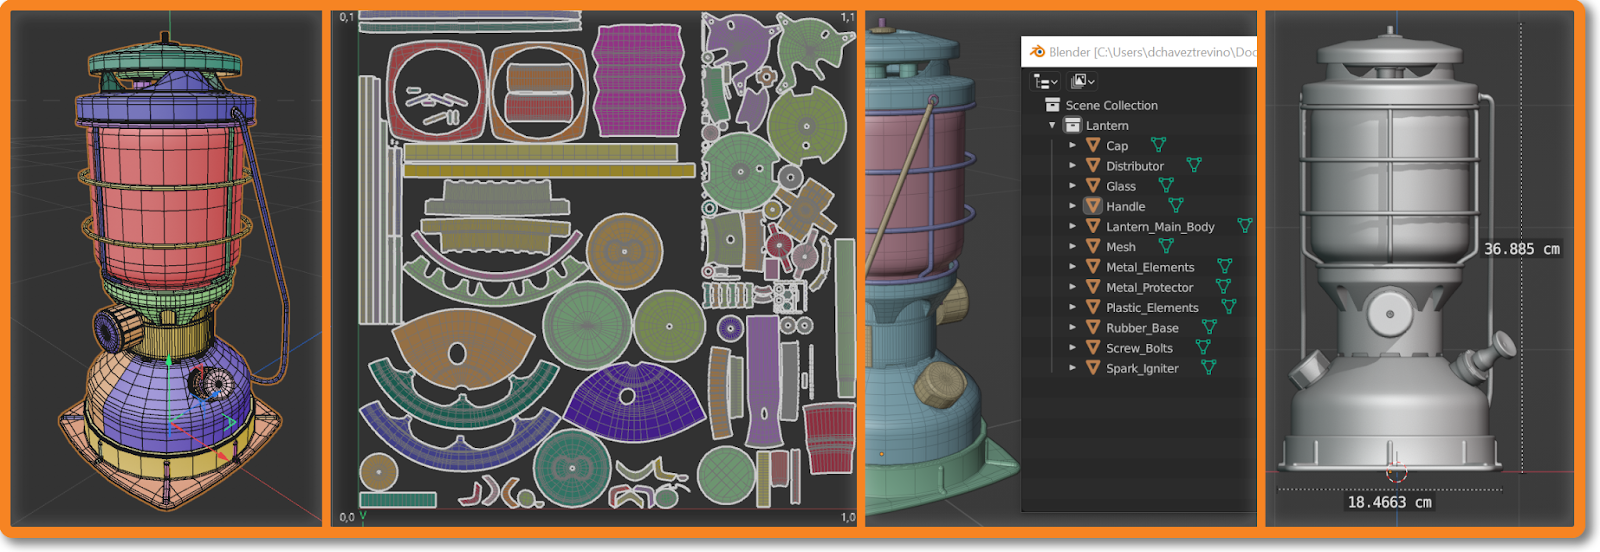
Maintain clean geometry and reasonable mesh density when 3D modeling. It’s also important to prioritize quads and clean edge flow in the mesh.
UV organization
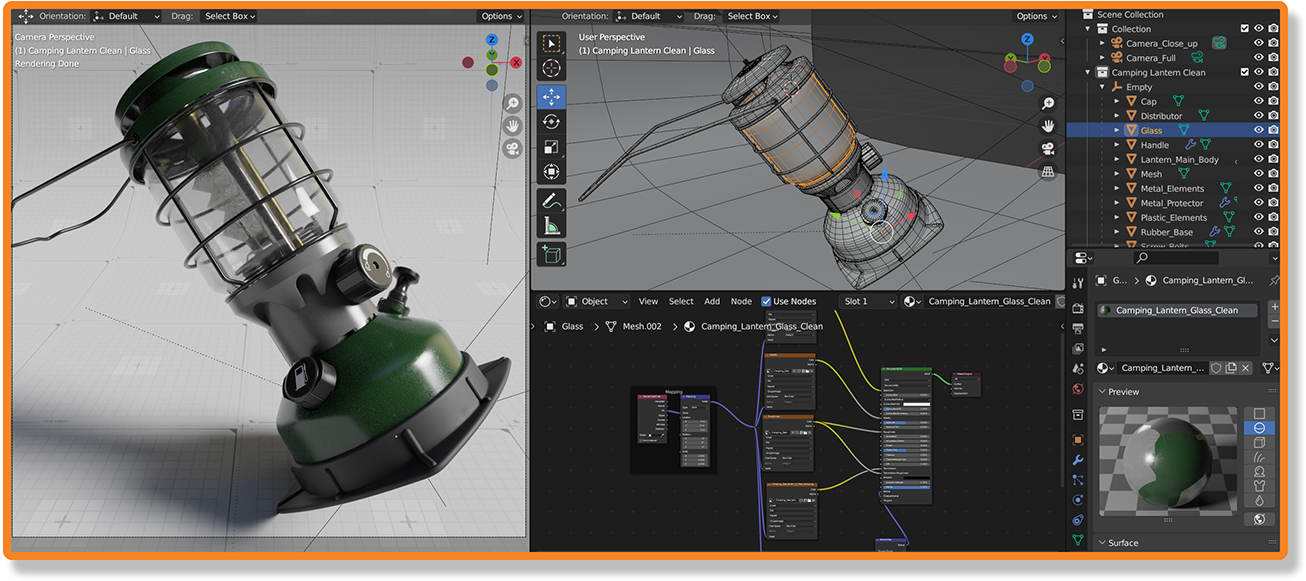
Consider unwrapping your geometry as you’re modeling. Keep your UVs organized and grouped based on similar objects and materials, and leave some space between your UVs to keep things tidy.
Object separation
Organize your scene logically by grouping objects in your 3D model. Use clear, descriptive names for each group or object to make posing and animation easier for potential buyers.
Object scale
Your model’s dimensions should be accurate to the real-world object it represents. For example, if you’re adding a car model to TurboSquid, the length, width, and height should match the actual dimensions of the car.
RELEVANT LINKS
Paint PBR metallic/roughness materials
If you want to keep up with the latest trends in the 3D world, it’s essential to know about the PBR metallic/roughness workflow and how it’s becoming increasingly popular. That’s why it’s really important to ensure the materials you use align with this industry standard when creating assets.
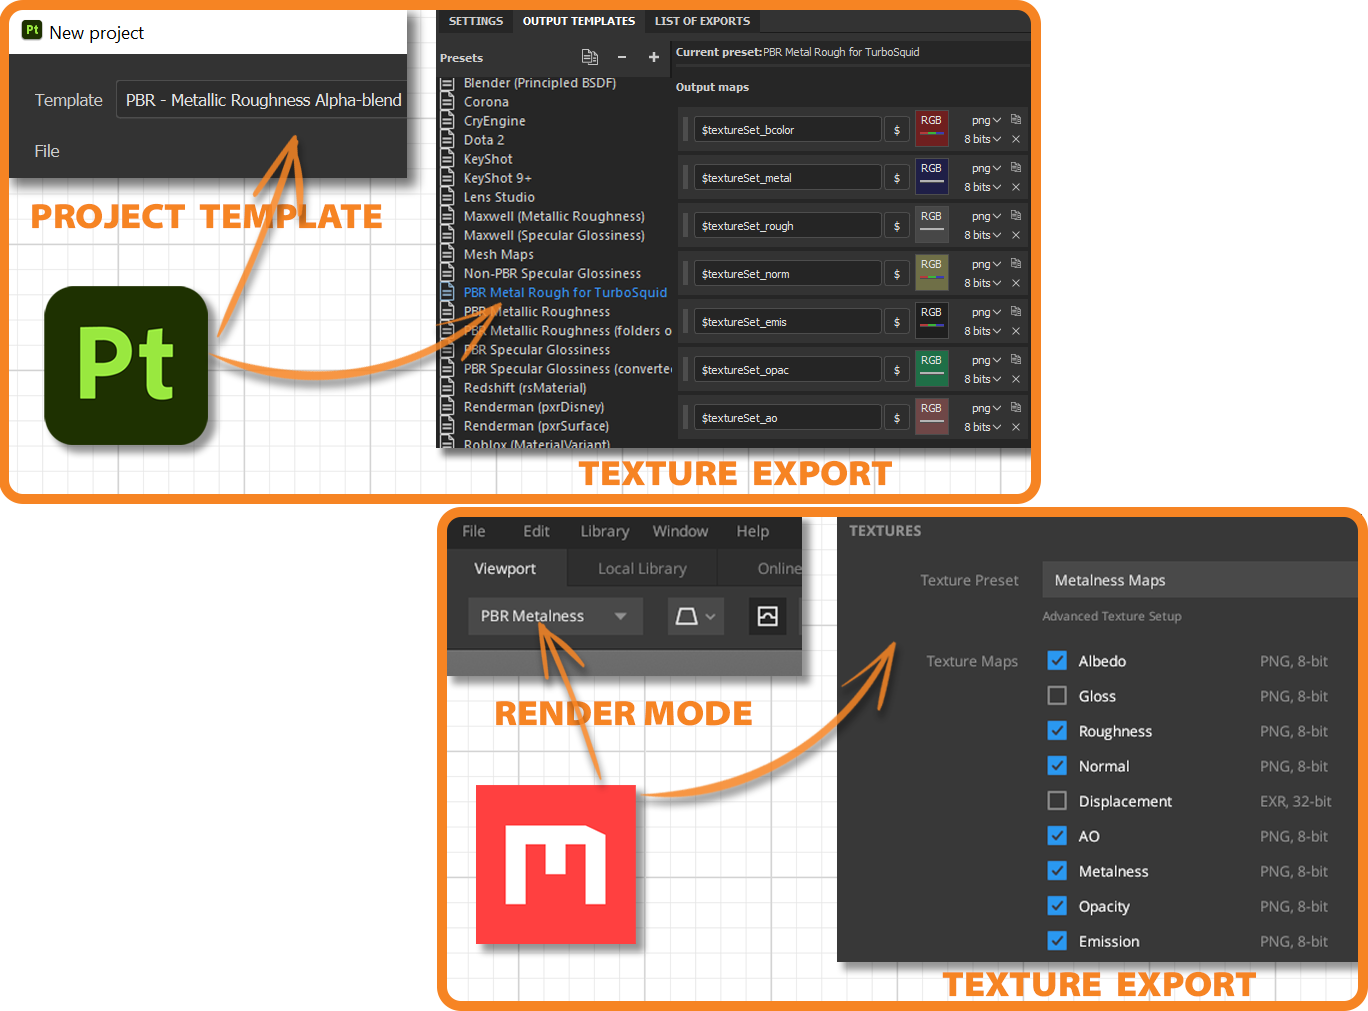
As discussed in our previous blog post, we suggest using a 3D painter like Substance Painter or Quixel Mixer to apply PBR textures onto your geometry and UVs. Working in these programs will make it easier to export the final result for exchange formats with full PBR support like glTF, USD, and TurboSquid’s own StemCell 2.
RELEVANT LINKS
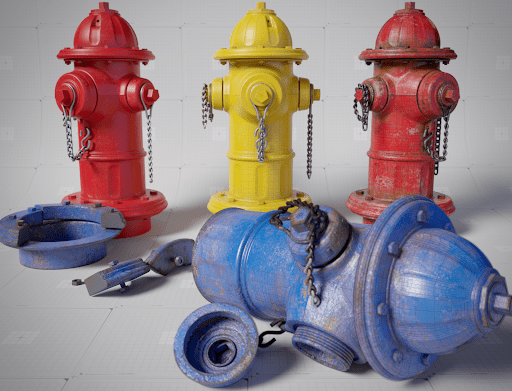
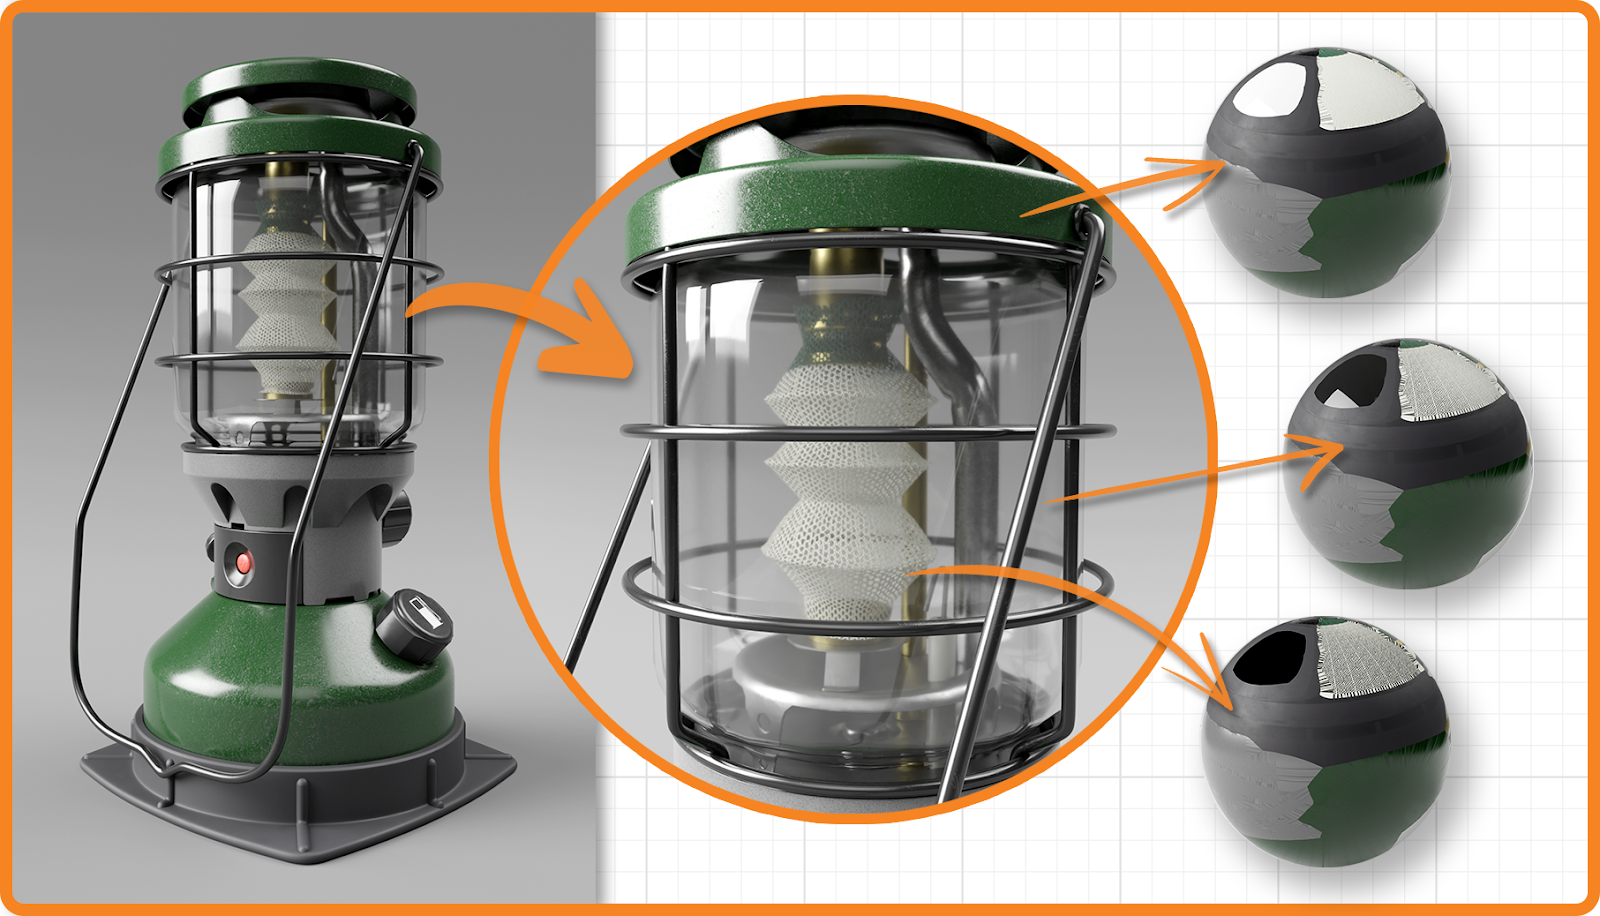
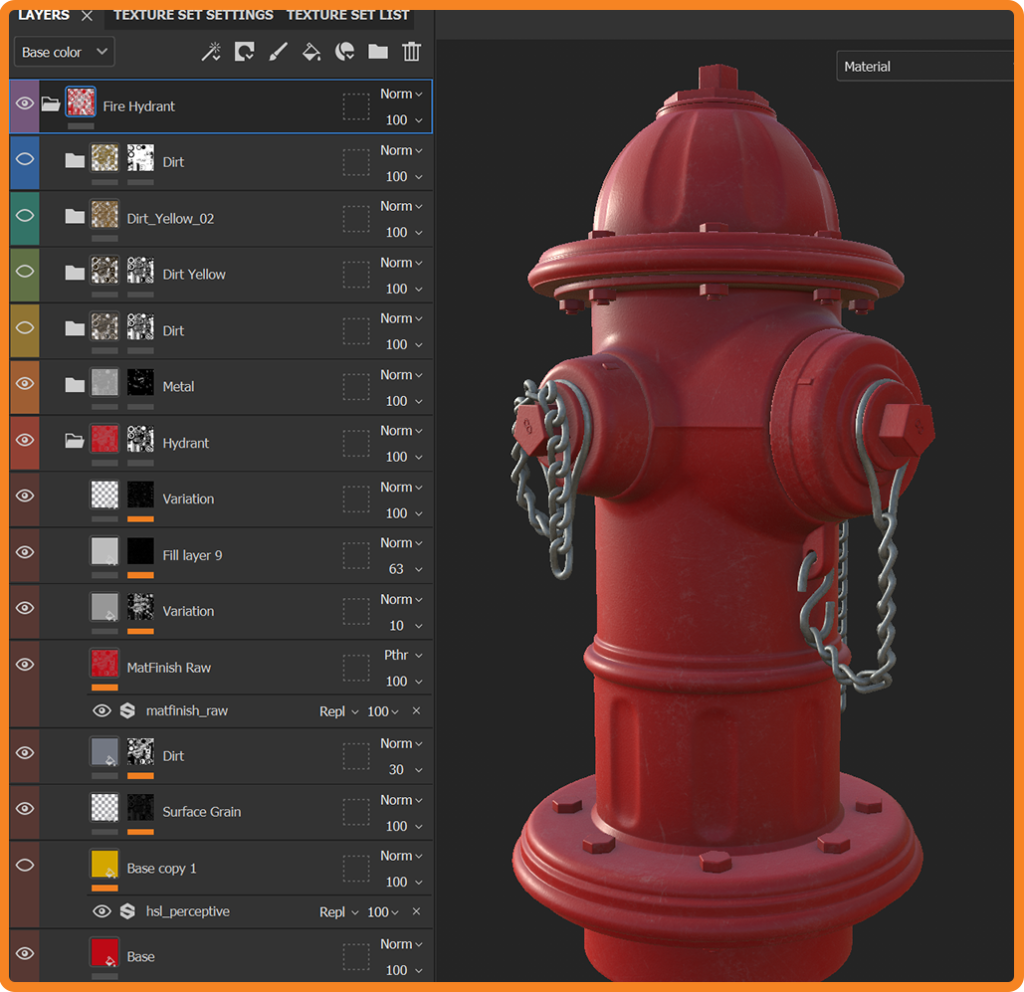
Separate materials by type
Another best practice is having multiple UV sets for different materials, such as solid, glass, and opacity cutouts. However, if it’s sensible to have only one UV set in your 3D model, you can still separate the materials in your 3D application.
This will enable customers to easily make additional adjustments once they import your 3D model into their preferred application.
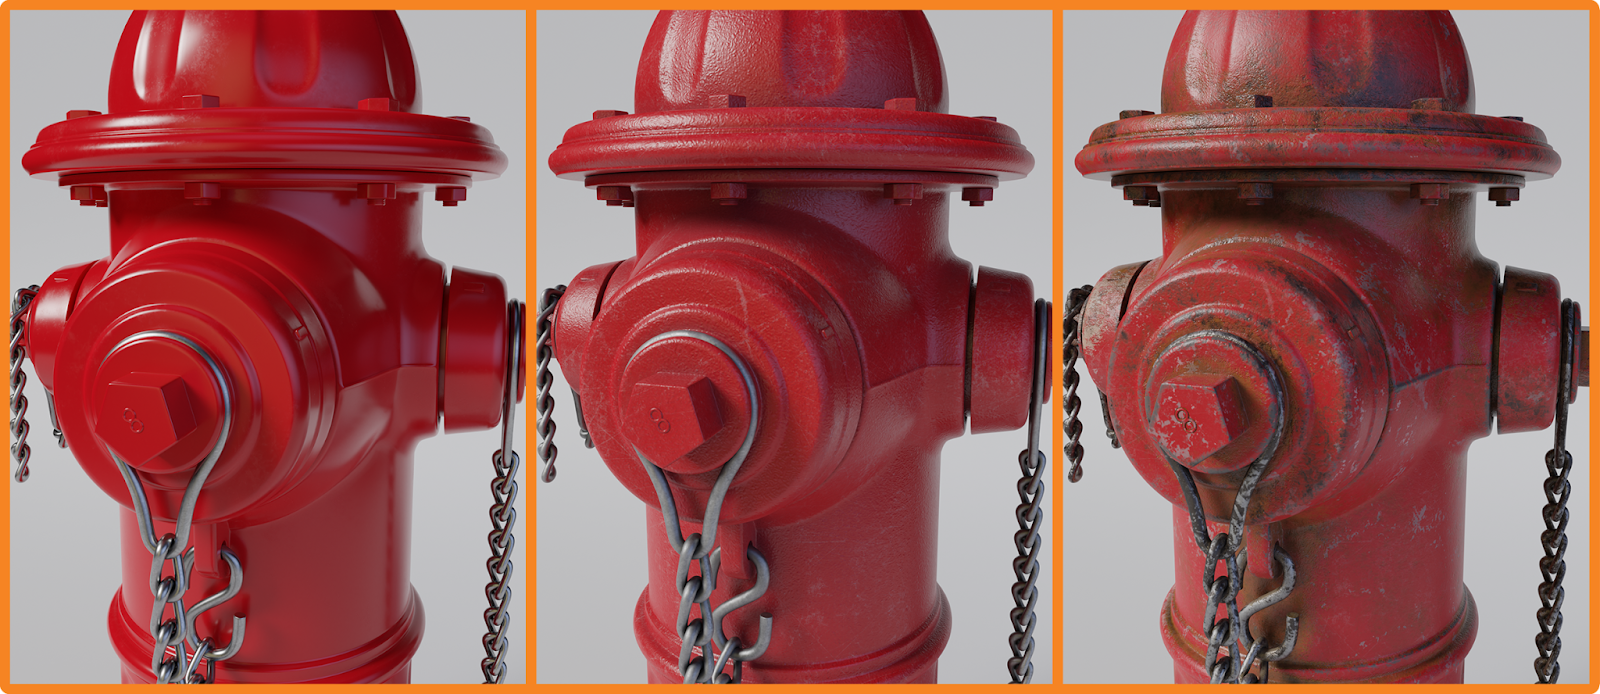
Keep your PBR workflow intact
Once you’ve exported your high-quality PBR textures, you may want to use them in your preferred 3D software. Be sure to maintain the PBR workflow using the recommended settings for metallic/roughness when loading them into your materials. If you need to modify or adjust the textures, it’s best to go back to the 3D painter and make the necessary changes before exporting the textures again.
RELEVANT LINKS
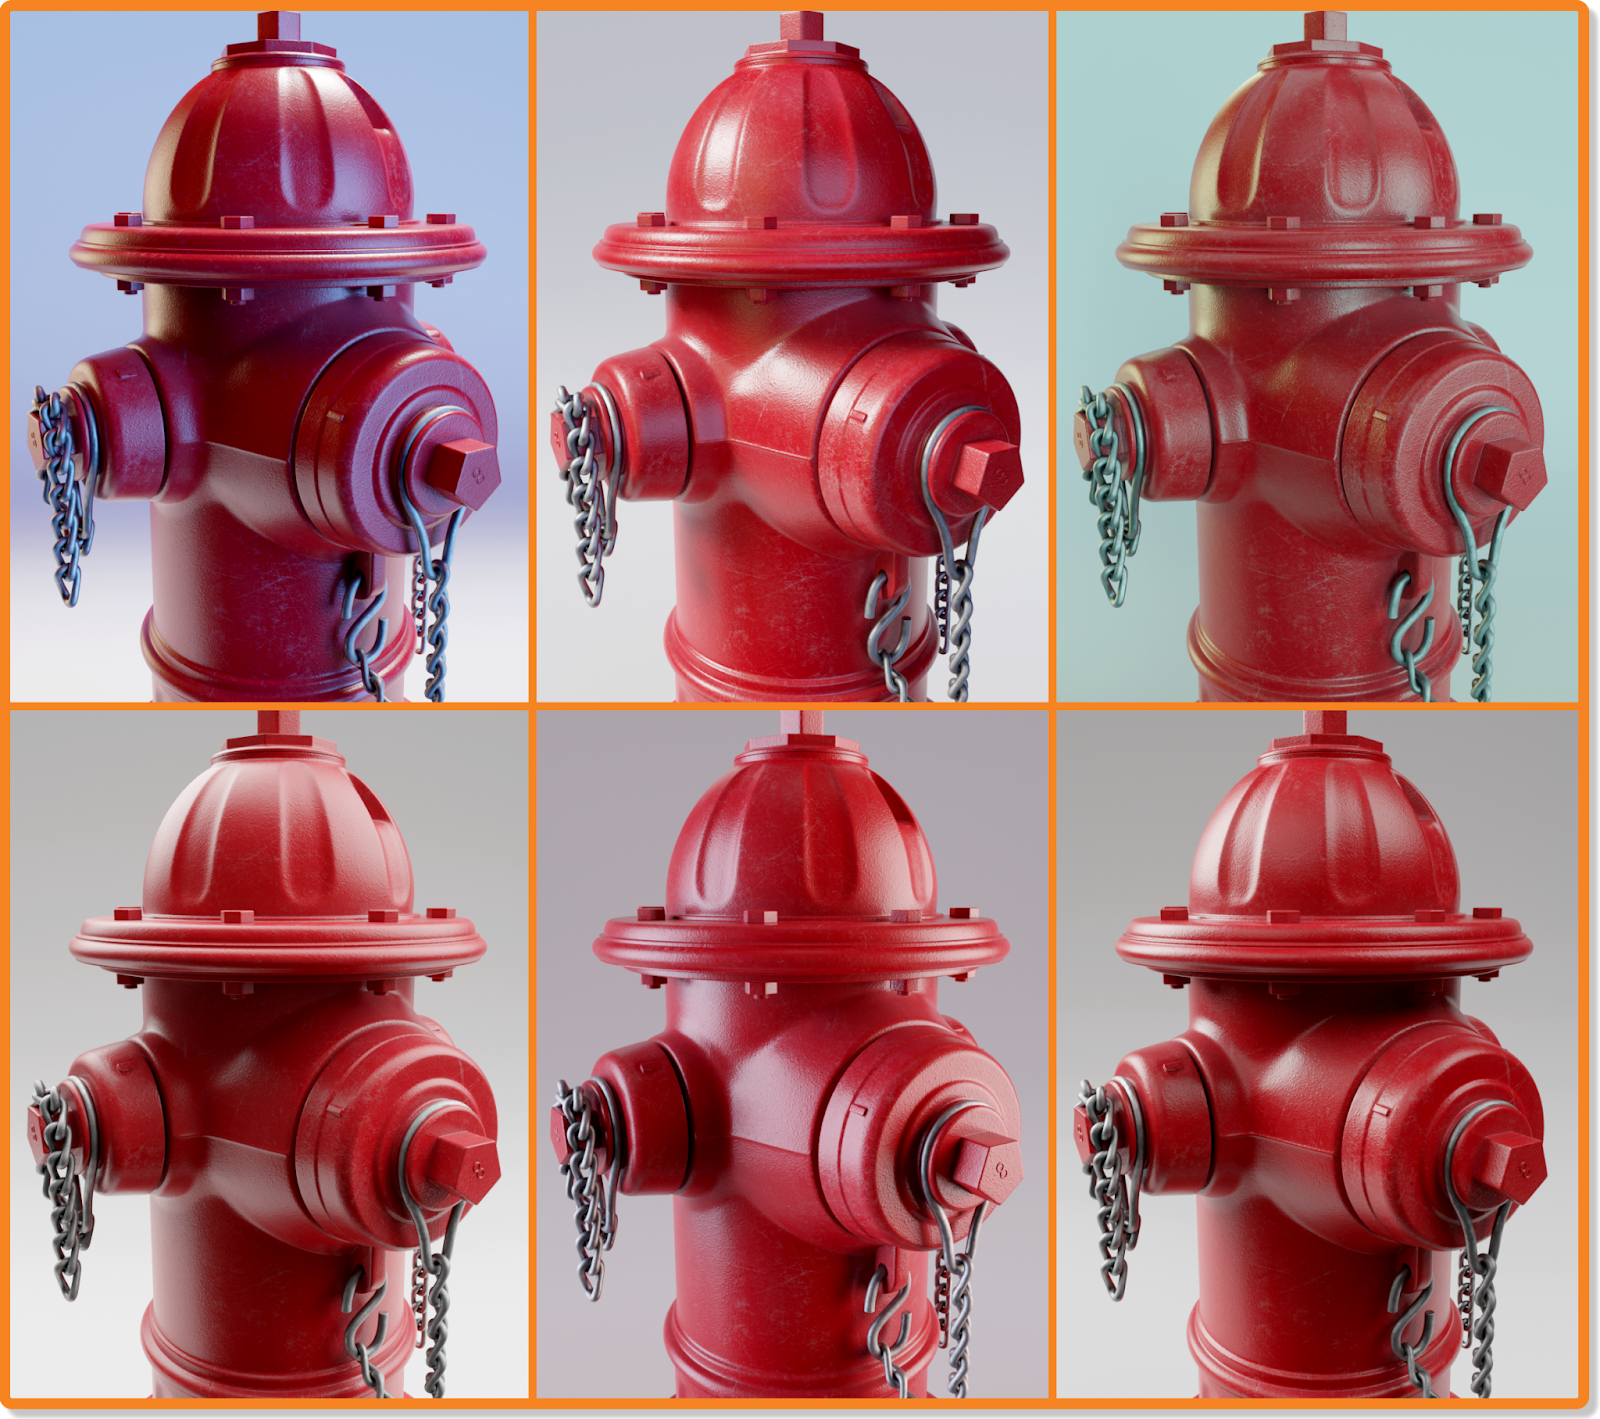
Easy material variations
TurboSquid HDRI environments
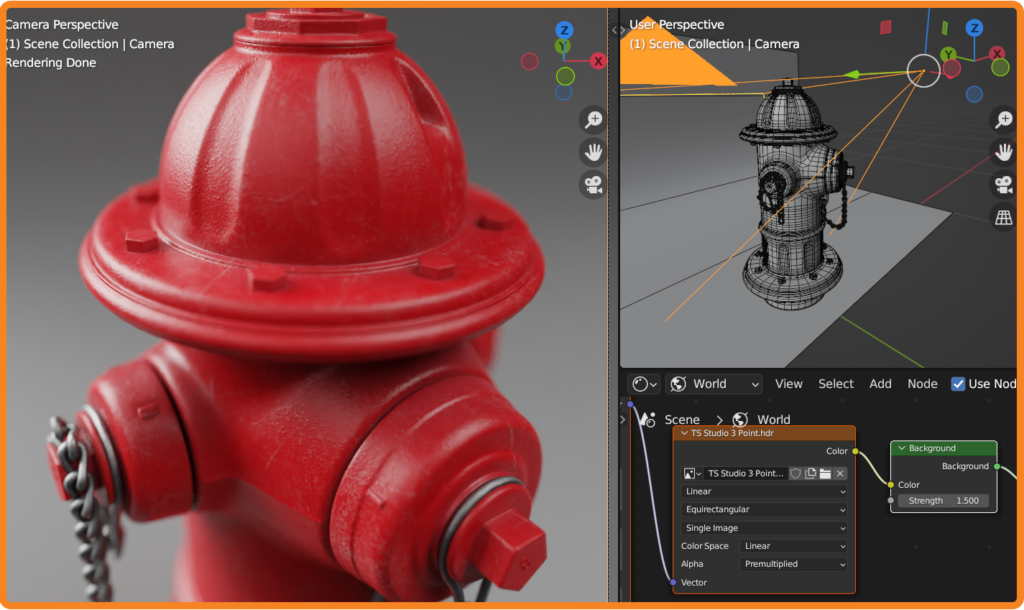
When it comes time to showcase your creation on TurboSquid, presenting it in the best possible way is obviously important, which means including product shots in a high-quality environment. At TurboSquid, you can showcase your models with these download packages that include ready-to-use HDRI environments for the most popular 3D applications like 3ds Max, Blender, Cinema 4D, and Maya.
3D Photography
Finally, if you need some inspiration for creating captivating product shots of your 3D model, read this great article on basic composition tips. It suggests that the principles of professional photography can also be useful in your 3D photography. Take a look at the tips and try them out on some of your 3D models. Once you’ve got some great shots, upload them to the TurboSquid marketplace, and you’ll be on your way to building out another source of income!
Want to sell your models on TurboSquid?
Since the year 2000, we’ve helped more than 2.5 million people find and sell models on TurboSquid.