It is very easy to zone out and work away without thinking about your scene, naming, or organization. Before you know it, you have a few dozen cloned objects named Box#### or a Material Editor full of textures named # – Default, and if you take a break, you may not always remember what’s what, or what’s applied to where.
Our Turbo Tip of the week (and possibly of the year– this advice is that important!): keep things simple by naming and organizing as you go.
For now, this will be our final post in our series on Scene Optimizations & Best Practices. If you have a topic or question you’d like to see addressed in a future edition of Turbo Tips, check out the bottom of this post to find out how to get in touch with us.
5. Materials
5.1 Descriptive Naming
When creating materials, it is very important that they are given obvious descriptive names. Obvious names make it easier to identify which objects have the material applied. This is especially important when the materials look very similar to each other.

In the example above, you can see that the names are numbered material types or single words that do not indicate much. When working in Max, the viewport does not show the reflective properties that make these materials different from one another. This makes it very difficult to know which material to edit if changes are needed while rendering, or when first creating shaders. Going back to make changes to these materials becomes so much more difficult; improper naming creates more work for everyone using the file.
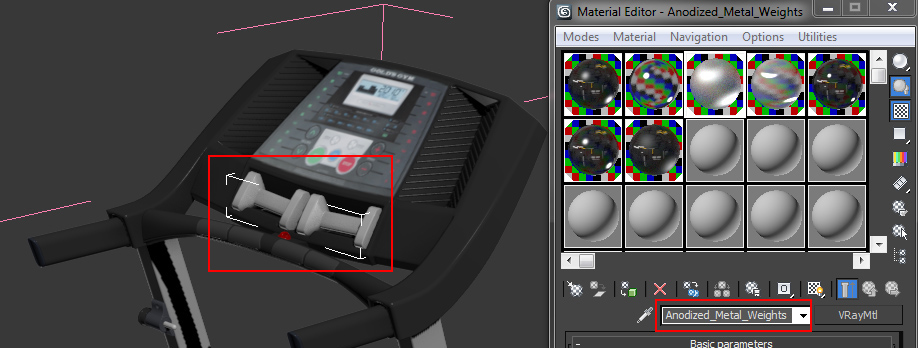
Add descriptive words as an identifier of what you would see visually in a render. If you look at a render of the model after finishing the shader and think, “Yes that is anodized metal on the weights,” then name the material to match: Anodized_Metal_Weights. This way, anyone using the model in the future can look at the render and hopefully say the same thing, helping them easily find the correct node in the Material Editor.
NOTE: The materials were separated as indicated in 5.2.
Tip: Try to keep the full name of the materials short enough to be completely viewable in the box.
5.2 Keep Materials Separated
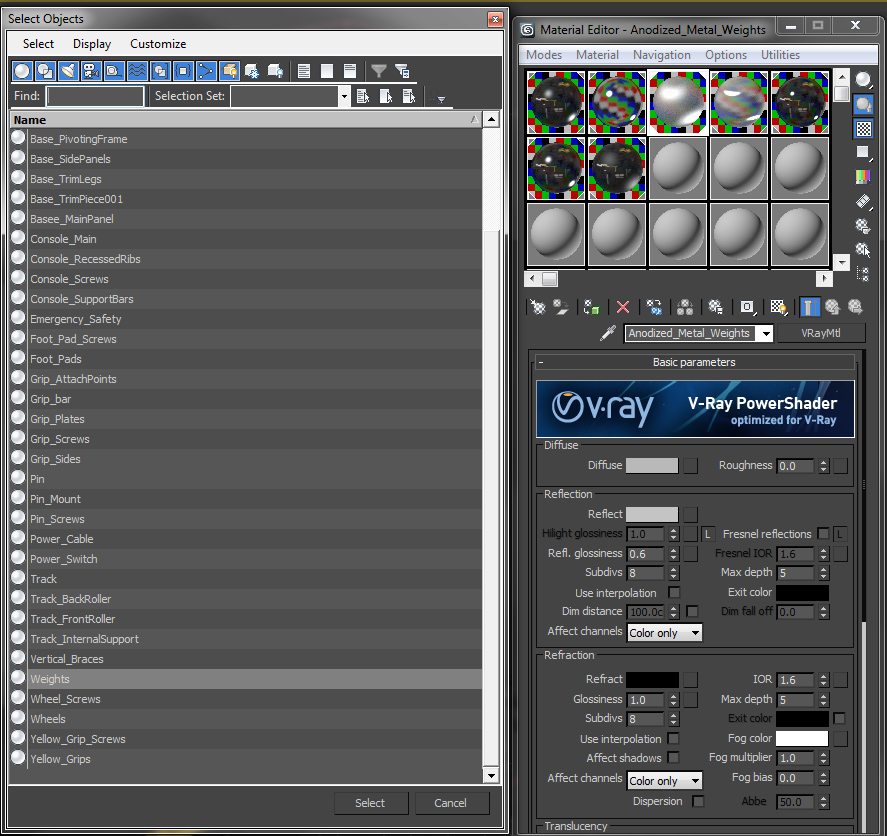
Another difficulty with these shaders/materials is that they are in a Sub-Object Material. When working in Sub-Object Materials, you no longer have the ability to select by material. Objects are now all classified as the same material. To check which materials are actually applied to objects, you have to check the material ID at the Face or Element level of an object, then reference that ID number to the Sub-Object material slot with that number.
To change the materials at this level, you also have to edit the Material ID number on the sub-object level. This can be very time consuming on a model with many parts, making more work for anyone handling the scene.
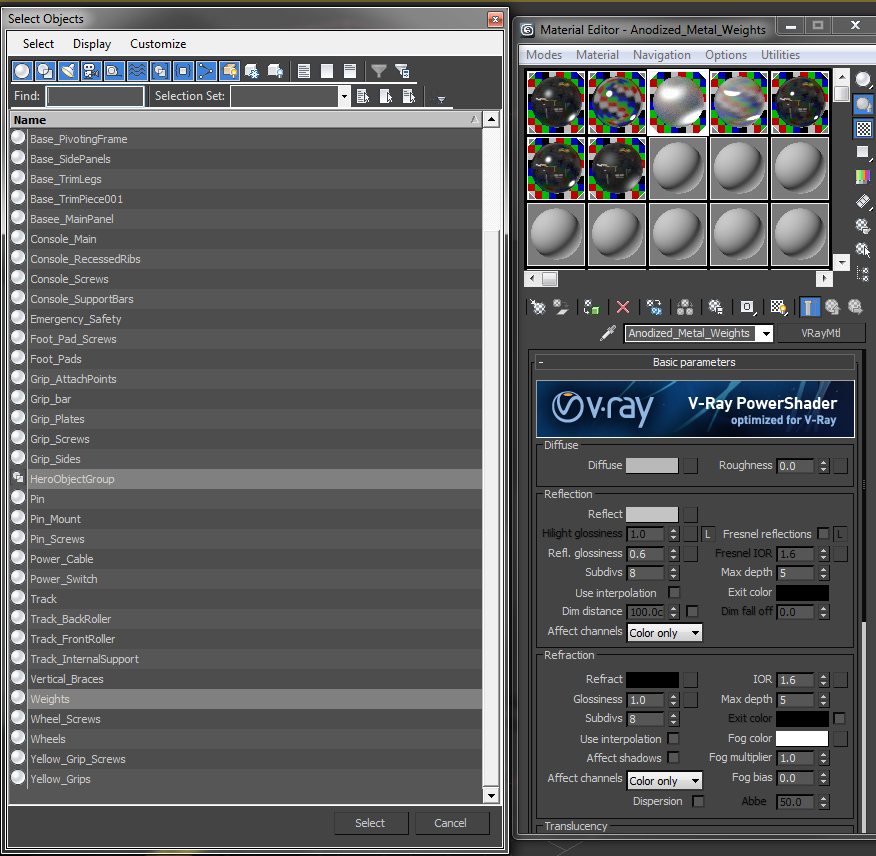
Instead, the materials should be left as separate nodes, named descriptively. When the materials are left separate, selecting objects by material is once again possible. This makes another quick and easy method of navigating the scene to find specific objects or relationships. Remember that the deeper the materials are, the more difficult it is to navigate. There is no need to add another layer of difficulty by seeding the individual materials into a Sub-Object Material.
5.3 Simplifying & Reducing Like Materials
When multiple parts of a model share the same texture map and have similar attributes, it is not necessary to separate each gloss change into a new material. Editing all the duplicates of the material is much more time consuming and visually confusing (you can easily forget which material was which , causing you to edit the wrong one).
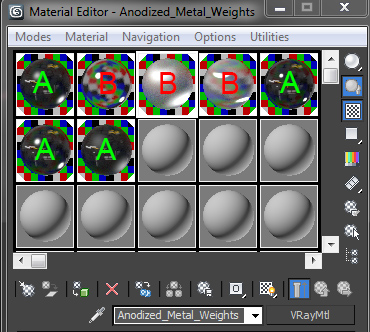
As you can see in the image above, all the Material Nodes marked “A” look very similar, though they all have different Reflection or Glossiness values on their plastic. All the materials marked “B” have a different level of reflectivity, but similar metal color (diffuse).
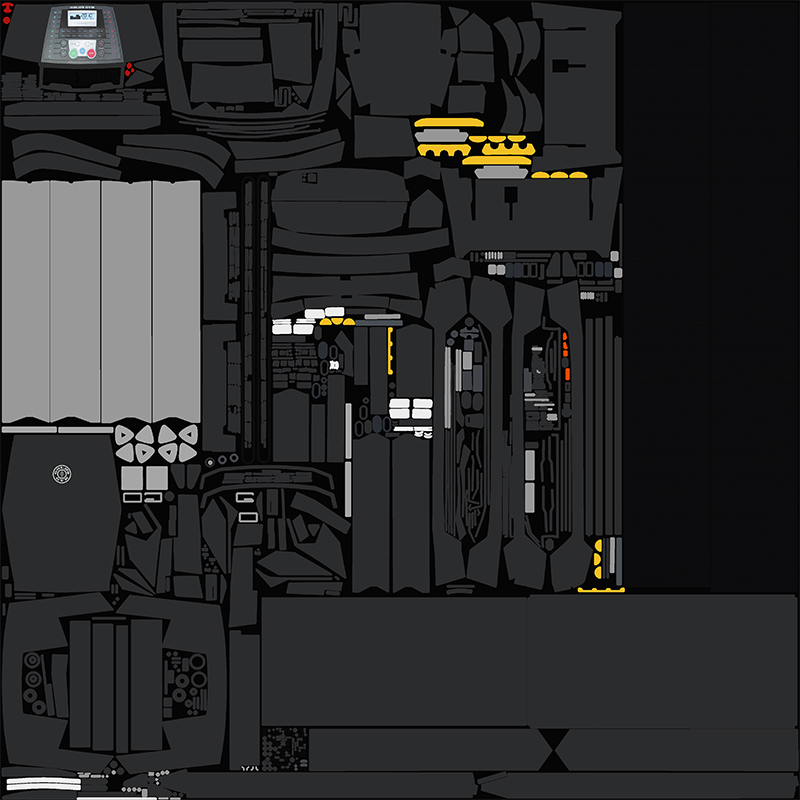
As you can see, the map above has every part of the model on it, including the metal parts. However, it is only used in the “A” nodes shown above. The metal portions of the texture map go unused and the “B” nodes replace them.
A more ideal method in this situation would be to have a single material for all the plastic textured pieces and control the reflectivity attributes using additional maps for specular and gloss properties. Then, do the same thing for all the metal pieces as a single second material– doing this would minimize the number of materials needed for the model. Less materials usually means less processing time, which equals to faster rendering time. (See Texture Map PSD Organization)
Tip: Turn background on for the Nodes to more accurately view how the shader responds to changes in the Reflection and Refraction properties.
—
Calvin Bryson is the Senior Technical Artist at TurboSquid, and a 3ds Max expert. If there are any topics you’d like to see in a future edition of TurboTips, let us know in the comments below, or Tweet your question to @TurboSquid with hashtag #TurboTips.