We’re going to go over how to make a quad sphere in 3ds Max, Maya and Cinema 4D, for CheckMate Pro v2.
The default sphere is problematic because of the two poles. By itself, a standard sphere does not seem to pose any problems, but when it comes time to subdivide, the differences in polygon density at the equator and at the poles produces pinching, and squashes the sphere around the equator.
Click any screenshot below for full resolution.
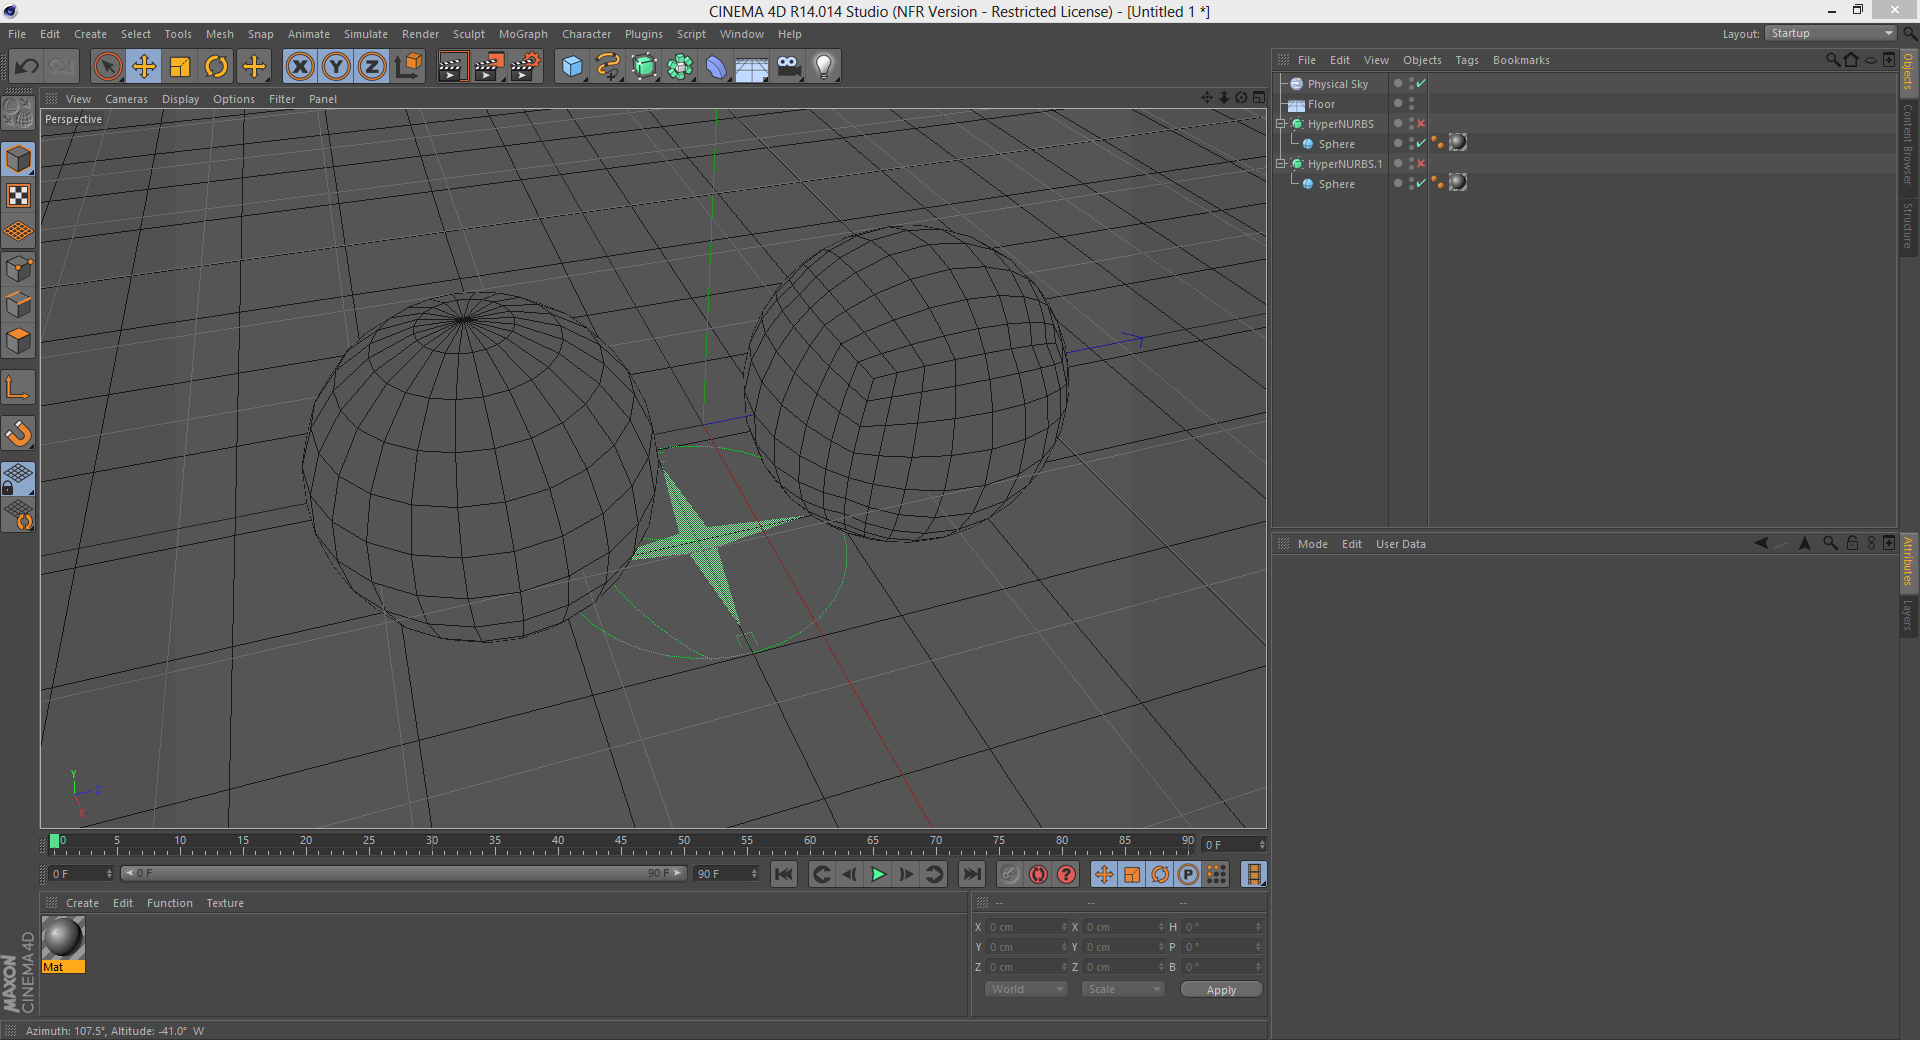
Comparison of a Polygonal Sphere and a Quad Sphere
Here are the spheres unsmoothed.
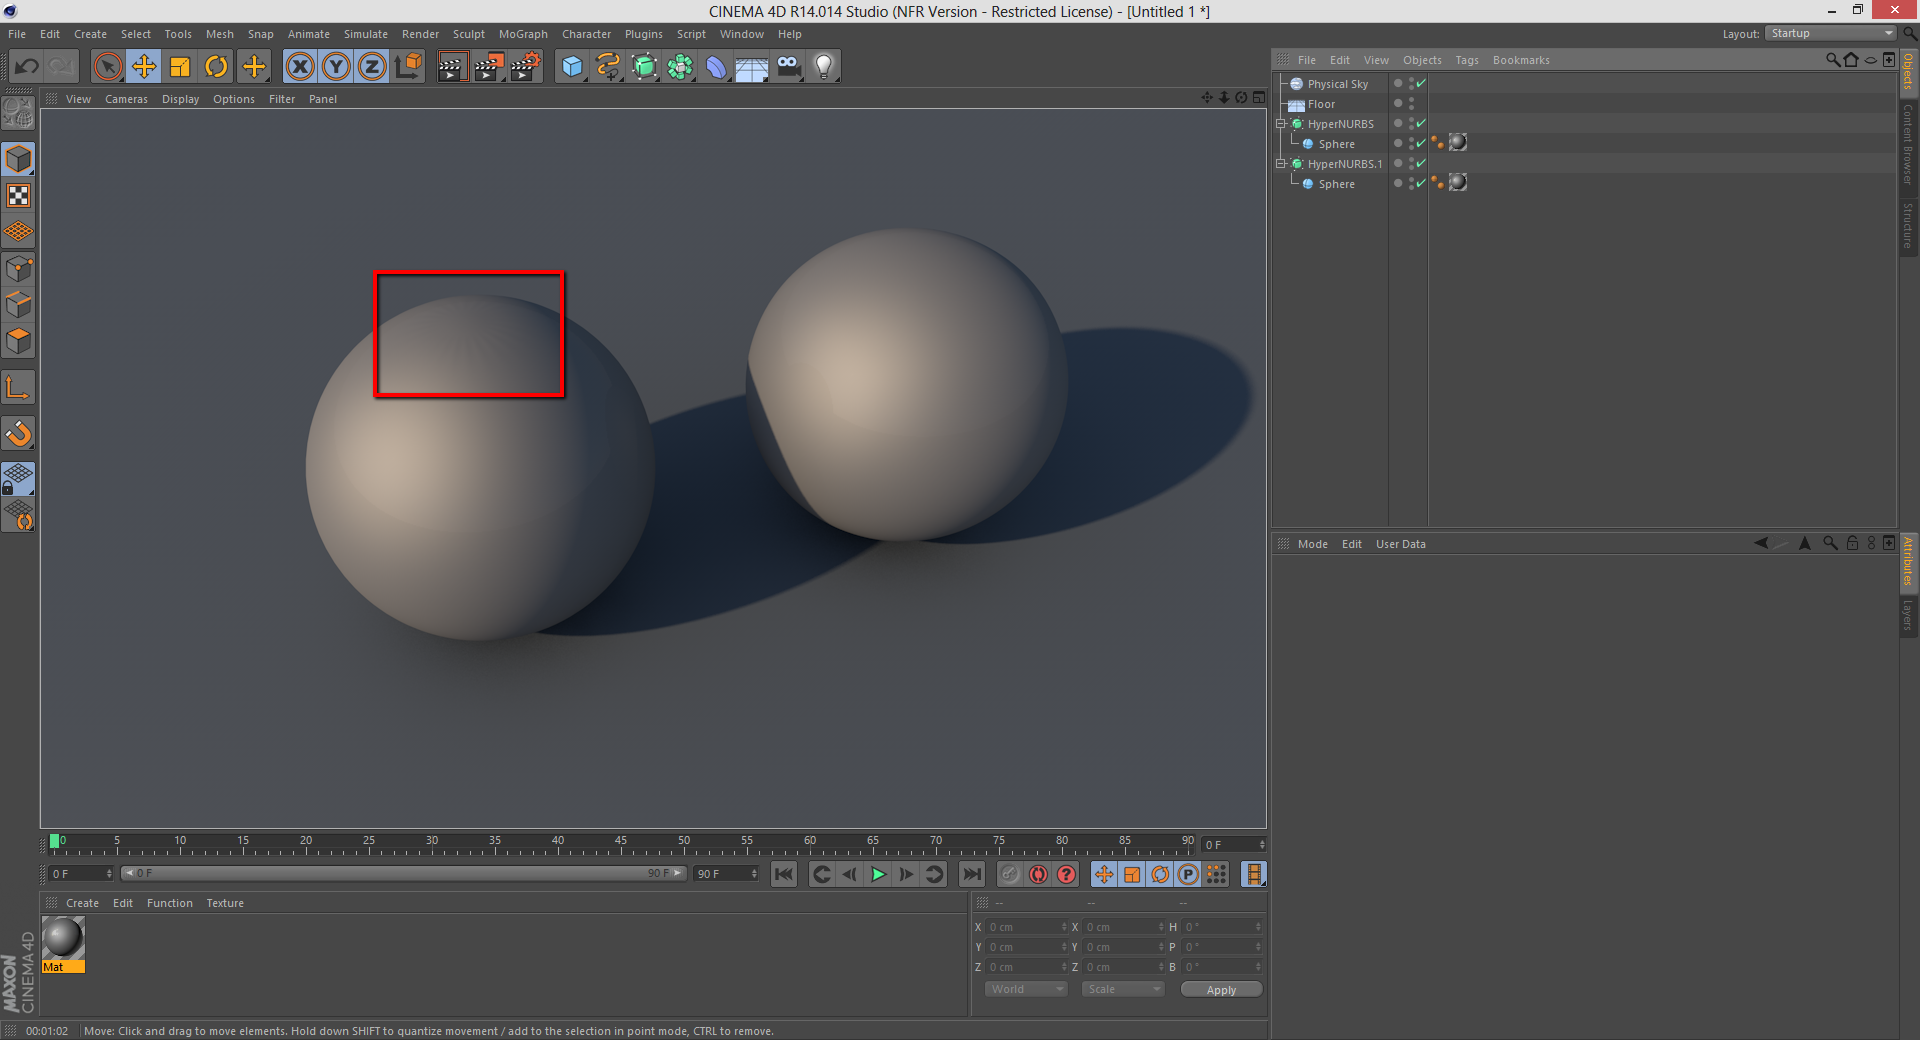
When the spheres are smoothed, they both deform in different ways.

You can see how the Polygonal Sphere’s smoothing causes problems once a shader is added. Little ridges are created at the top of the sphere.
You can see the ridges with a chrome material applied also.
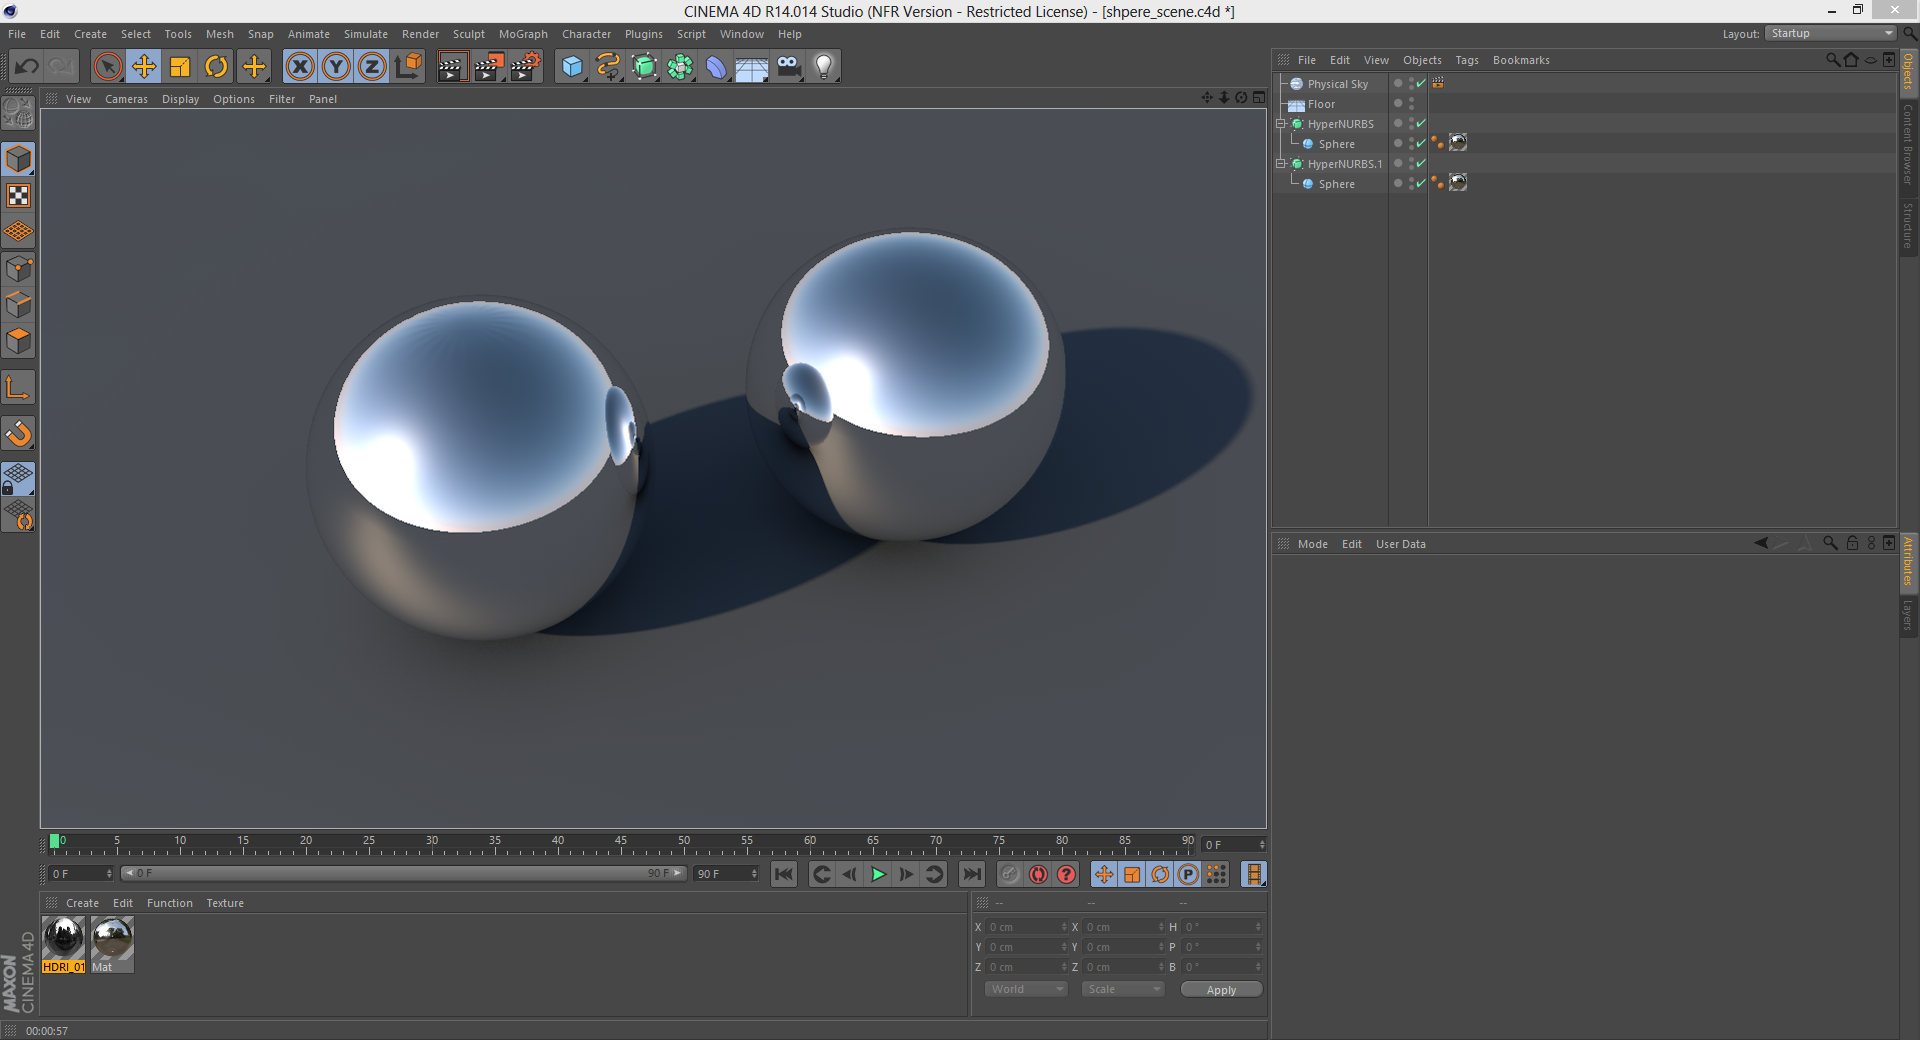
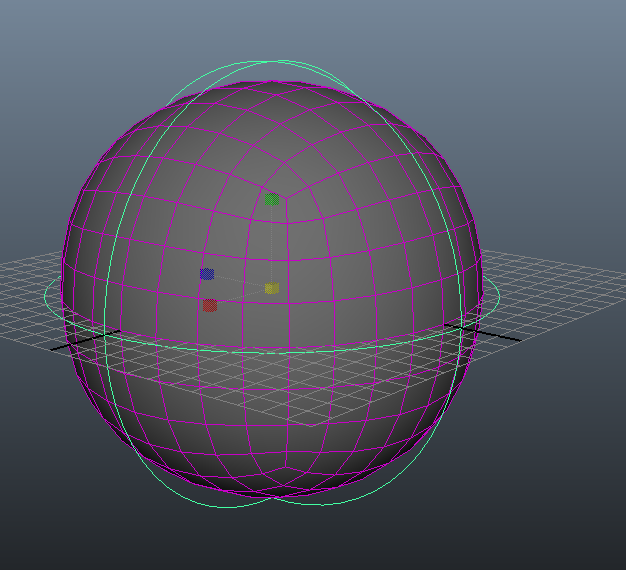
While the effect is subtle, you should be able to see the faint star pattern within the normal sphere at the poles where the lighting and reflections get distorted as the sphere is subdivided. Moreover, it can’t simply be fixed by removing every other edge that’s converging to that one vertex to make the pole faces quads. The distortion is a direct result of the fact that it’s a curved surface where the pole exists.
As such, a far better approach is to build a quad sphere, which not only eliminates this pole problem entirely, but is completely CheckMate Pro v2 compliant. Here’s how you can accomplish this quickly in each of the major 3D applications.
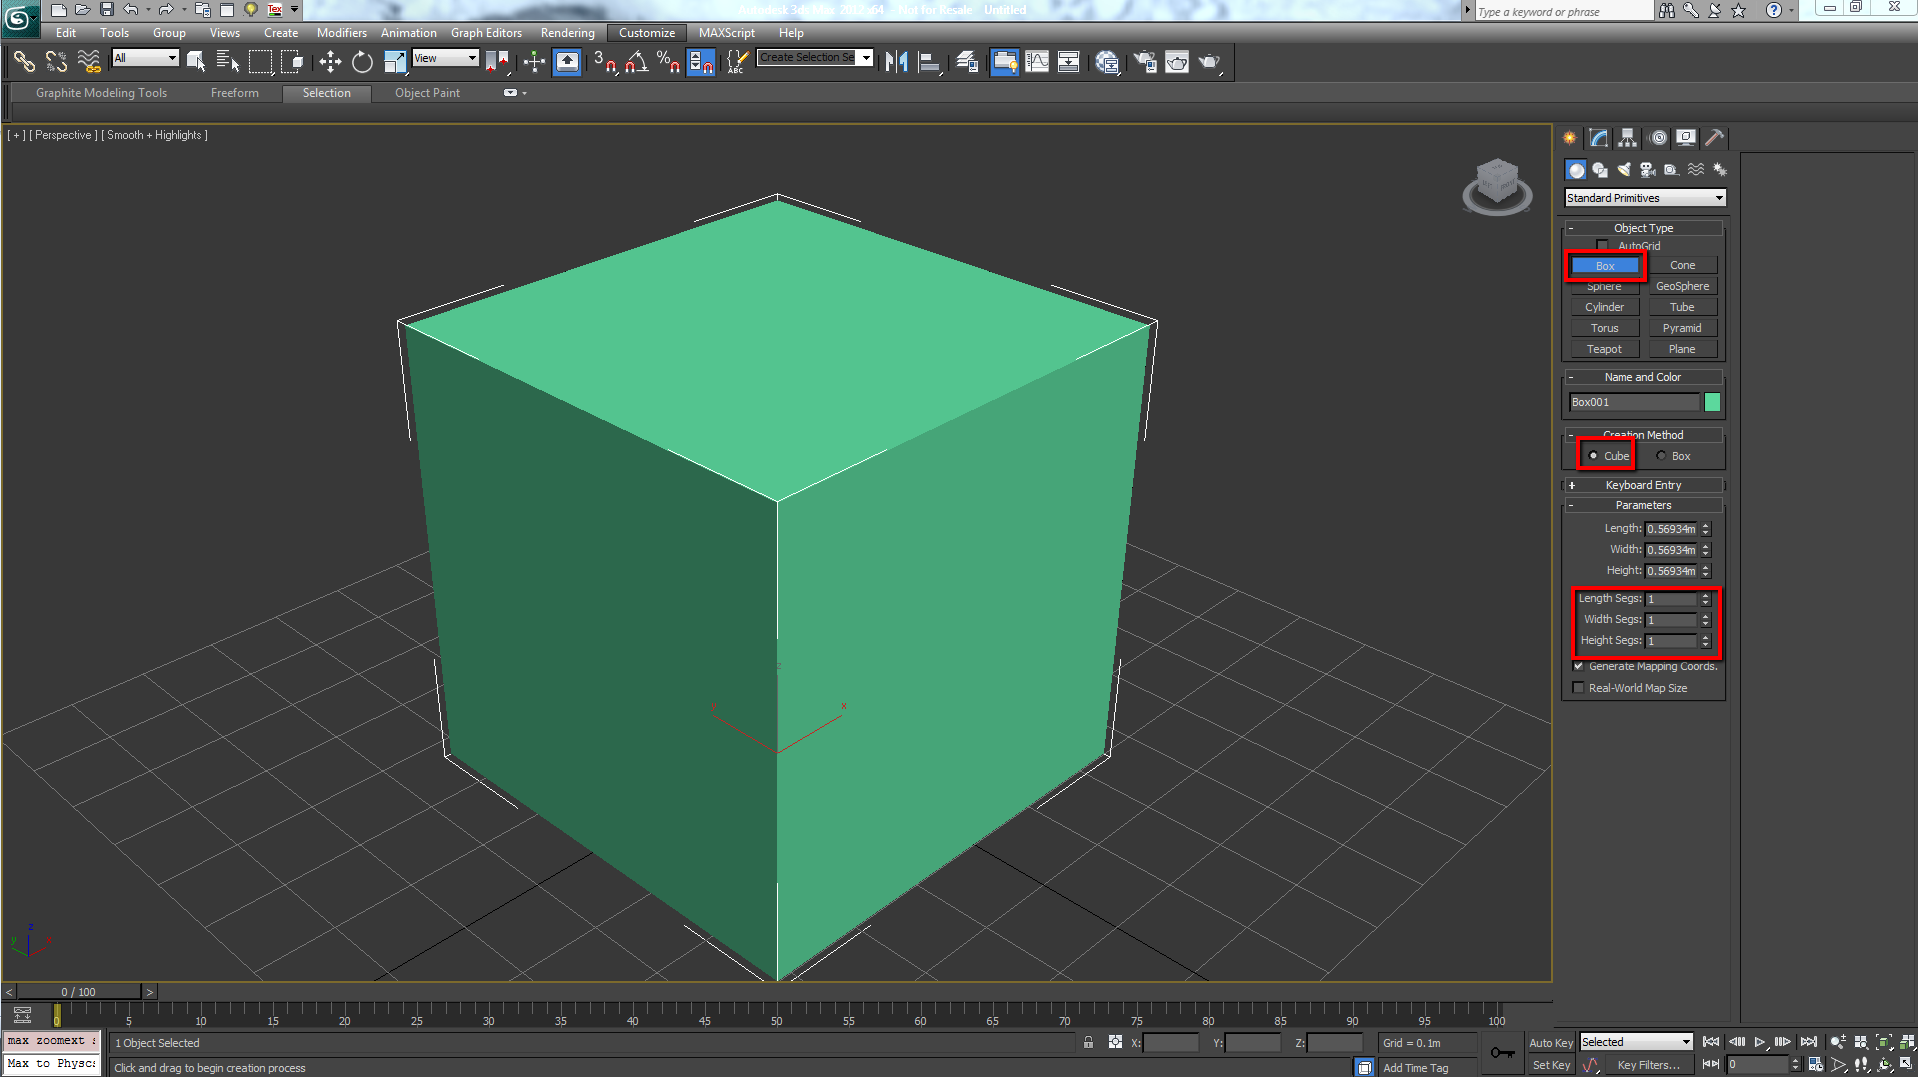
3ds Max Quad Sphere
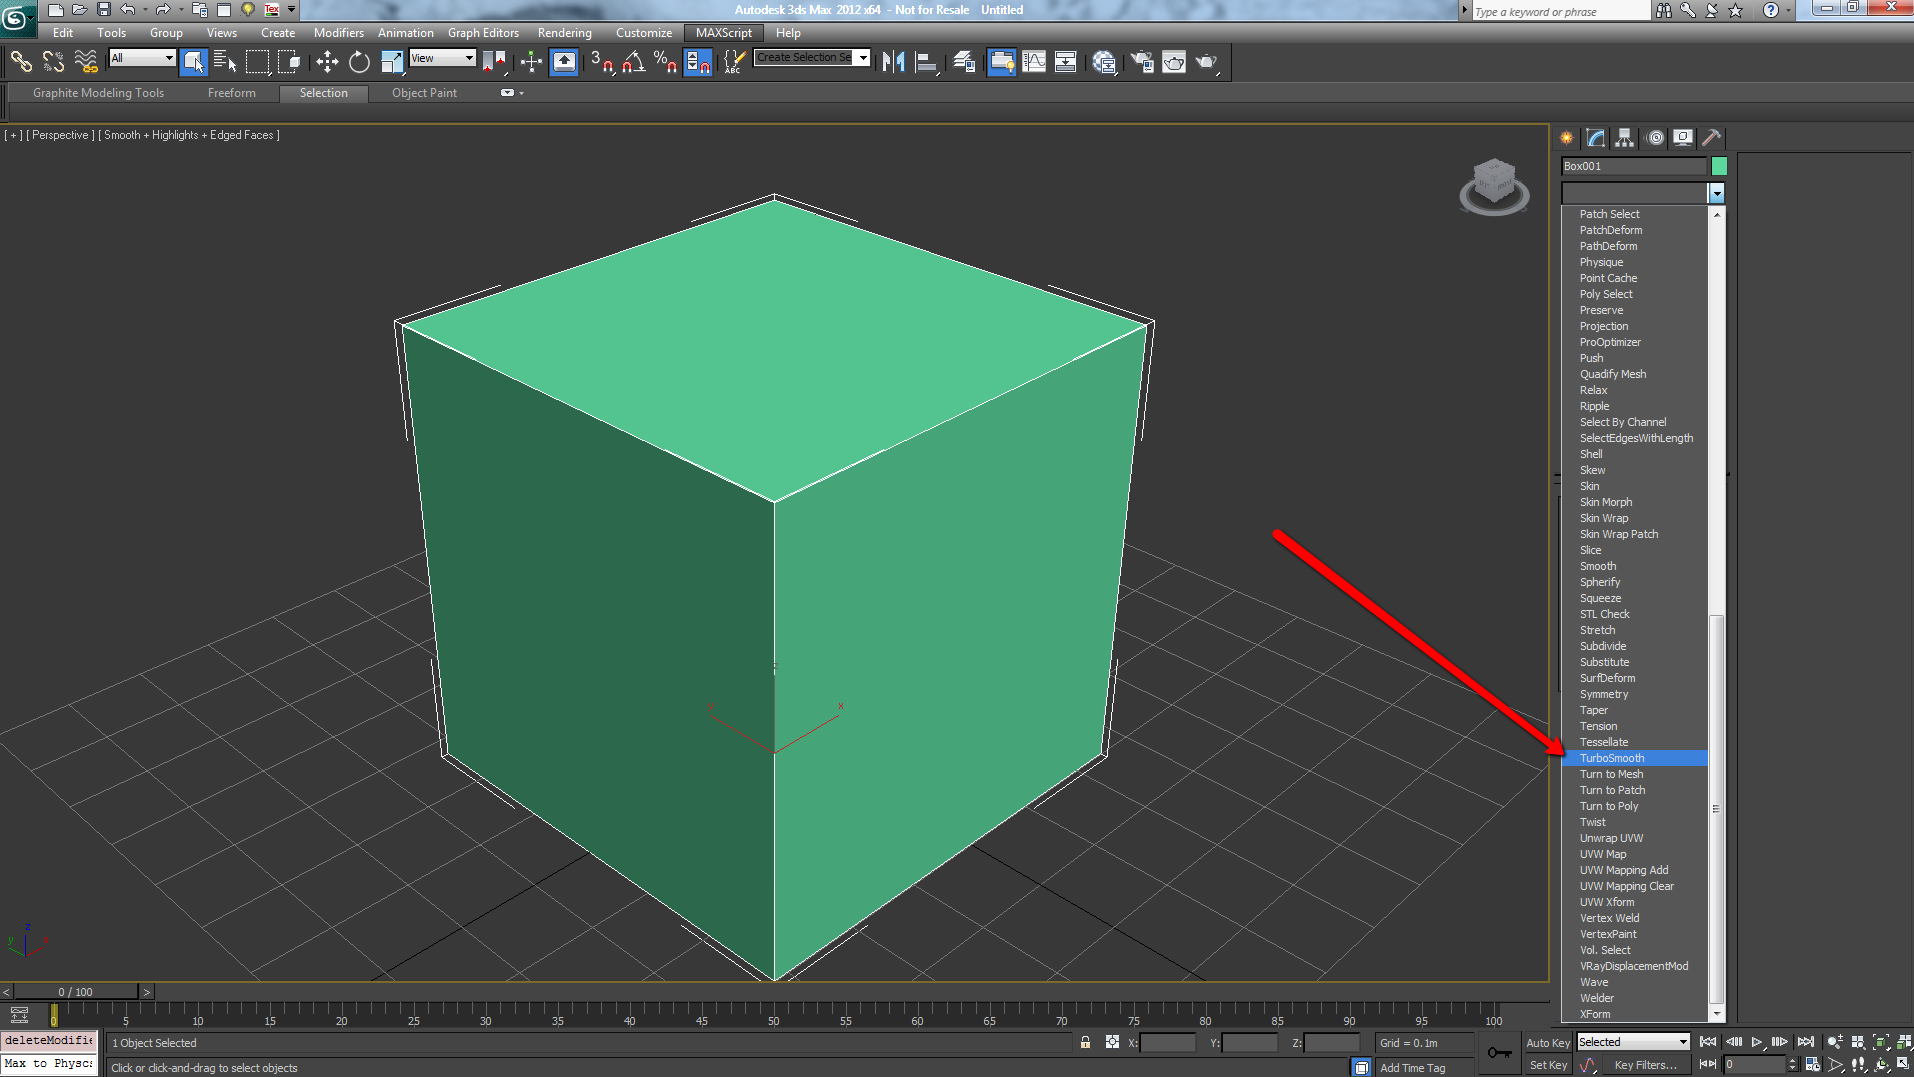
1. Create a cube
2. Add a TurboSmooth modifier to the cube
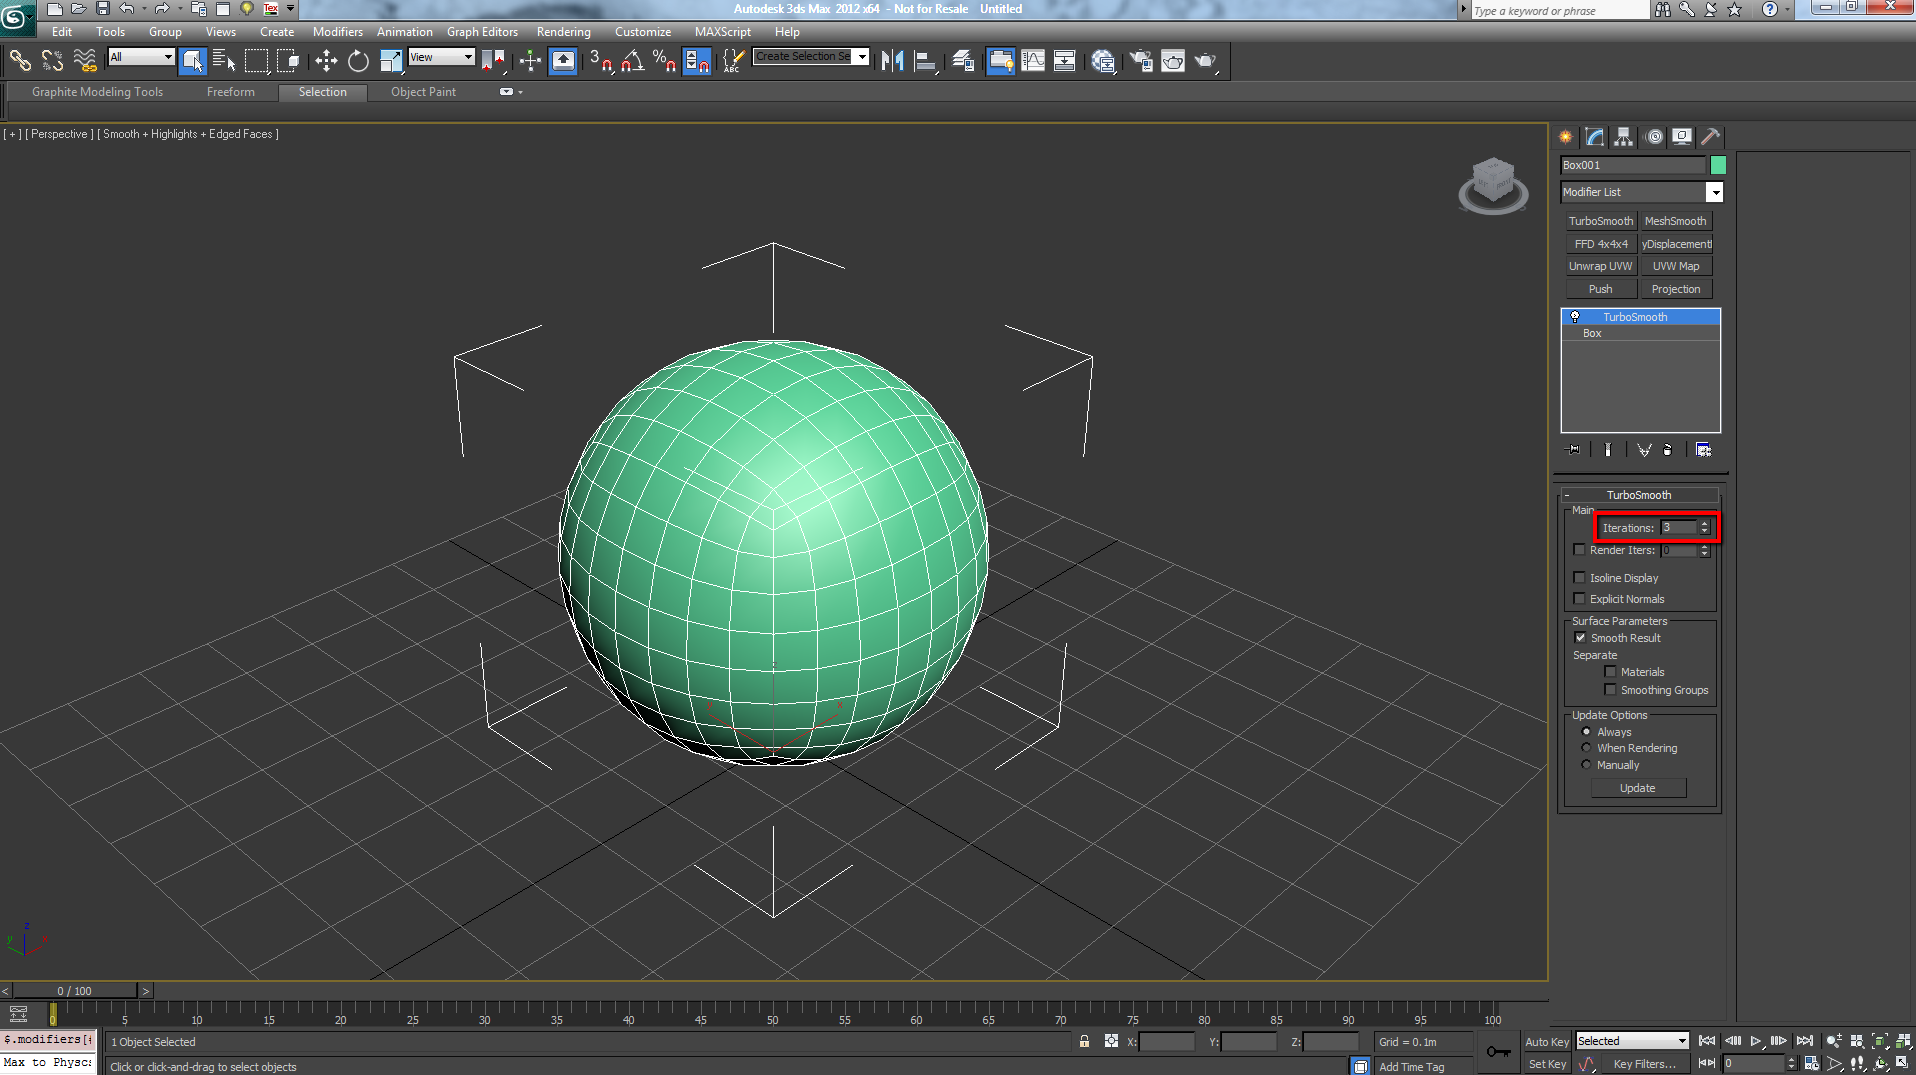
3. Adjust TurboSmooth so that it has 3 subdivisions
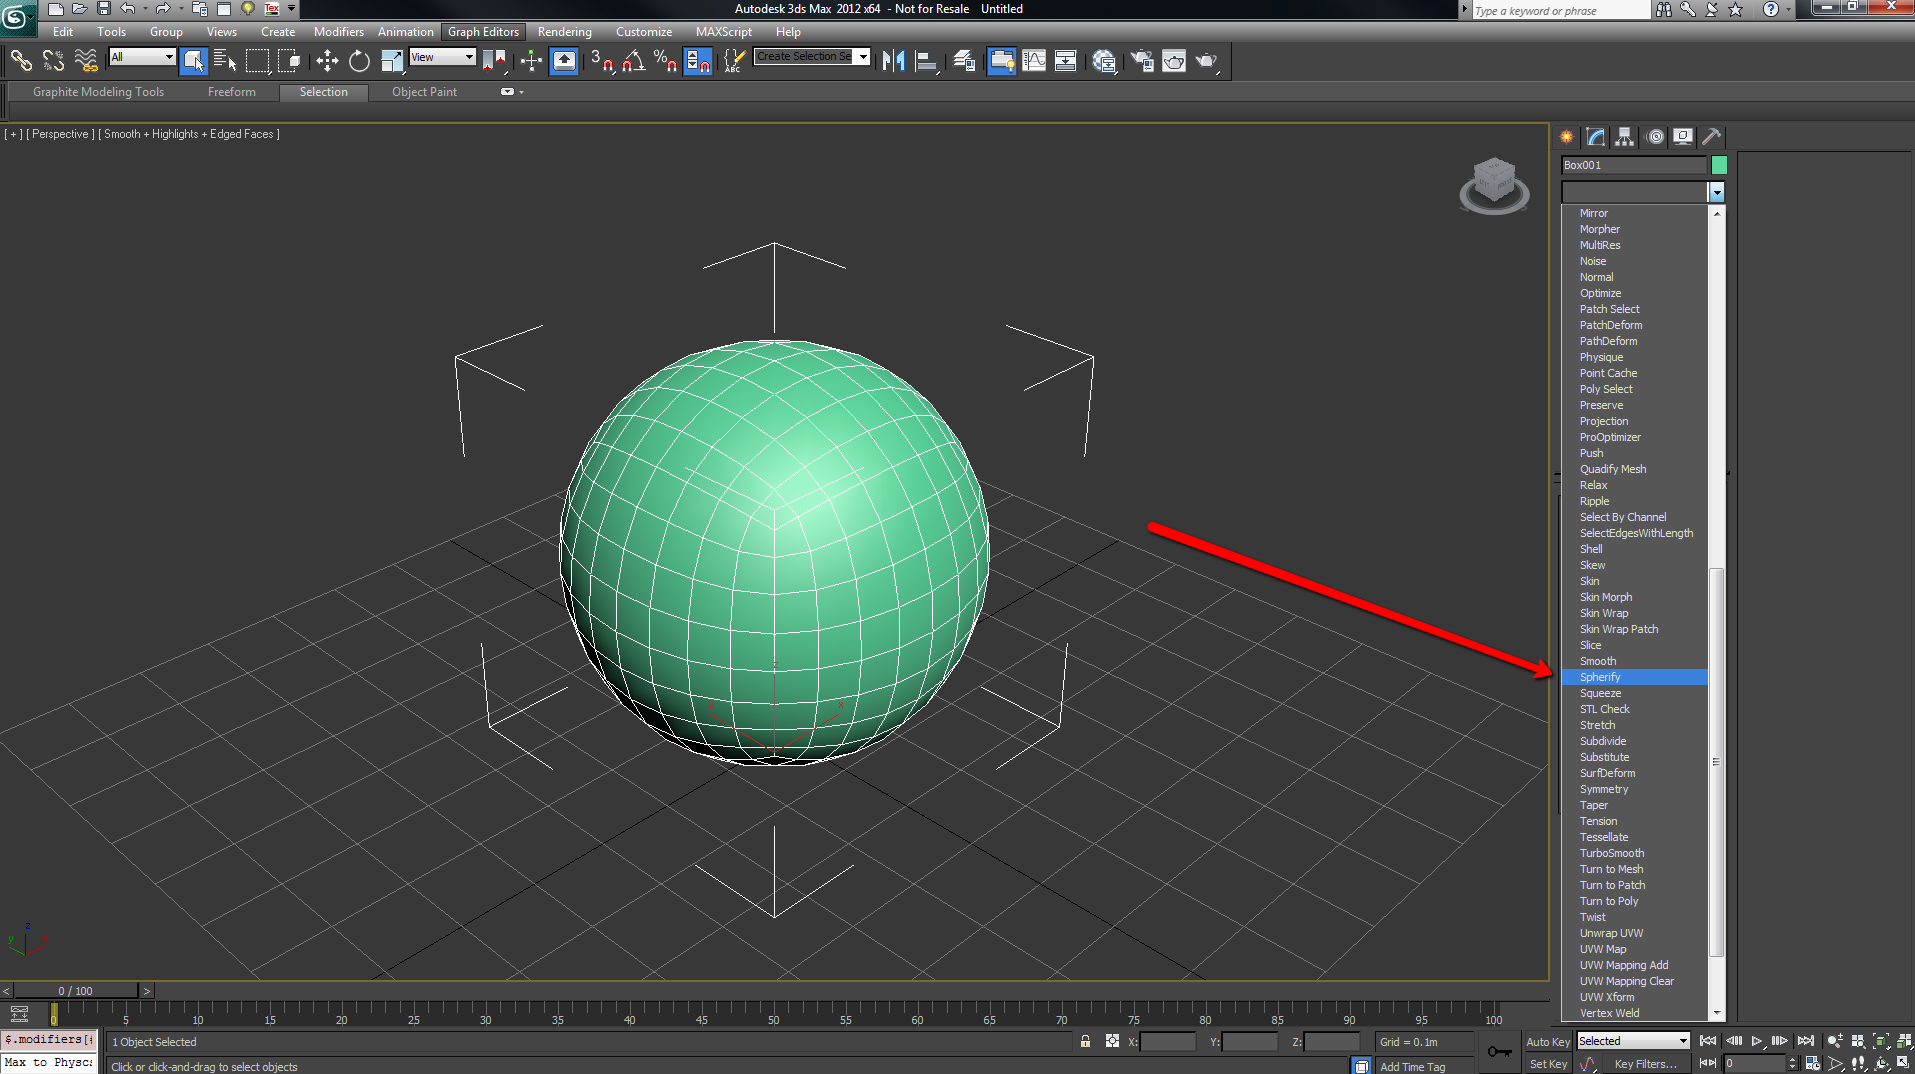
4. Add a spherify modifier to the resulting spheroid
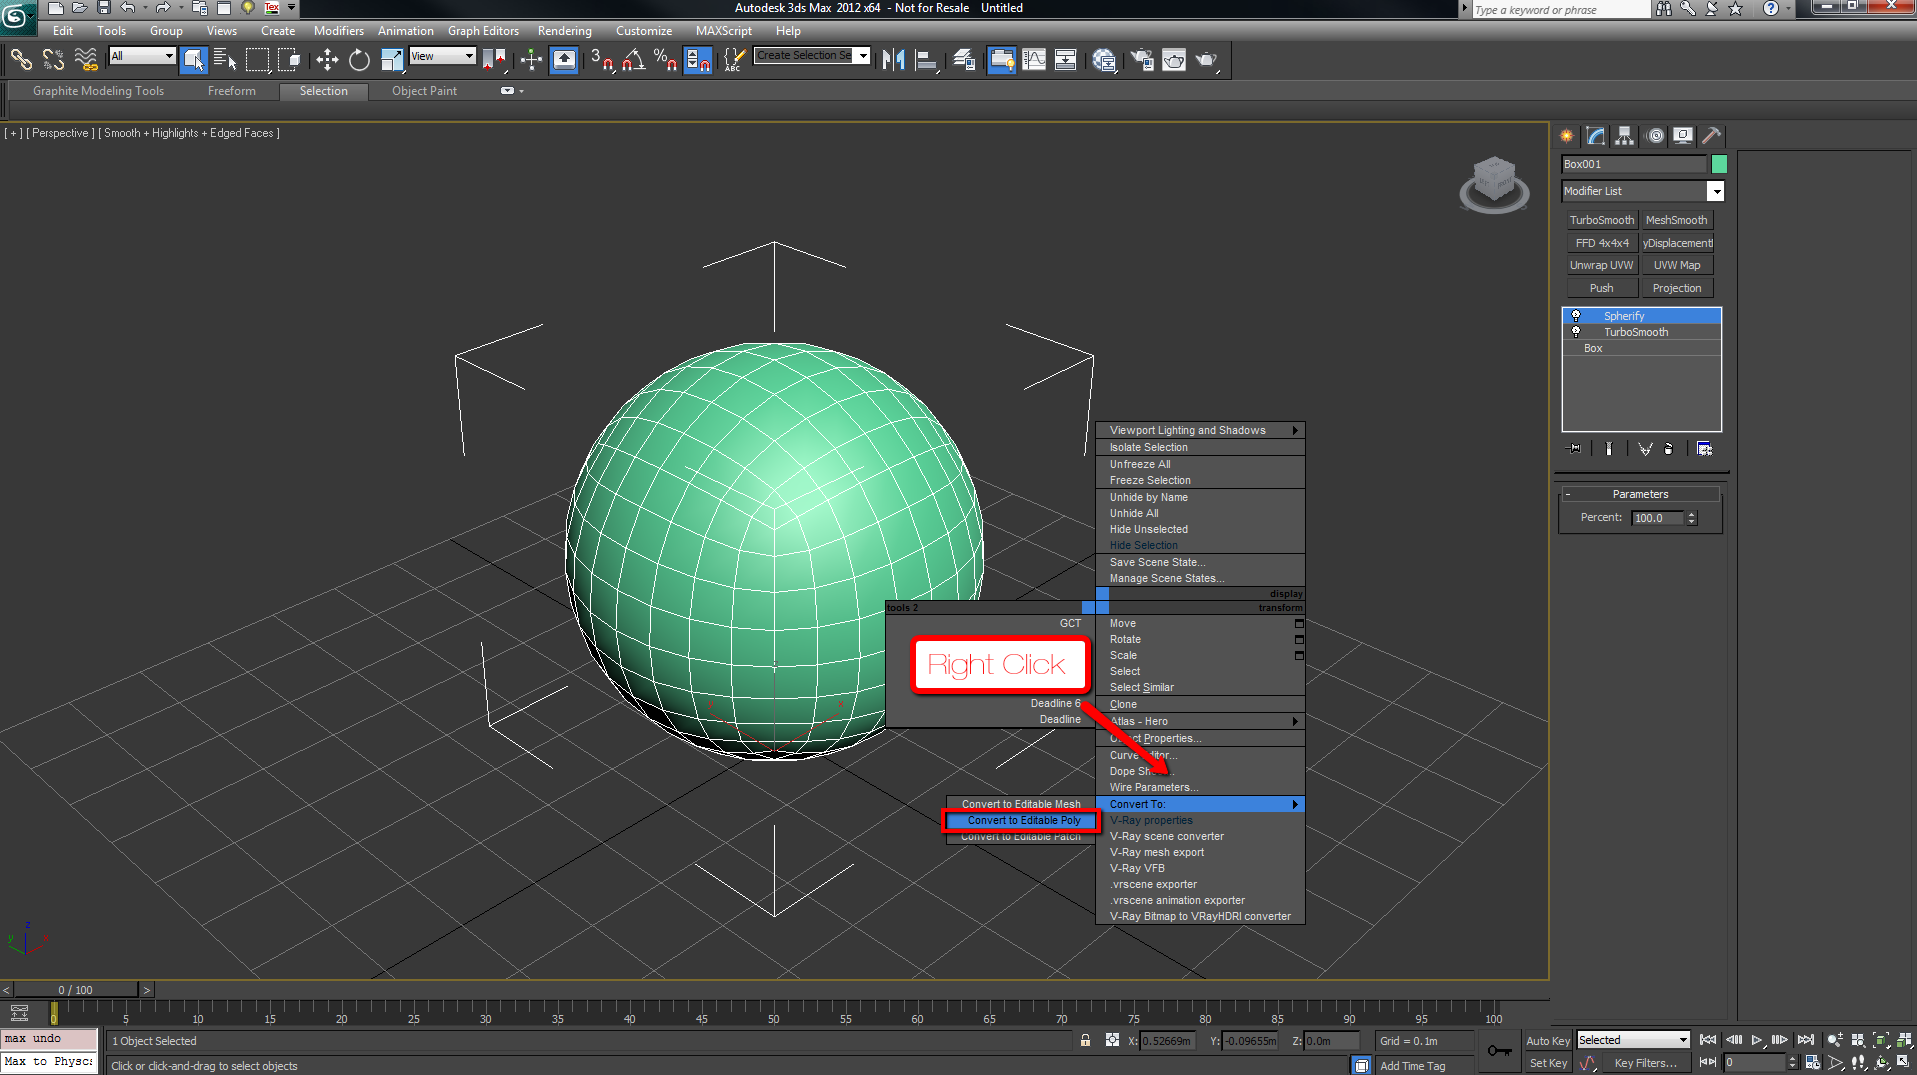
5. Collapse to editable poly
Maya Quad Sphere
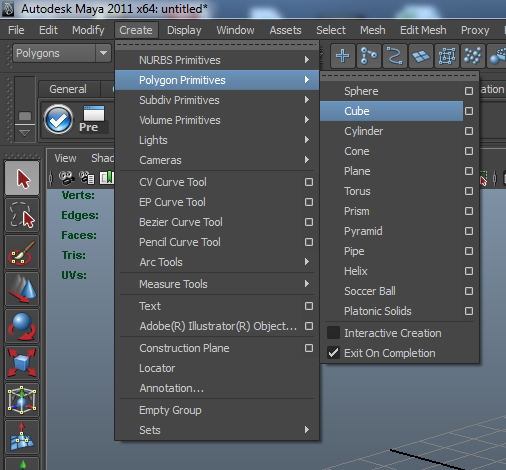
1. Create a cube (suggested: 10 units in width, height, and depth; 2 subdivisions for each)
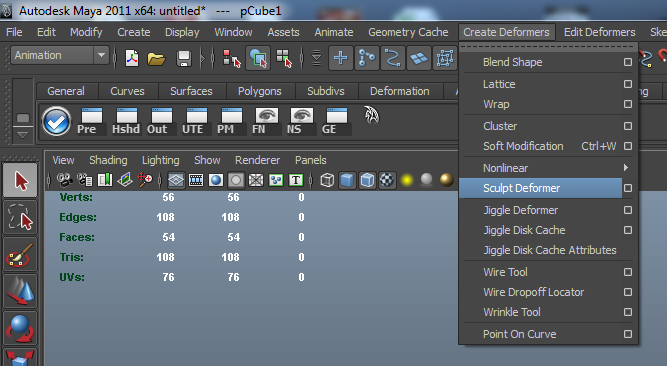
2. Under the animation menu module, go to Create Deformers > Sculpt Deformer
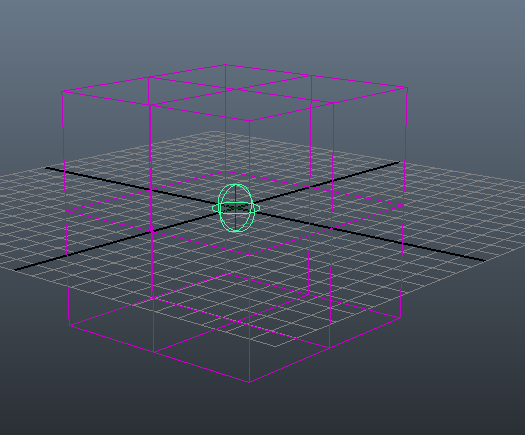
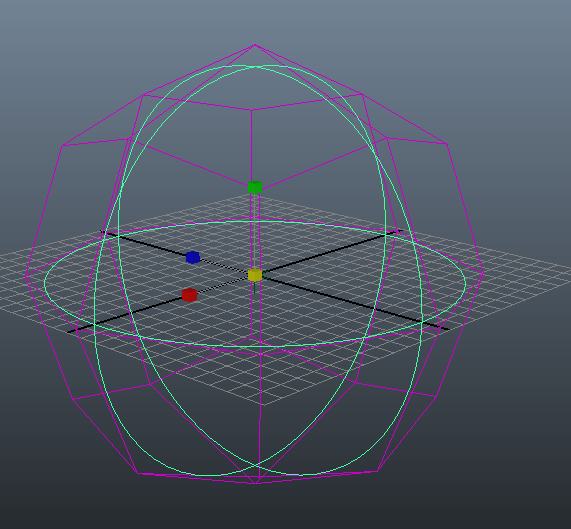
3. If your cube is bigger than your deformer, you will need to scale your deformer up. With the sculpt deformer selected, press R for the scale tool. Drag your mouse to the right to scale the deformer up. You can stop scaling when the cube starts to look spherical.
4. go to the Polygons menu module. Select the object and go to Mesh > Smooth (suggested division iterations: 2)
5. Now you can delete the history, or keep it so that you can change the polyCube values
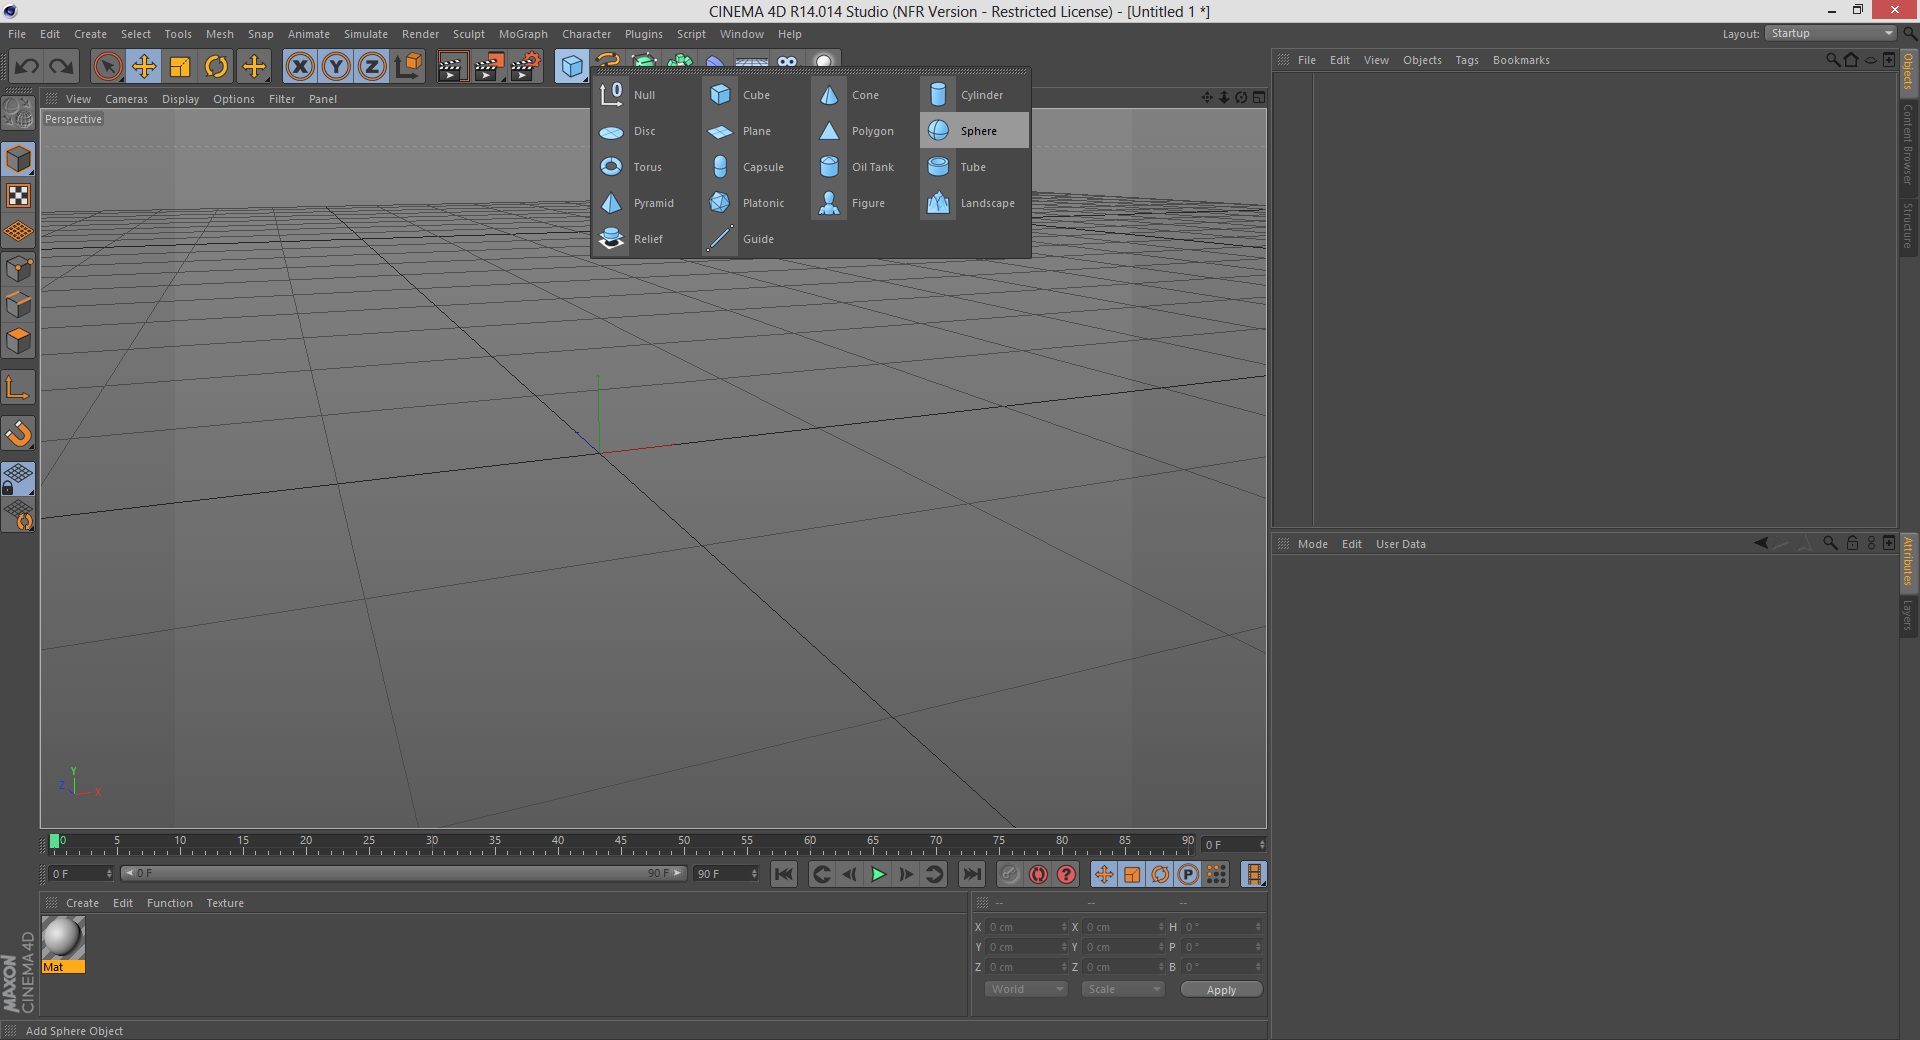
Cinema 4D Quad Sphere
1. Create a sphere
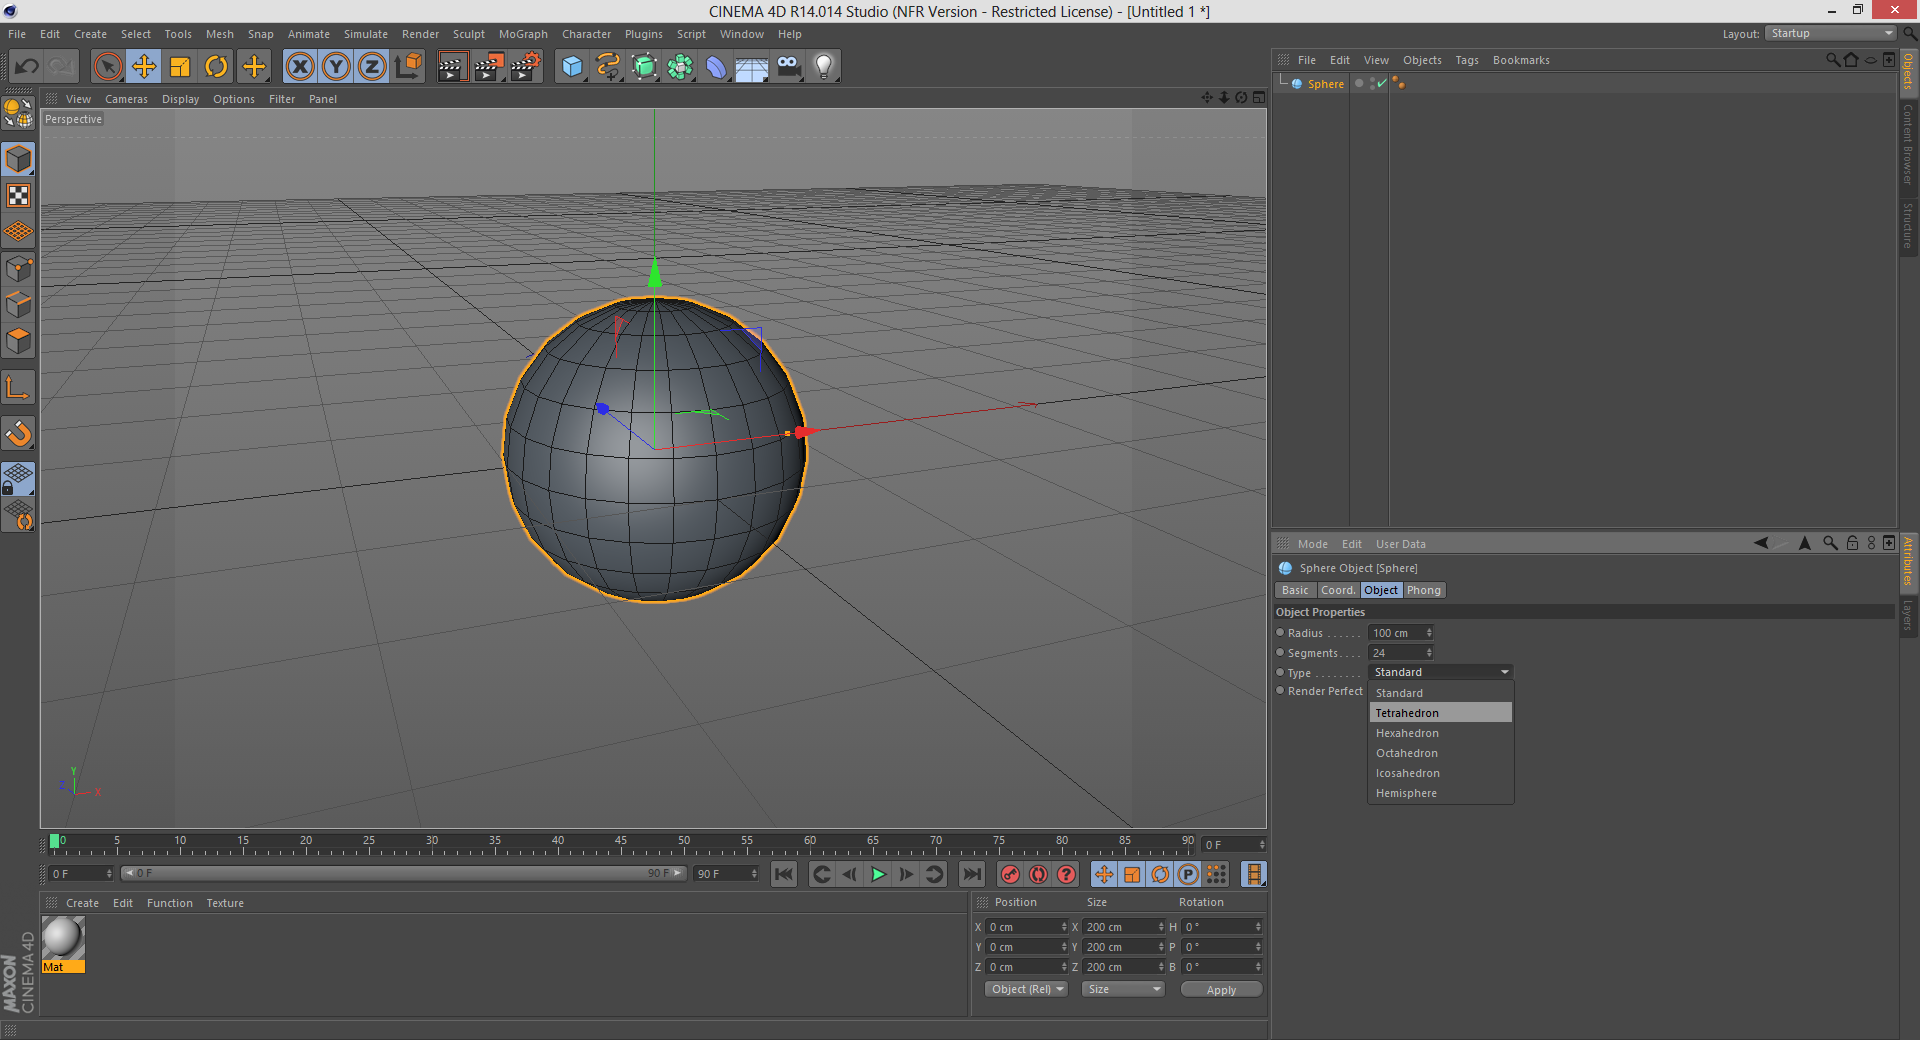
2. Under Attributes > Object, change the type to “Tetrahedron”
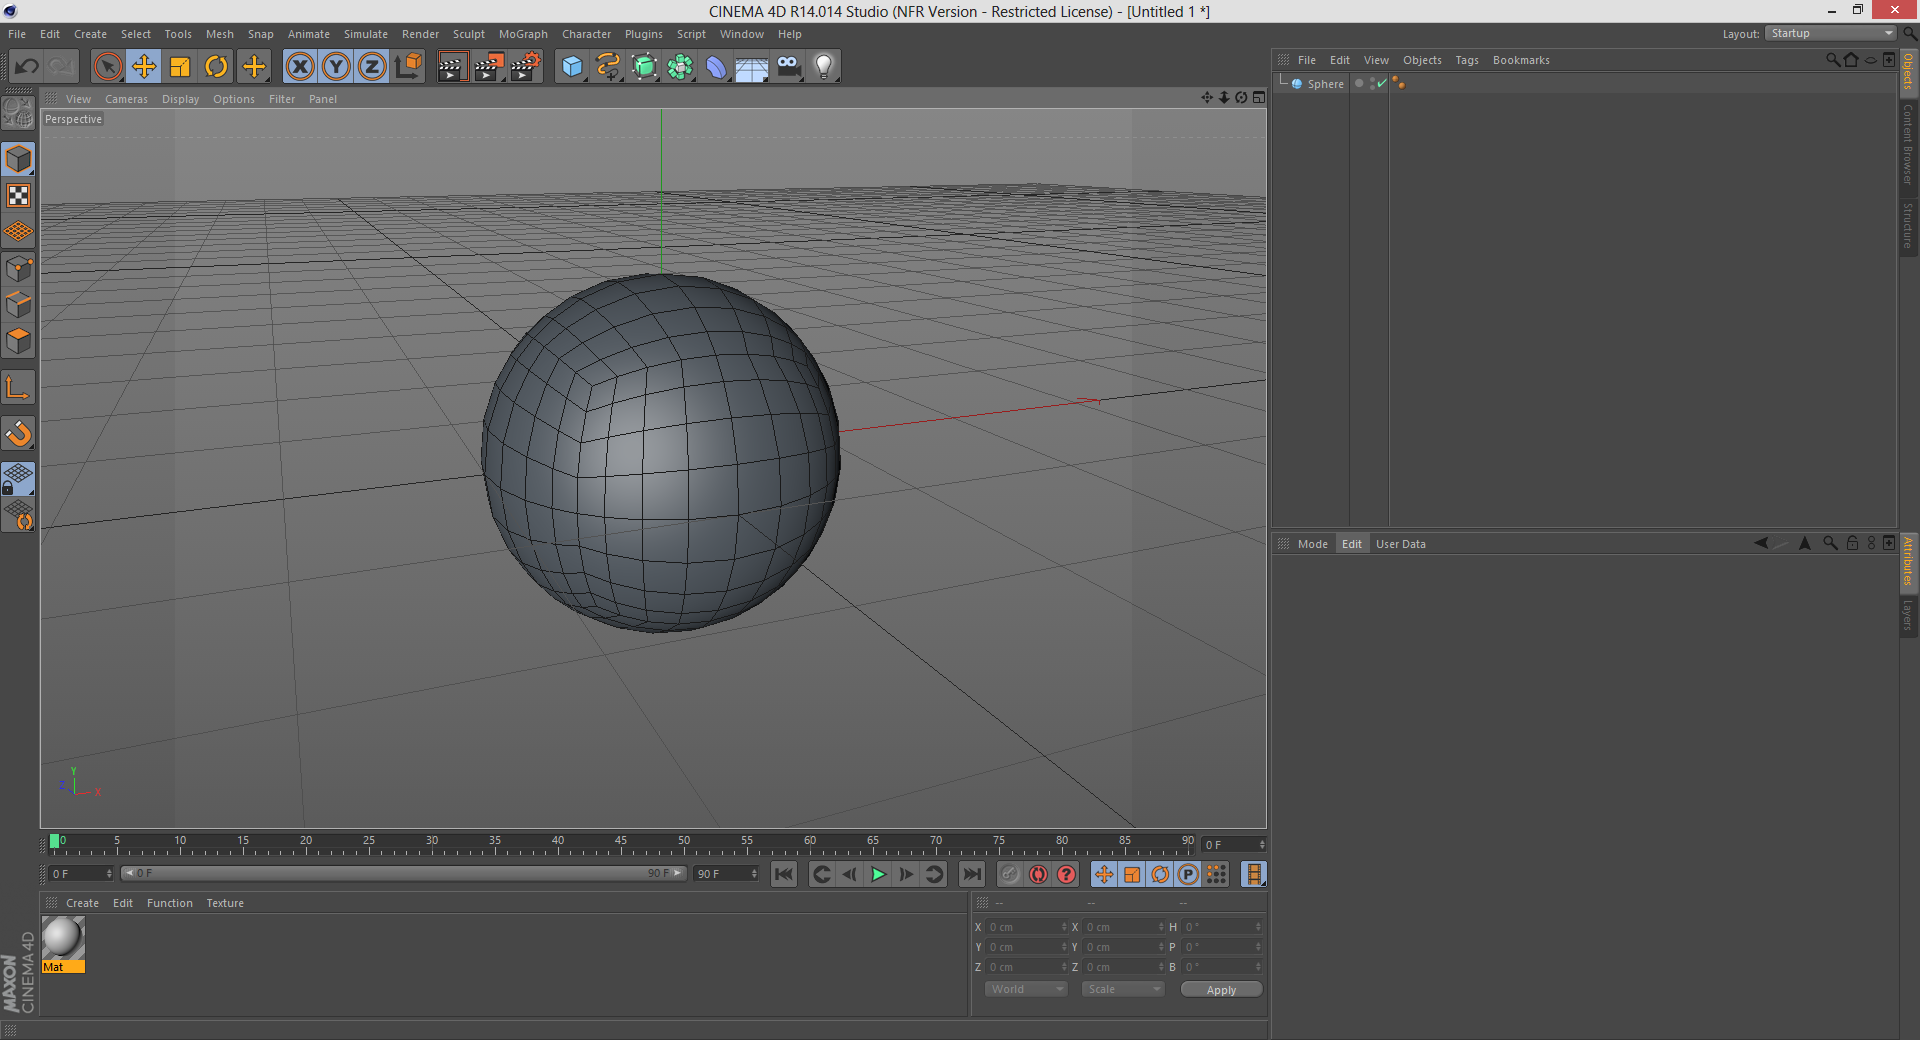
3. You should now have a quad sphere:
Up Next: Making a Quad Sphere, Part 2: Softimage & LightWave